*This post contains affiliate links
July is THE month for most of what we have in our backyard! All of the berries are ripening and with the heat starting, most of the rest of the garden is growing!
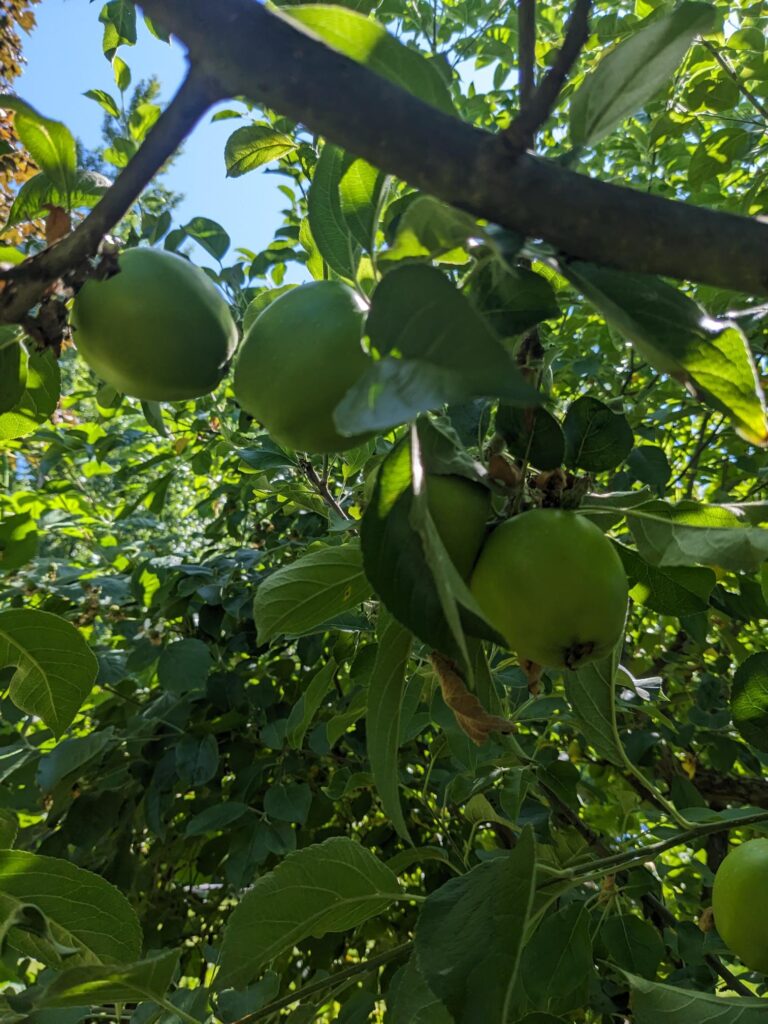
We’ll start with fruit trees. We have three apple trees, a mulberry tree (technically a berry, I guess) and a quince tree.
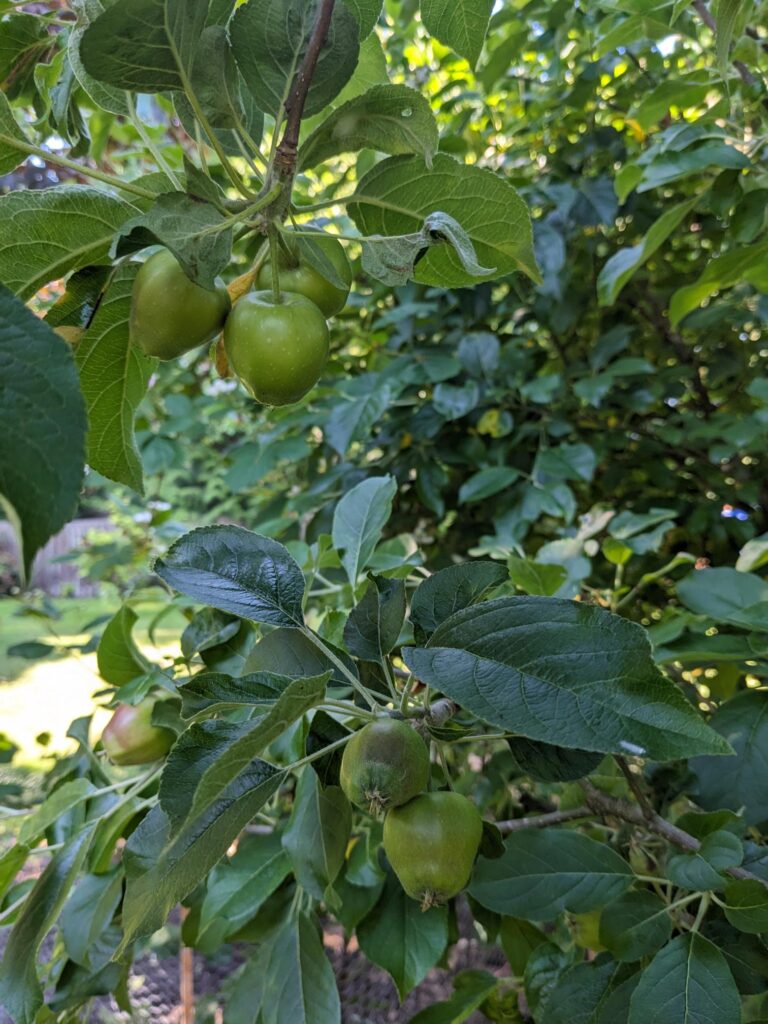
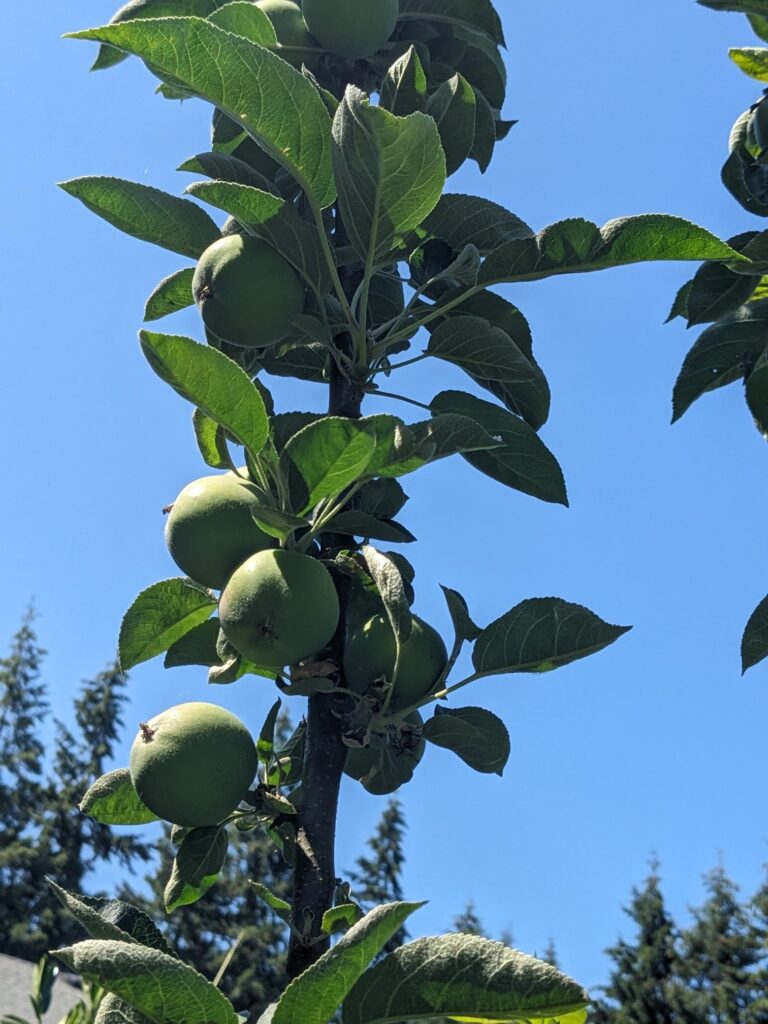
One apple tree decided to not blossom after a pretty significant pruning. Hopefully it’ll come back full force next year. Another apple tree is growing a ton of apples….on ONE side of the tree! The third apple tree is a columnar that has a bunch of apples on it.
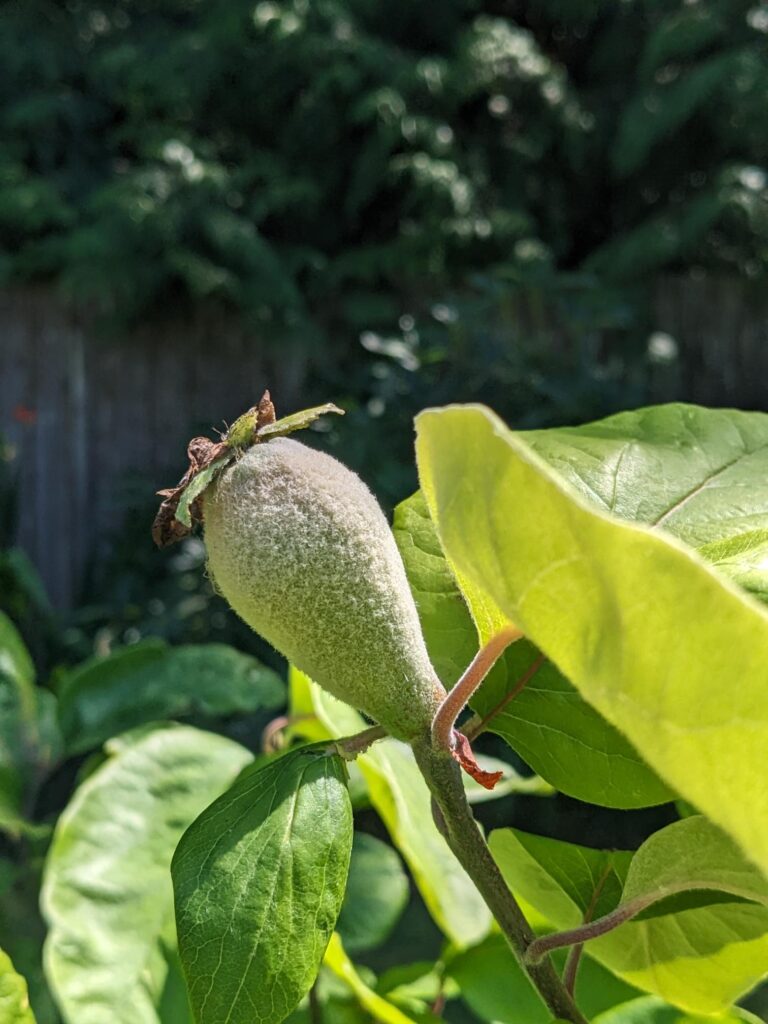
And finally we have one quince on our quince tree. It was planted last year, so the fact that it has ANY fruit coming in is amazing!
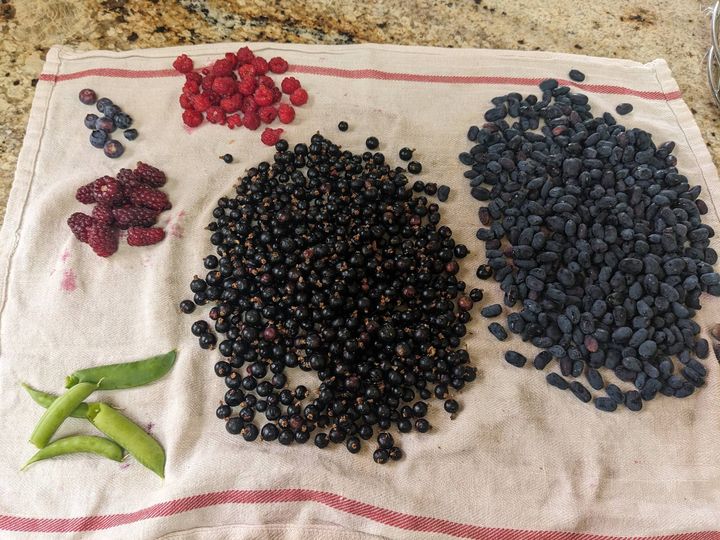
Next up, the berries. See my previous post about our berry varieties and my Bubba Gump issue when I start in talking about our berries.
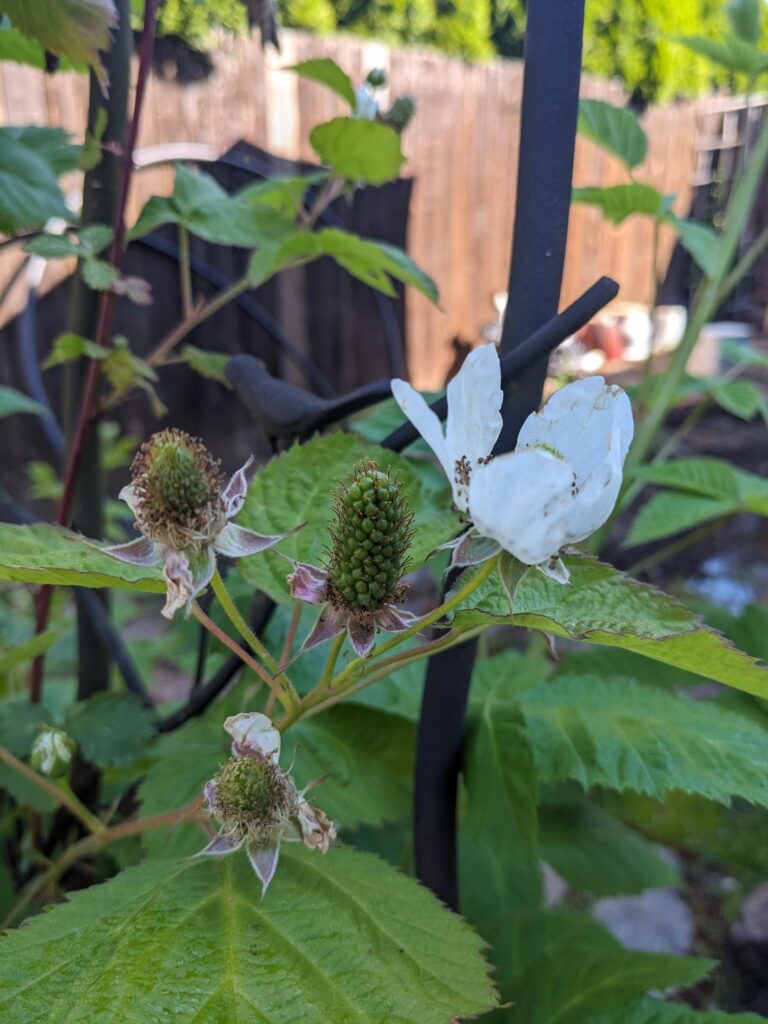
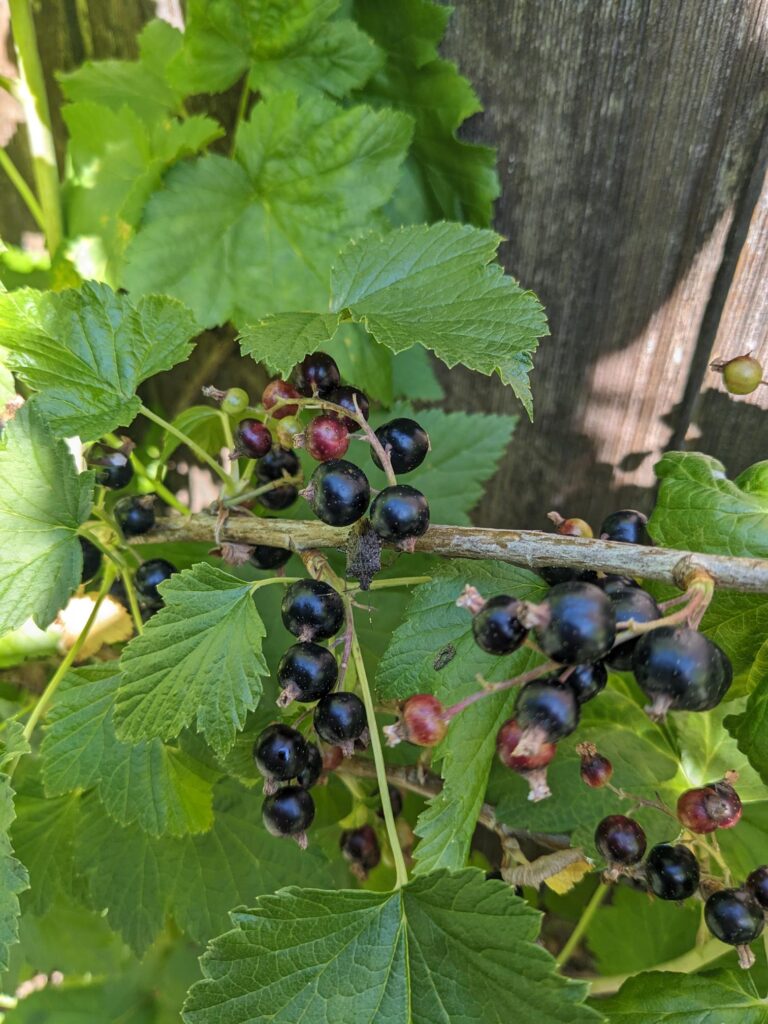
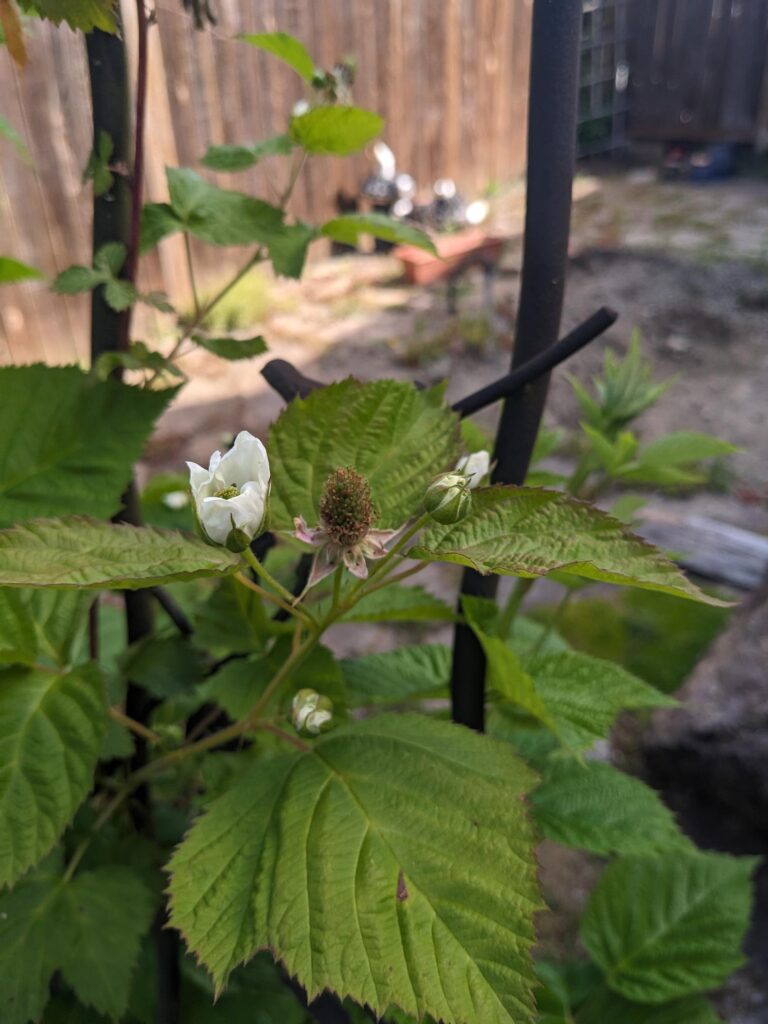
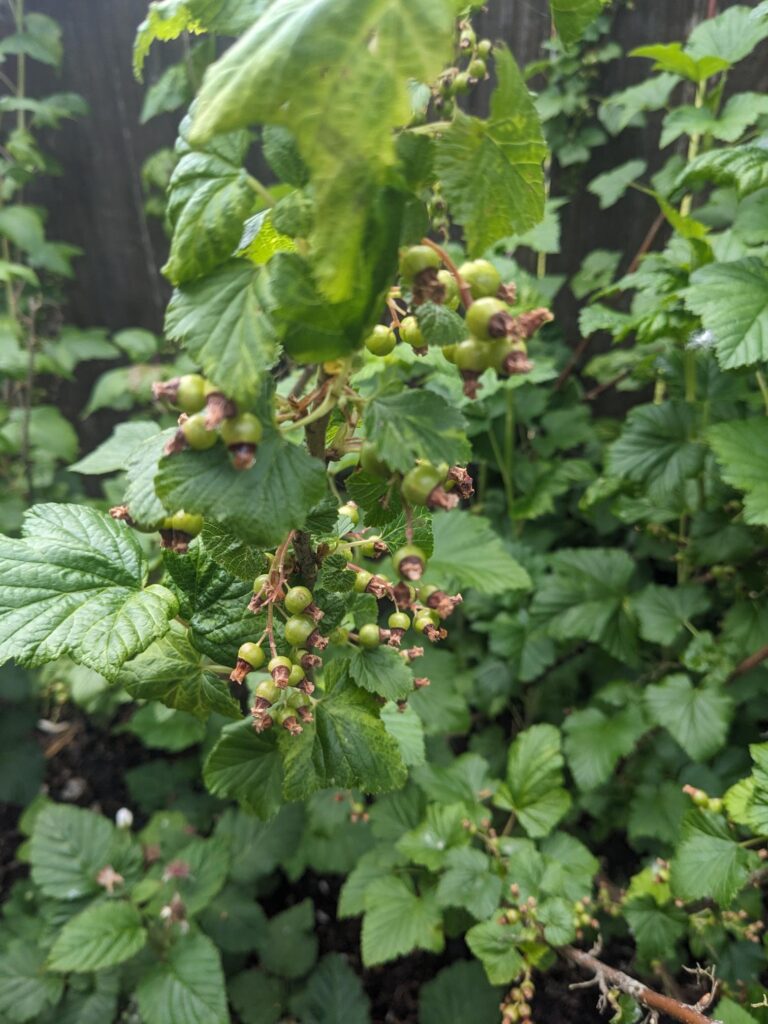
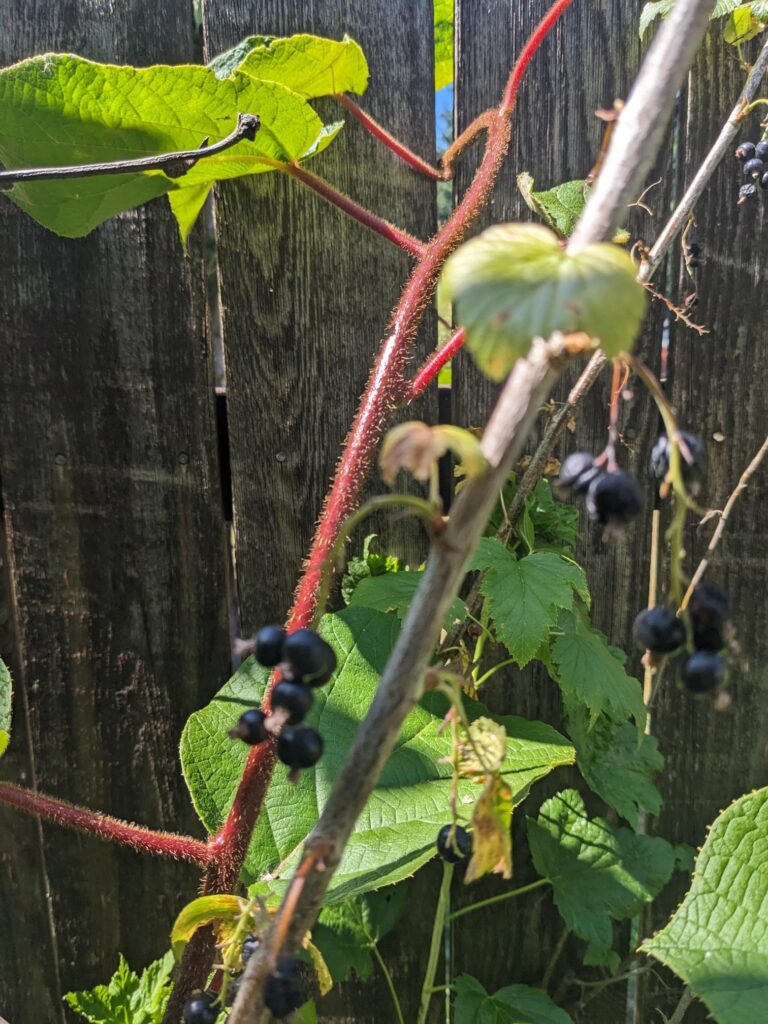
The black currants came in seemingly early this year compared to last year. I don’t know what to do with these (please share any ideas!) so I tend to forget to harvest them. The blackberries and boysenberries are starting to ripen. I’ll need to wear gloves for the blackberries. Those thorns are no joke!
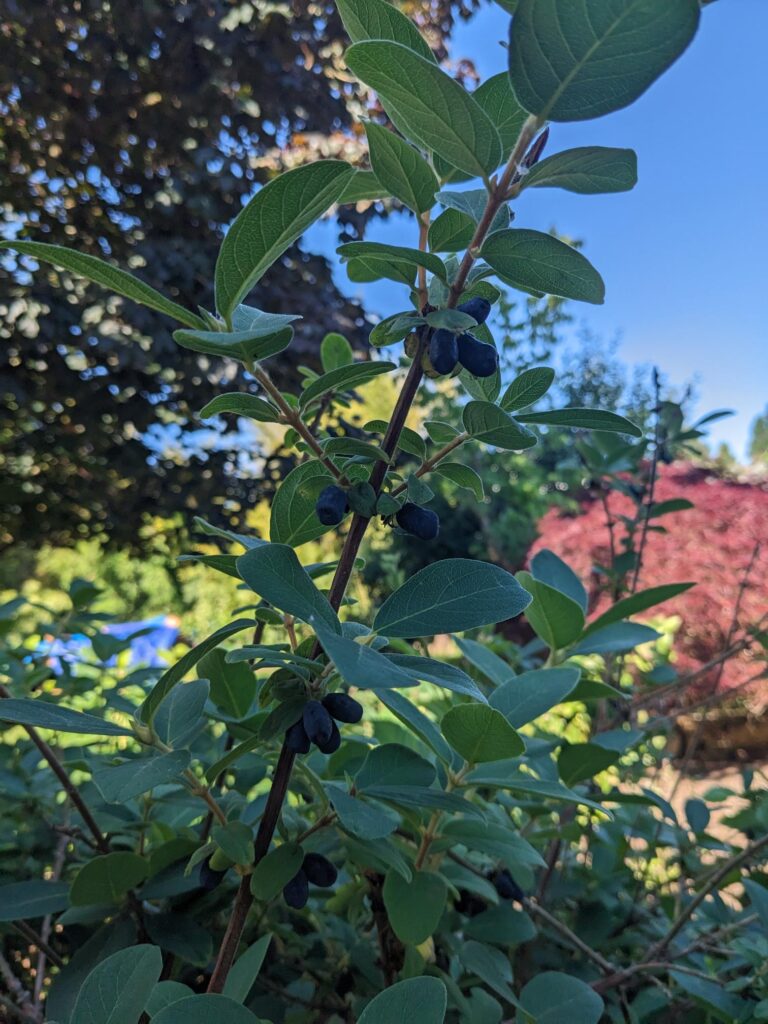
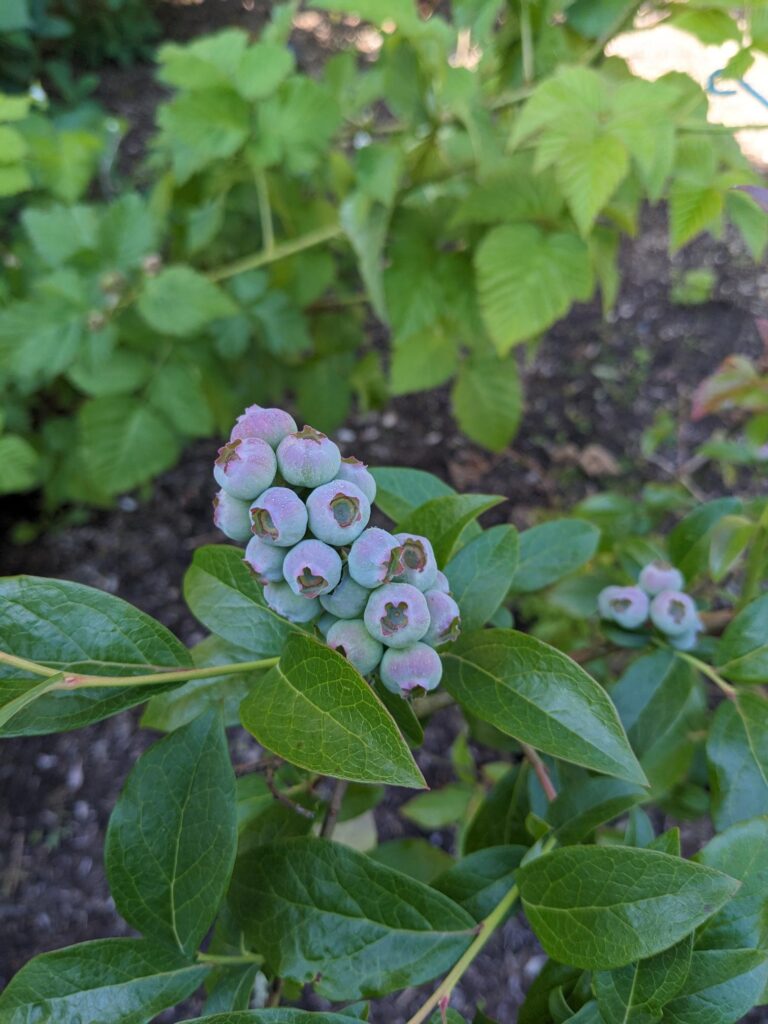
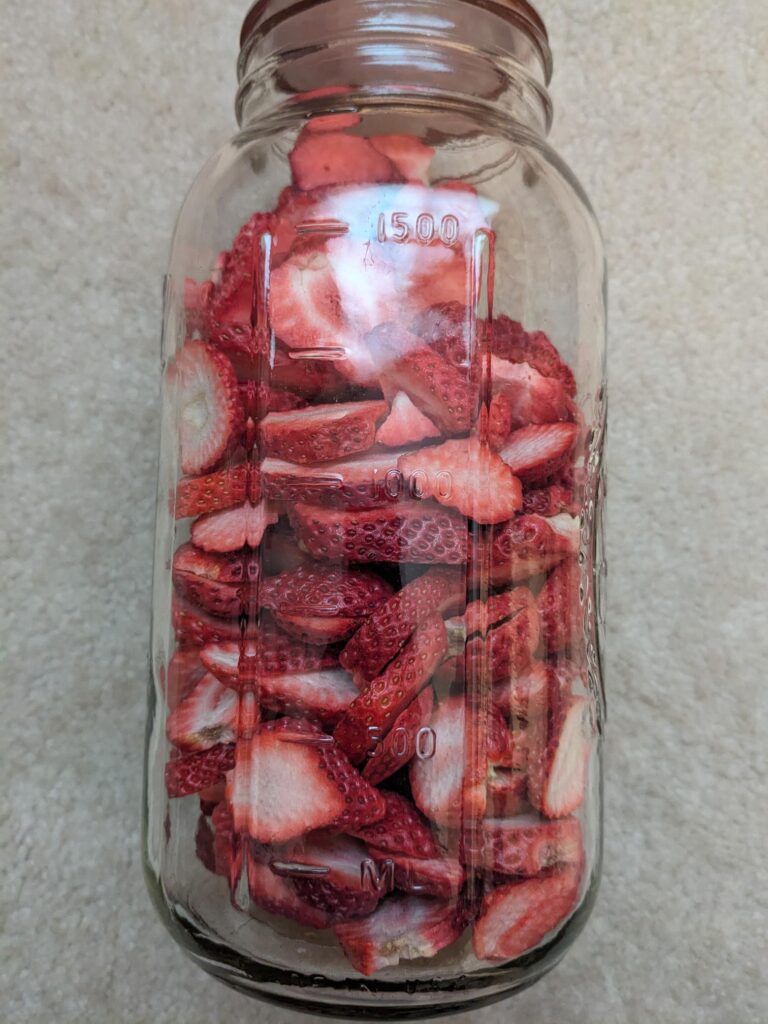
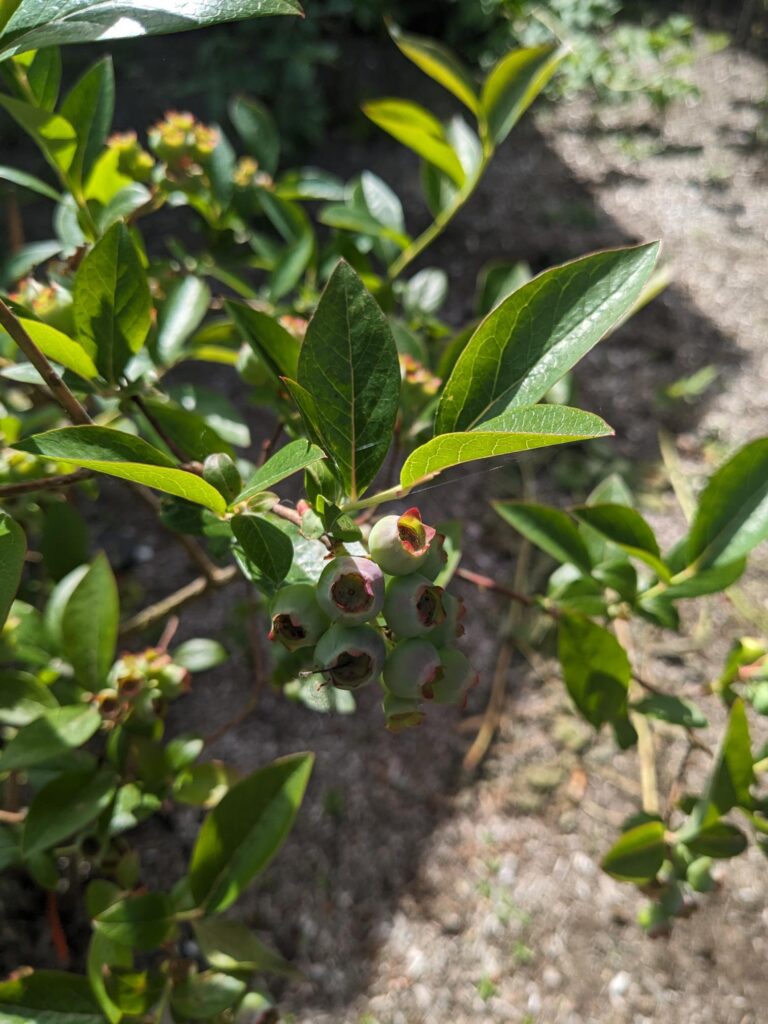
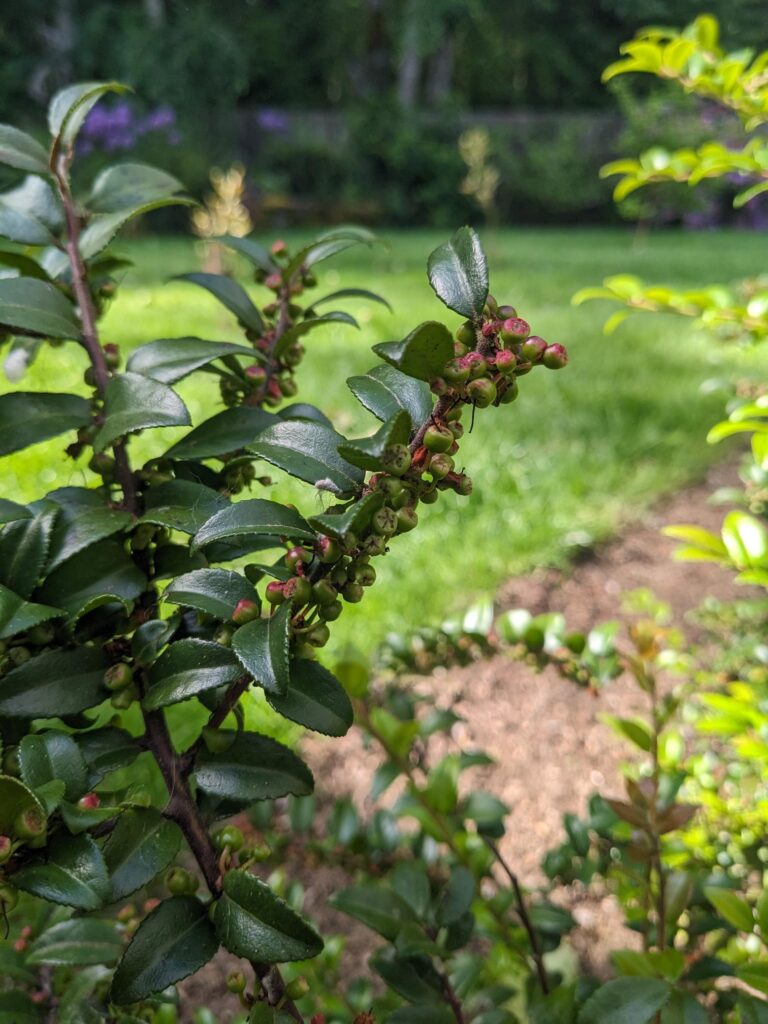
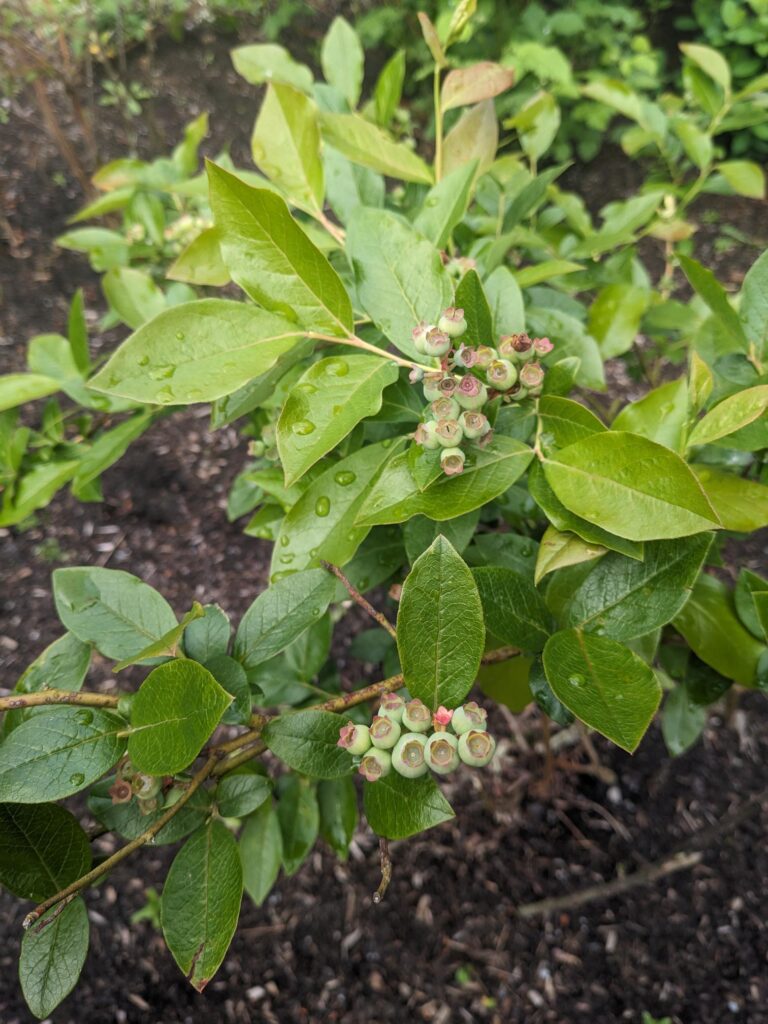
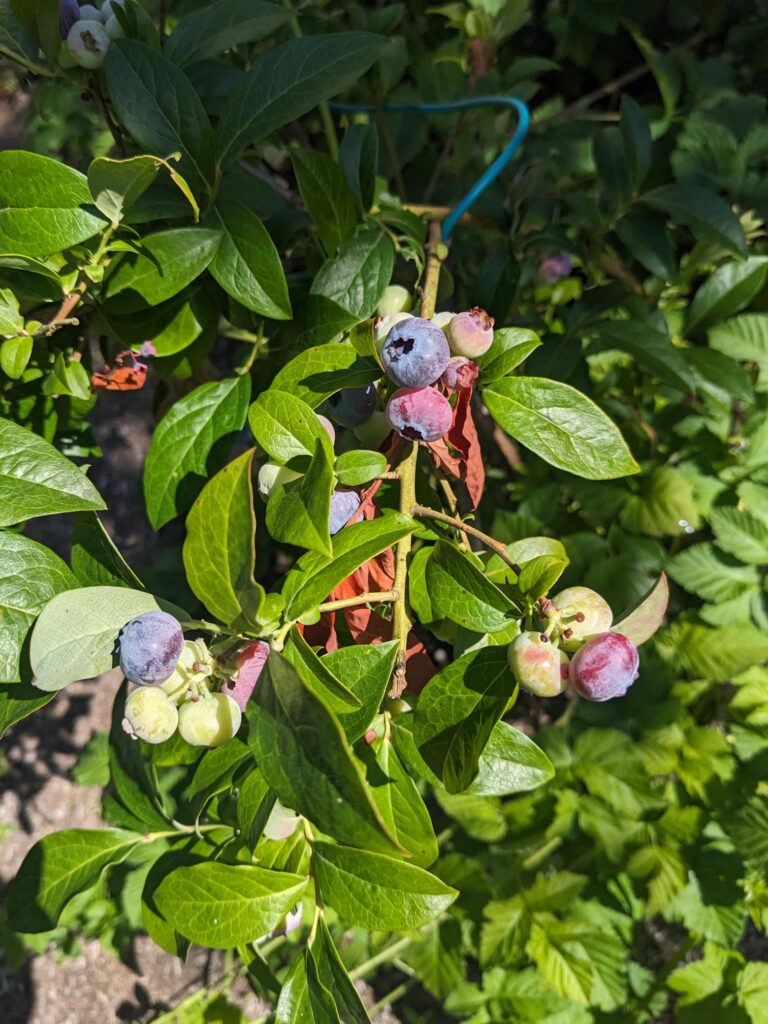
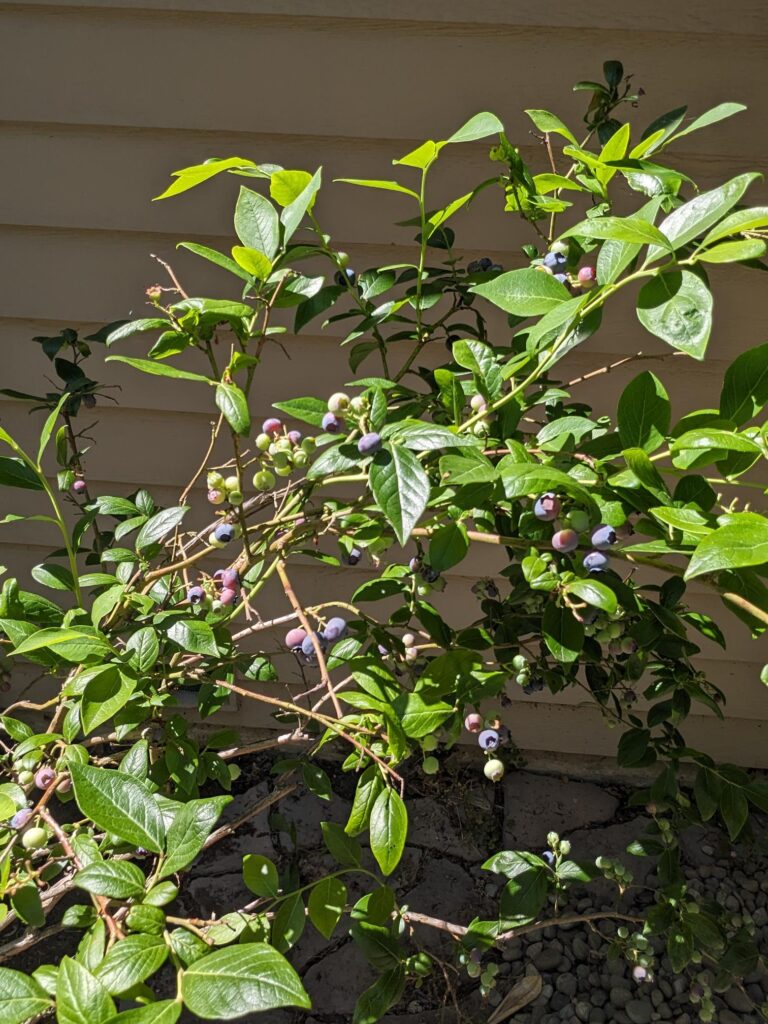
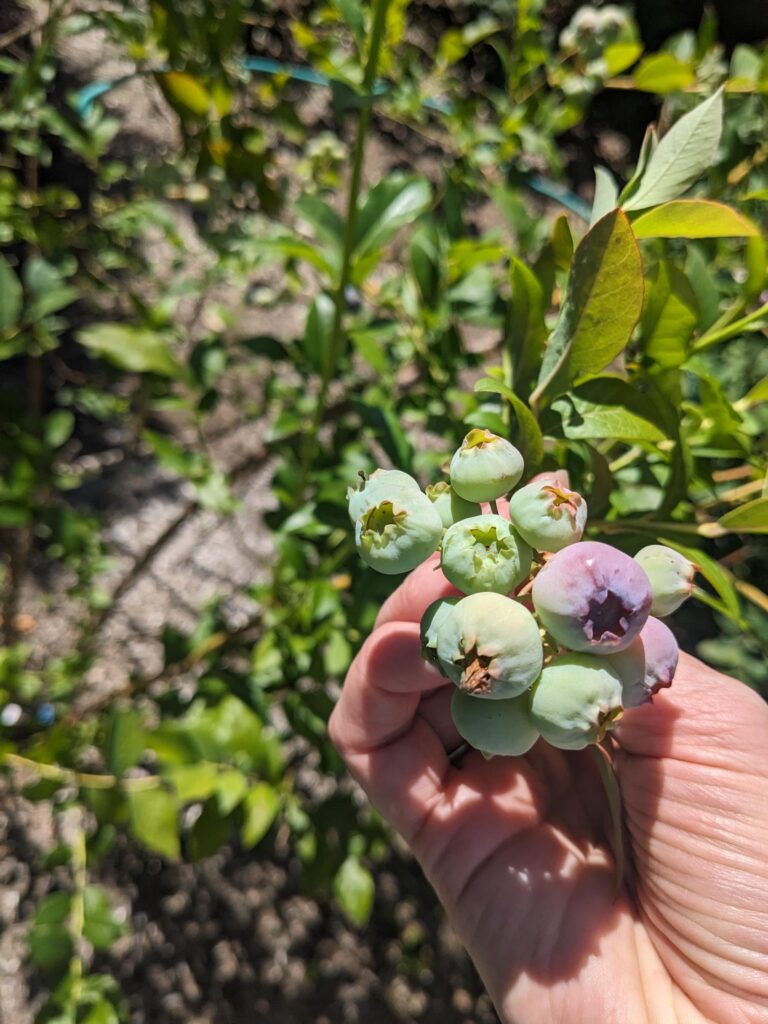
The blueberries are ripening well! I’ve had two days already that I’ve been able to pick over a pound each day.
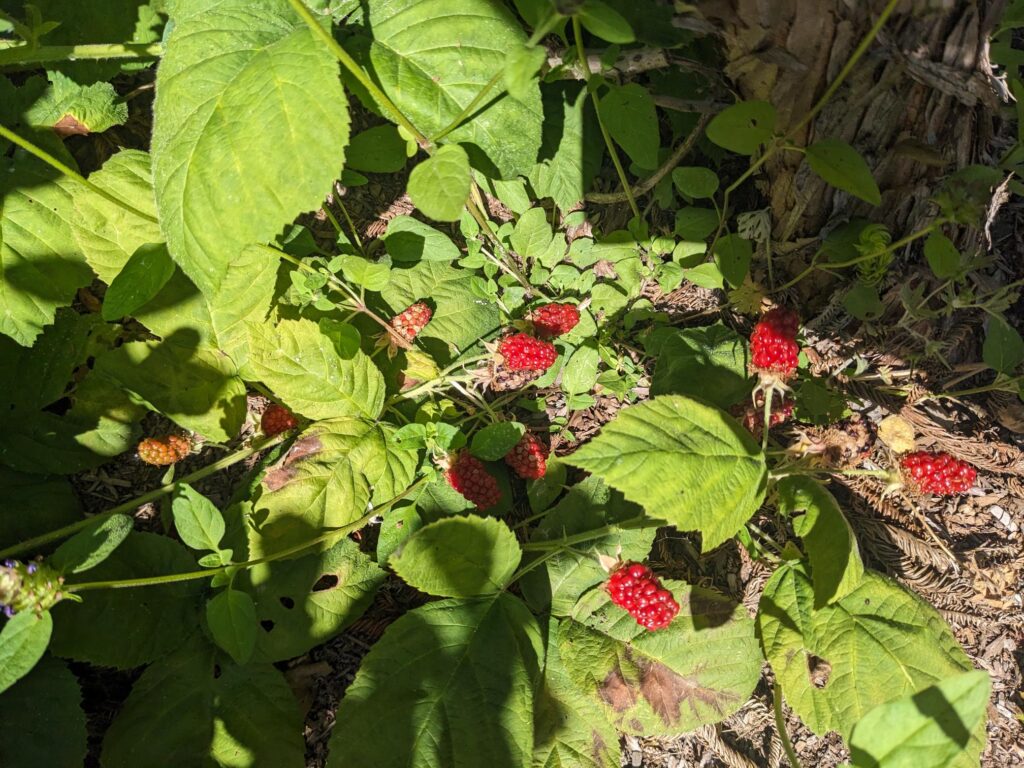
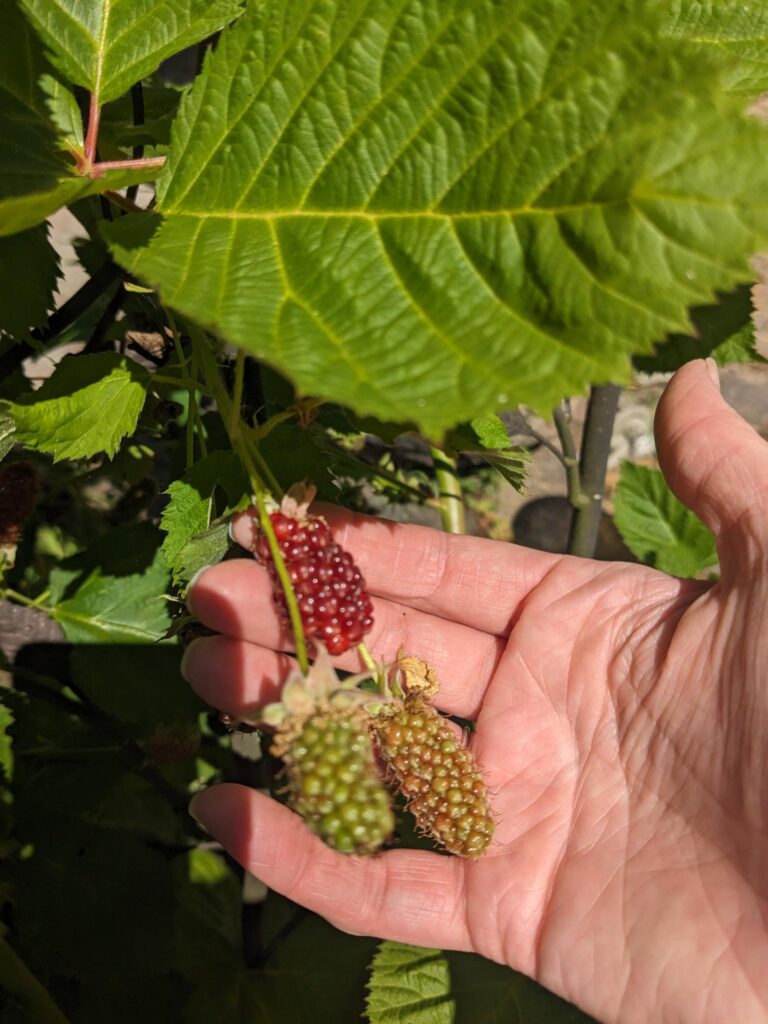
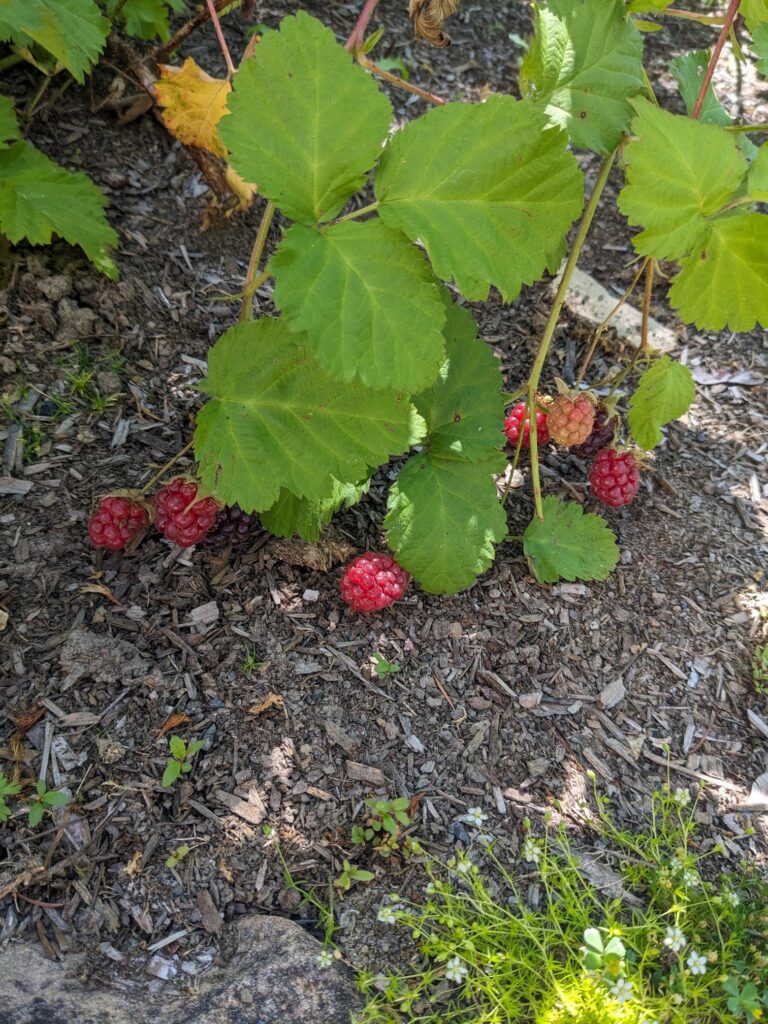
The Tayberries are starting to wrap up. I think there is probably another week of those. (For those not familiar with what a Tayberry is, think a really large, dark red blackberry).
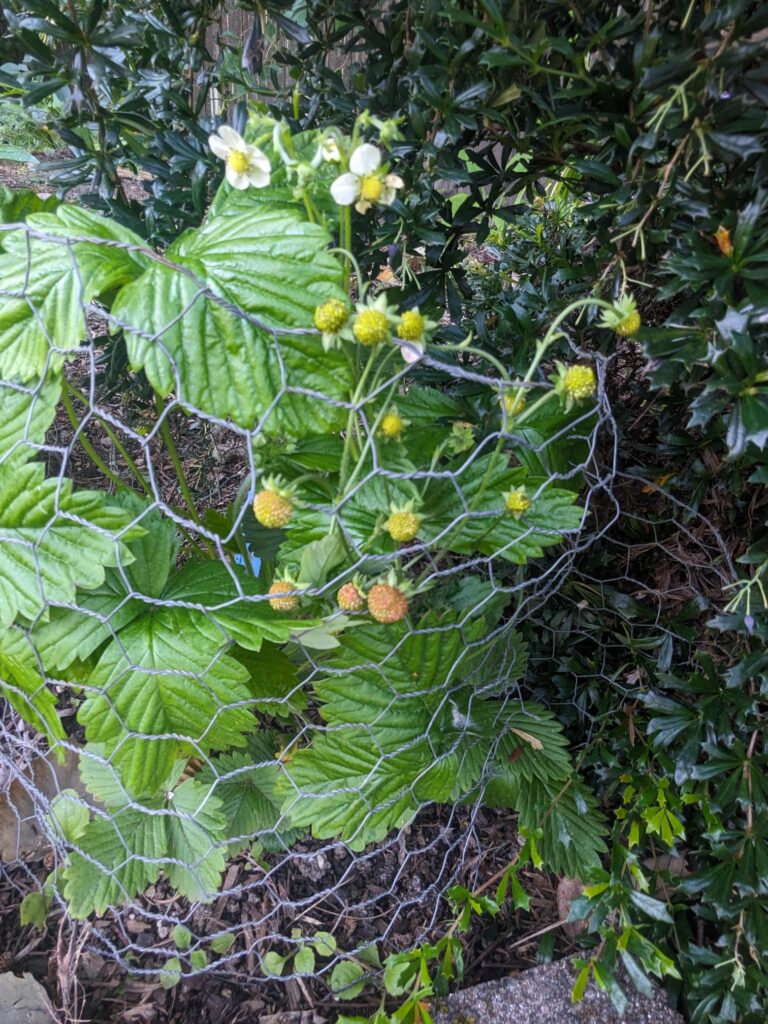
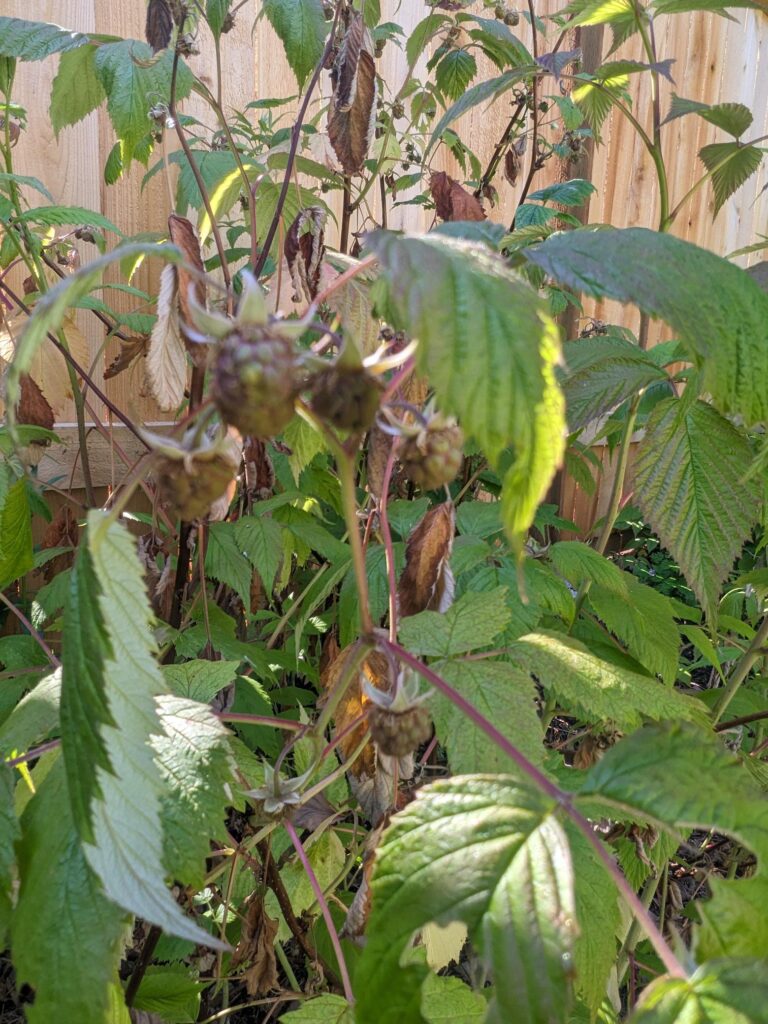
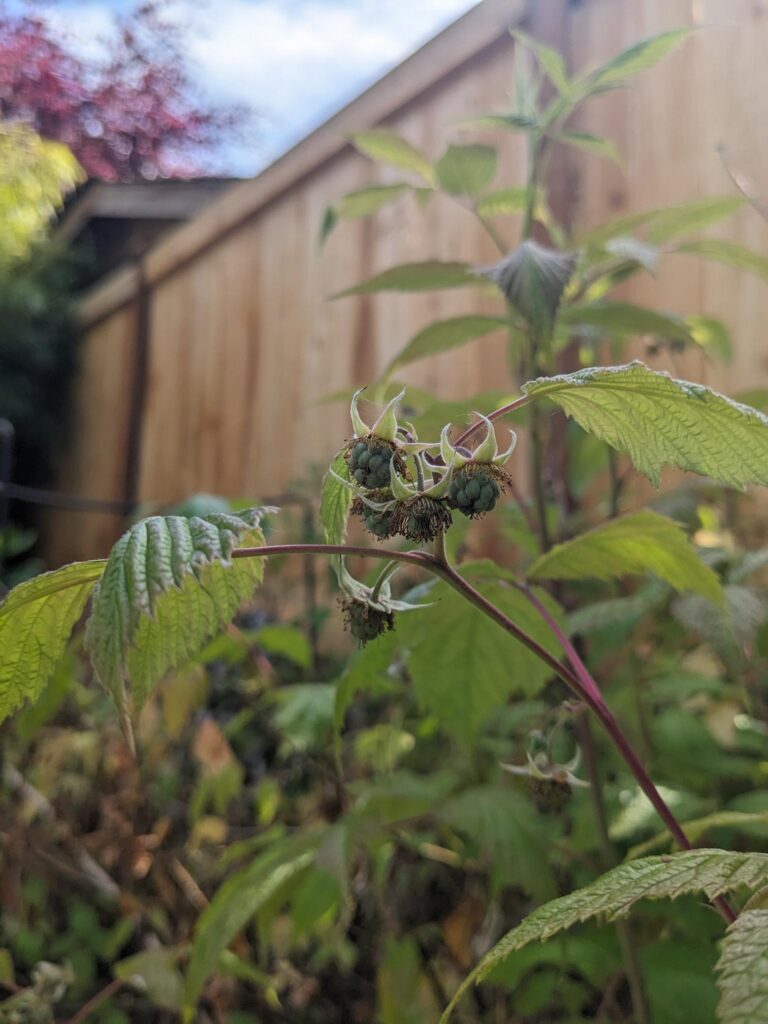
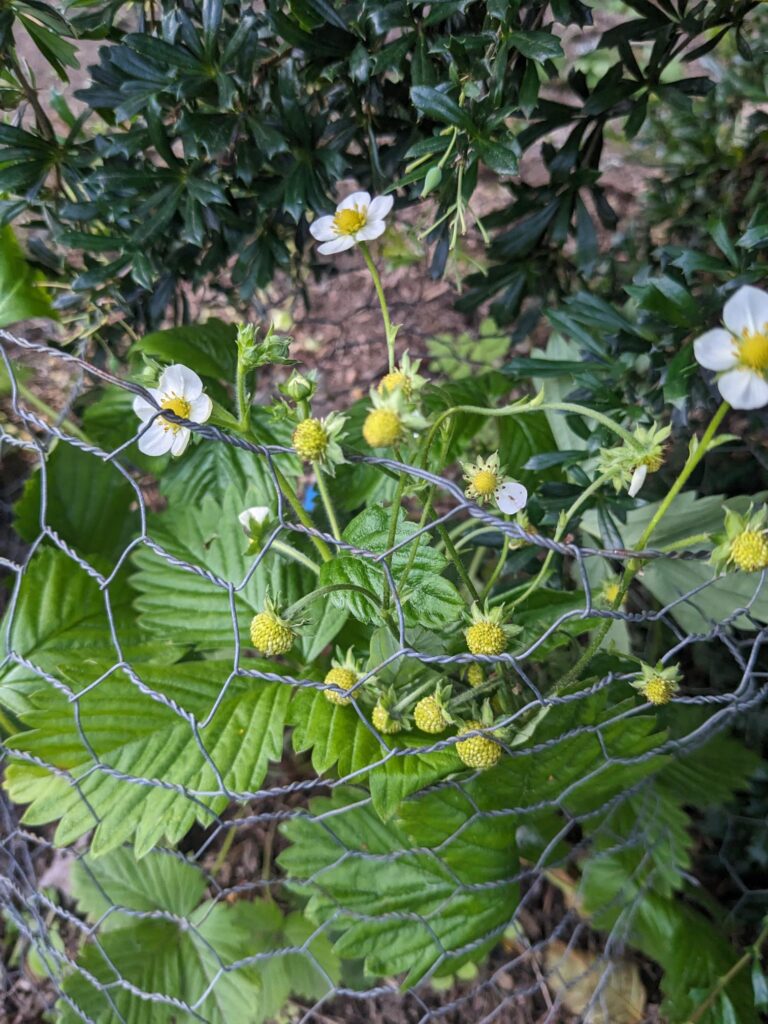
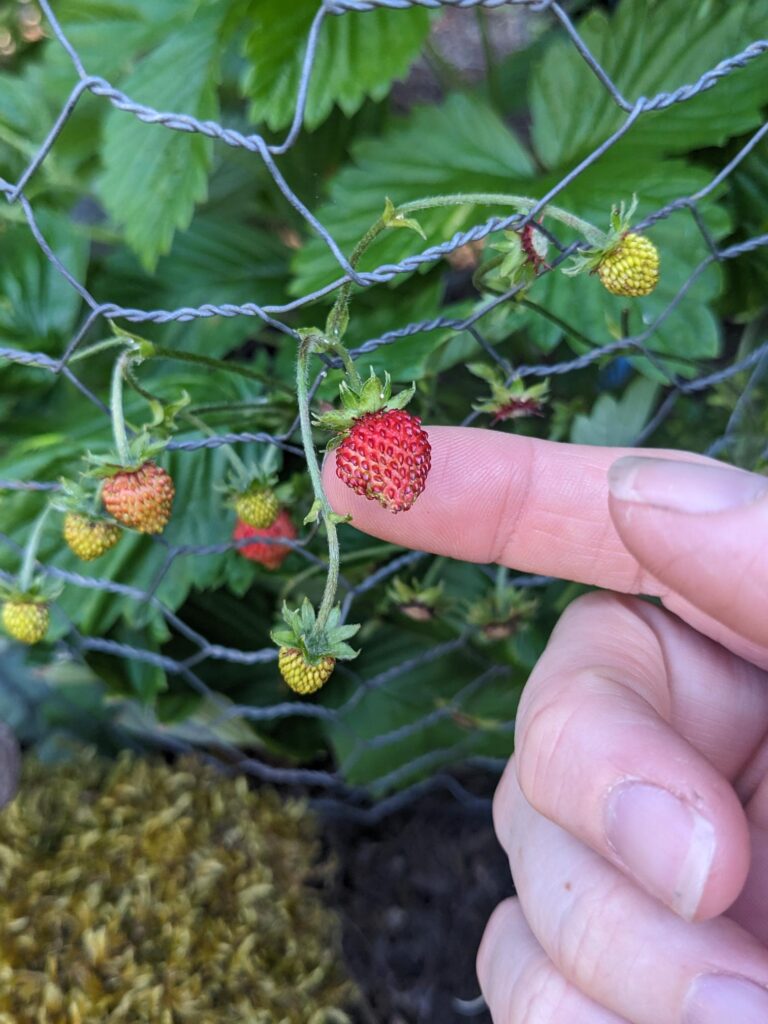
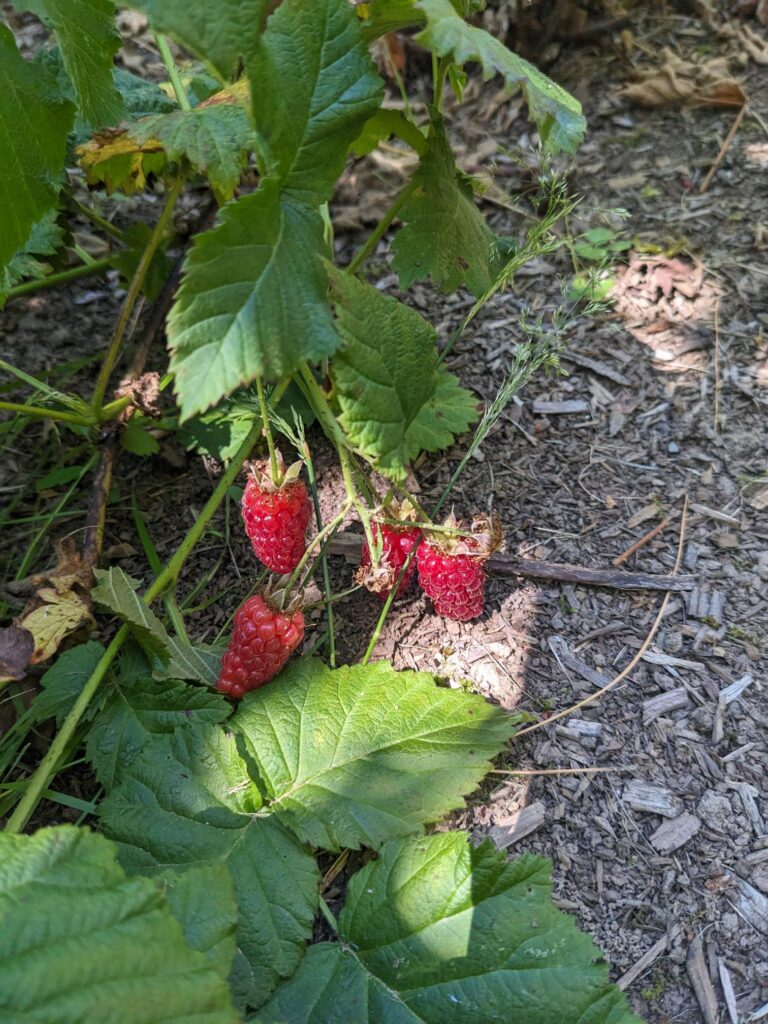
The alpine strawberries are doing really well. But the berries are so tiny, when I put them on my scale (I track everything I harvest), they don’t weigh enough to register. And finally, the spring raspberries are finishing up. We’ll get another harvest of those in fall – thank you everbearing raspberries!
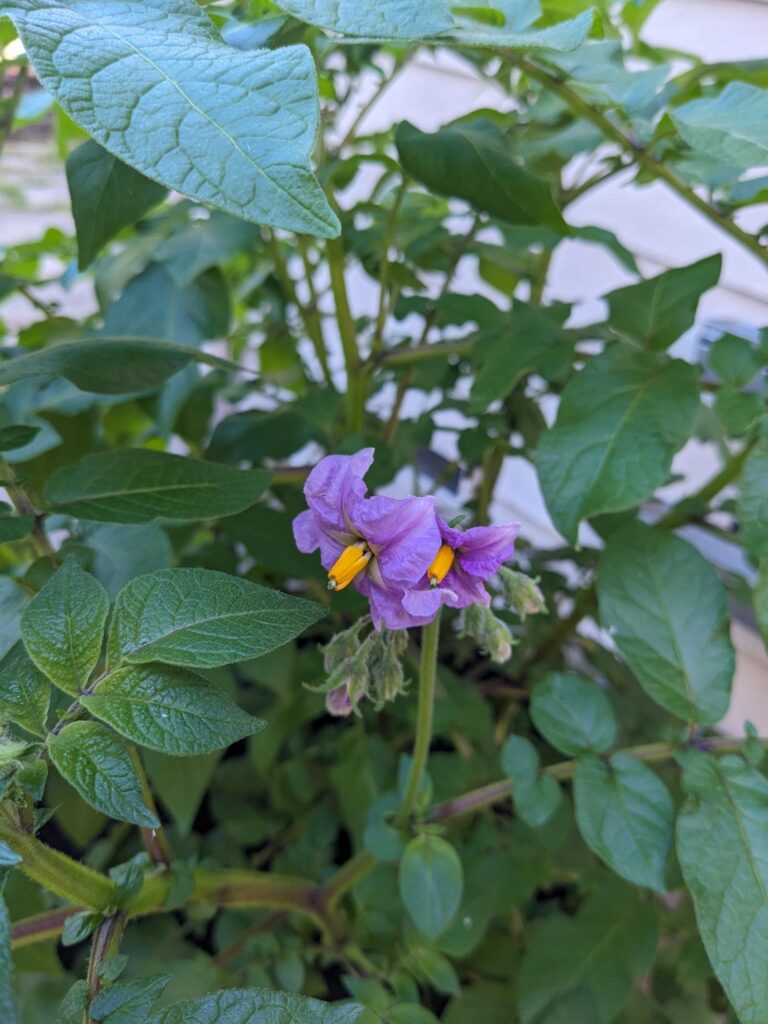
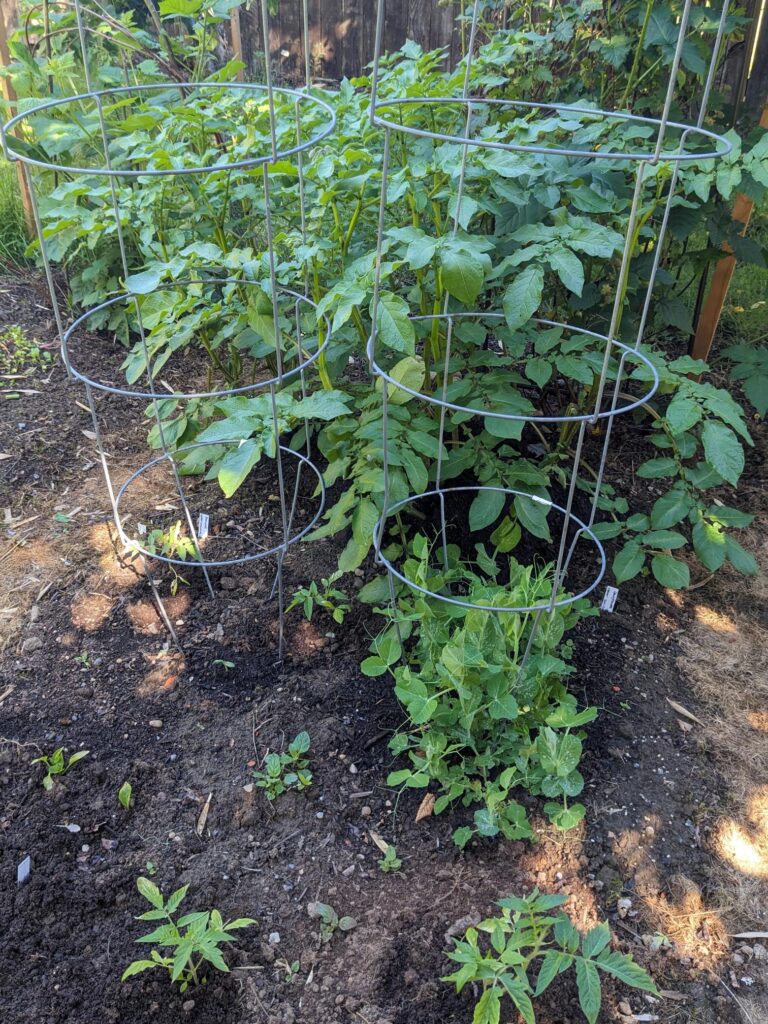
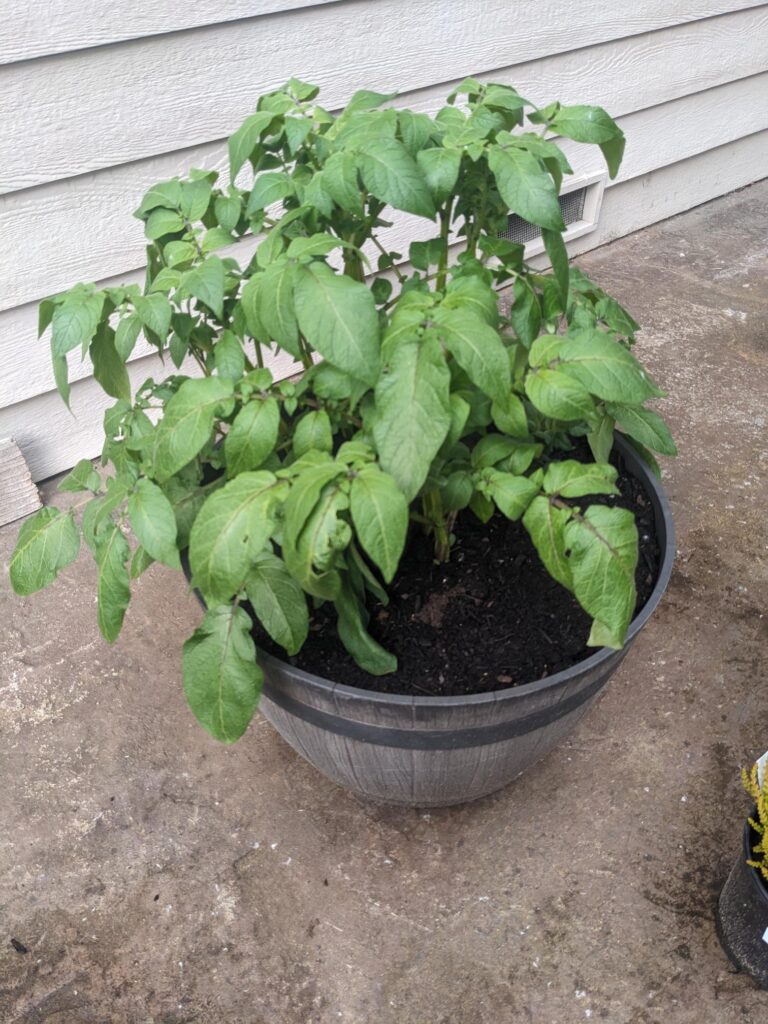
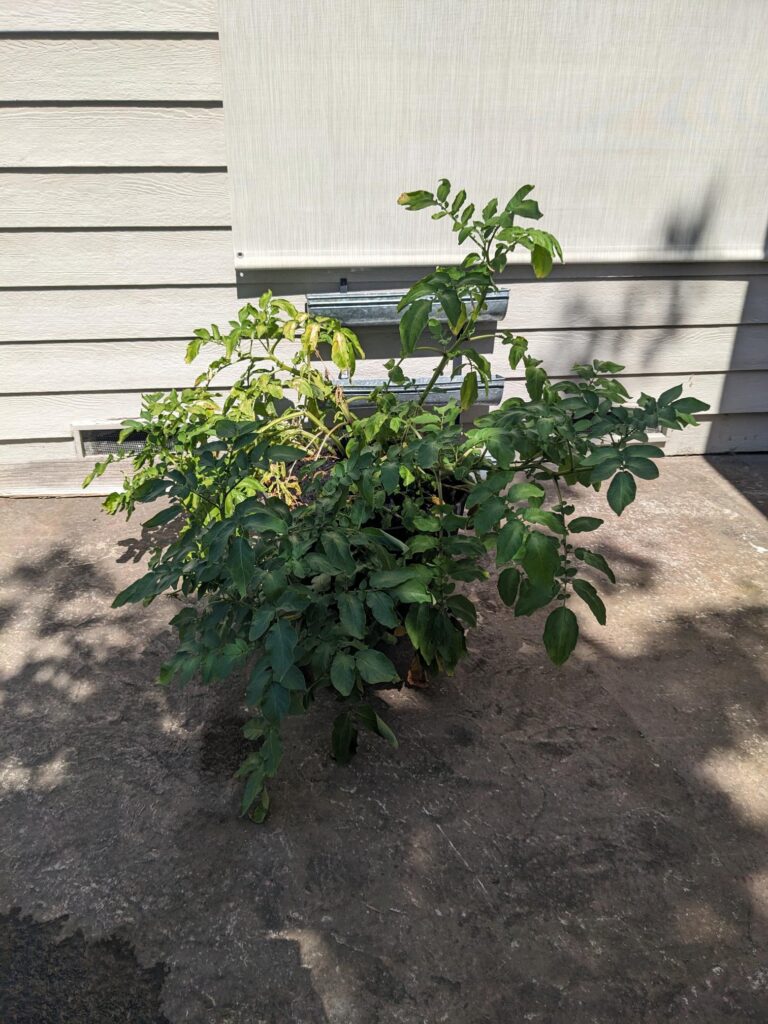
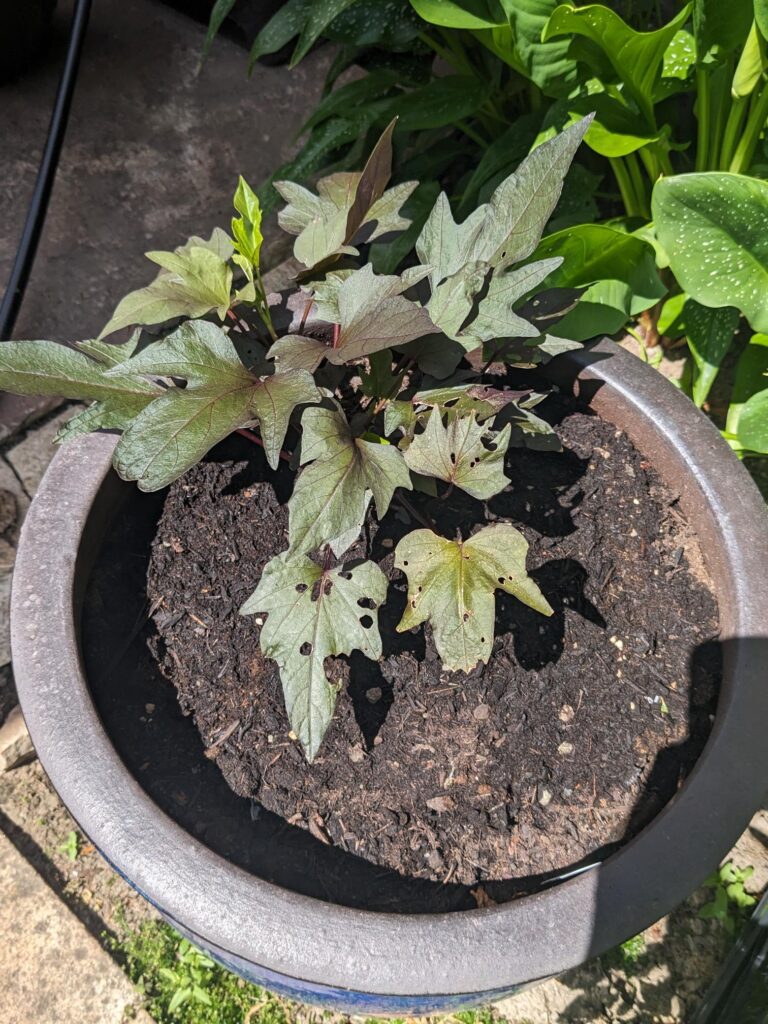
The garden is doing alright. The potatoes look like they’re growing perfectly! I hope they are doing as well underground as they look like they are above ground. I have Huckleberry Gold potatoes in the garden and in a pot. The sweet potato plant (Manihi Treasure Island) has taken off. I guess it likes the heat!
And we have two types of tubers – Oca and Mashua
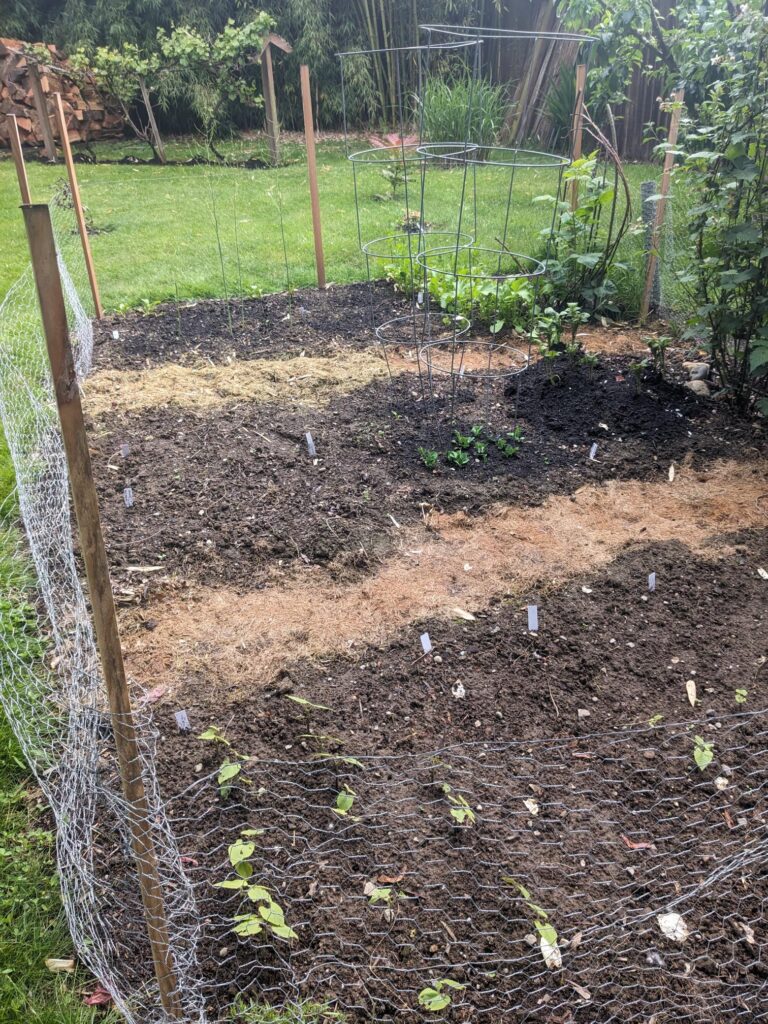
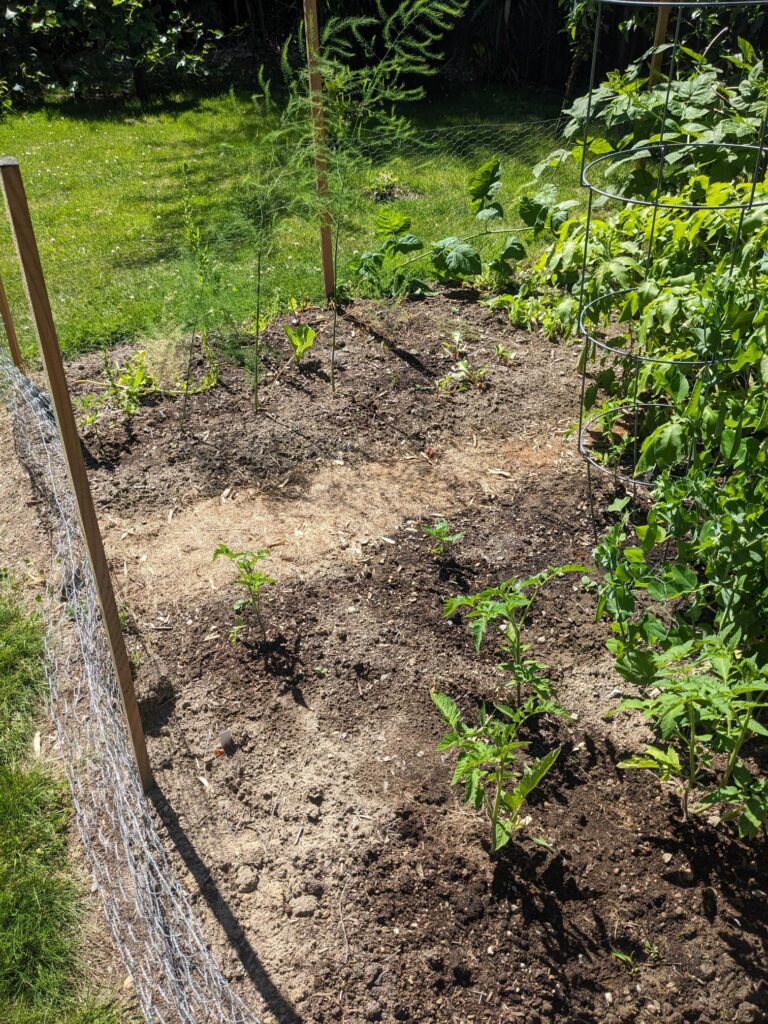
The garden looks better than it did, but I will admit, I don’t have high expectations for it. The potatoes, yes, they’ll do fine. But the rest, it’s a good thing we’re close to grocery stores!
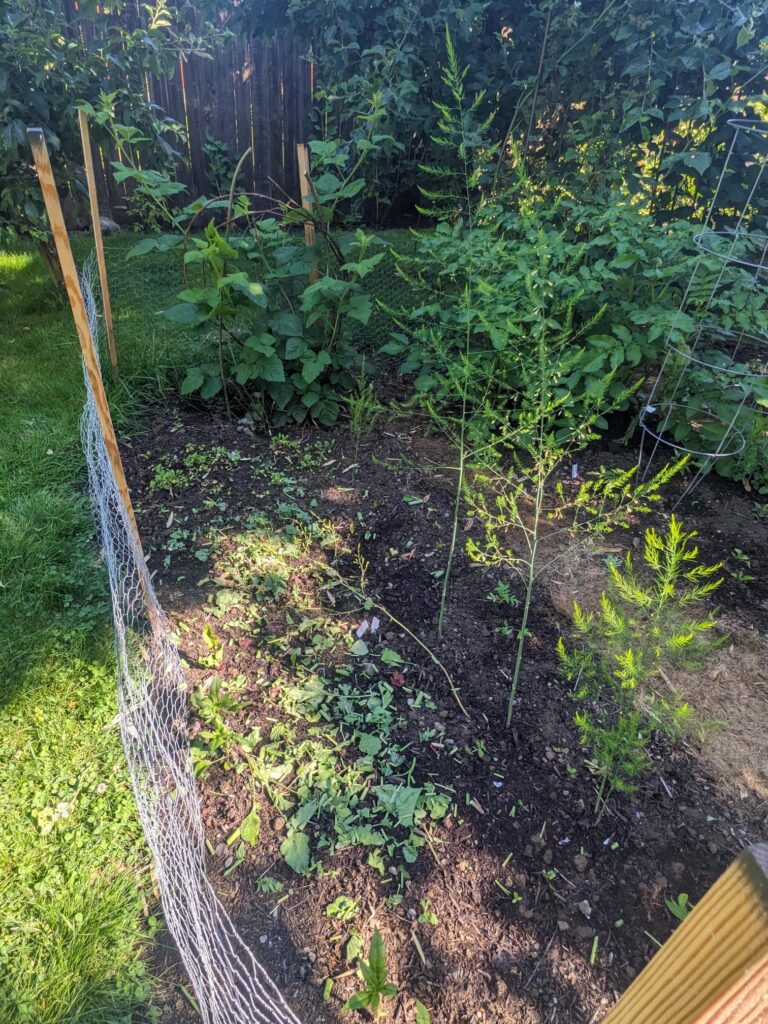
The asparagus popped up 2 more stalks for a total of 8 this year. They all get to go to seed! The beets are still at it, but I’m not seeing any sign of actual bulb growth! There is a bit of some sort of lettuce growing in one spot, so at least one old seed germinated!
I have several tomatoes planted throughout, but none are growing all that quickly. I’m beginning to wonder if they’ll have enough time to bloom and actually grow any fruit.
The two pepper plants are similar to the tomatoes. They’re growing ever so slowly, but I’m thinking they’re going to run out of time.
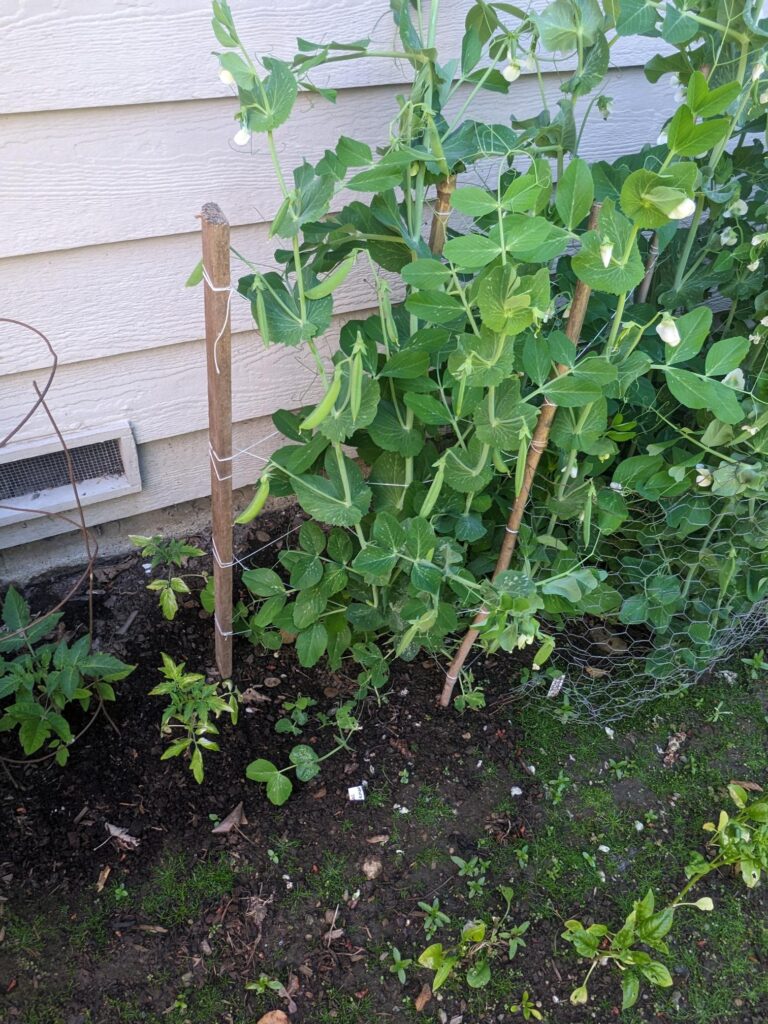
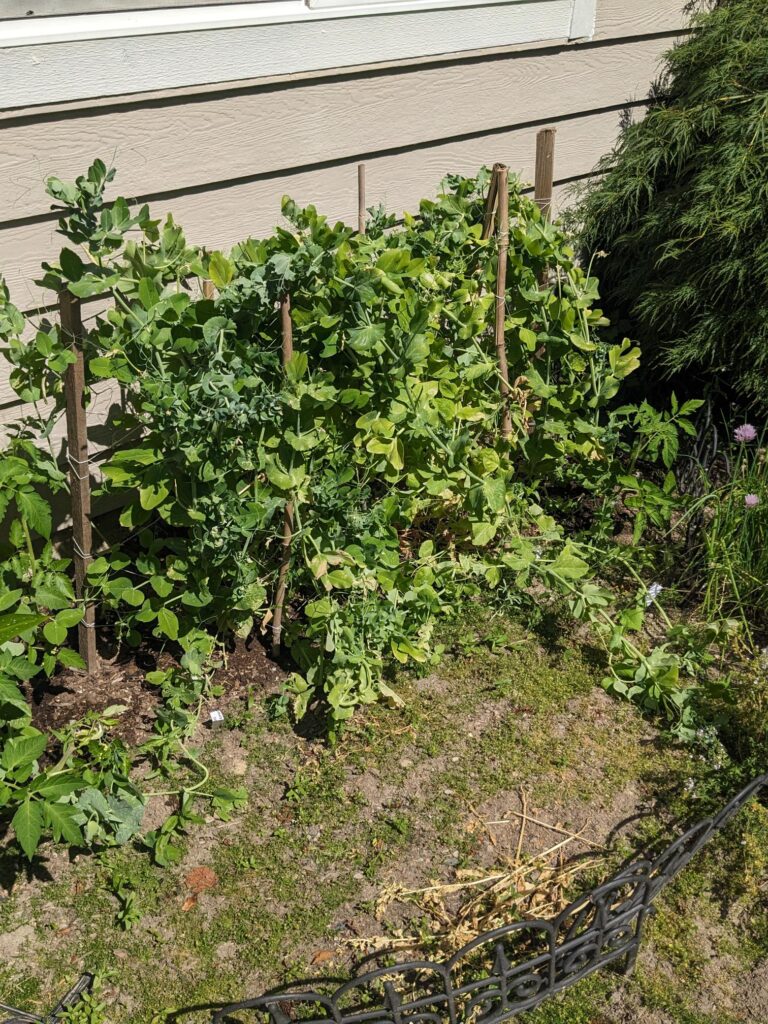
I have one lone cucumber which has made a bit of progress after last week’s hot streak. Time will tell what it does. We’ll get a small batch of peas from the garden. The peas on the side of the house are wrapping up.
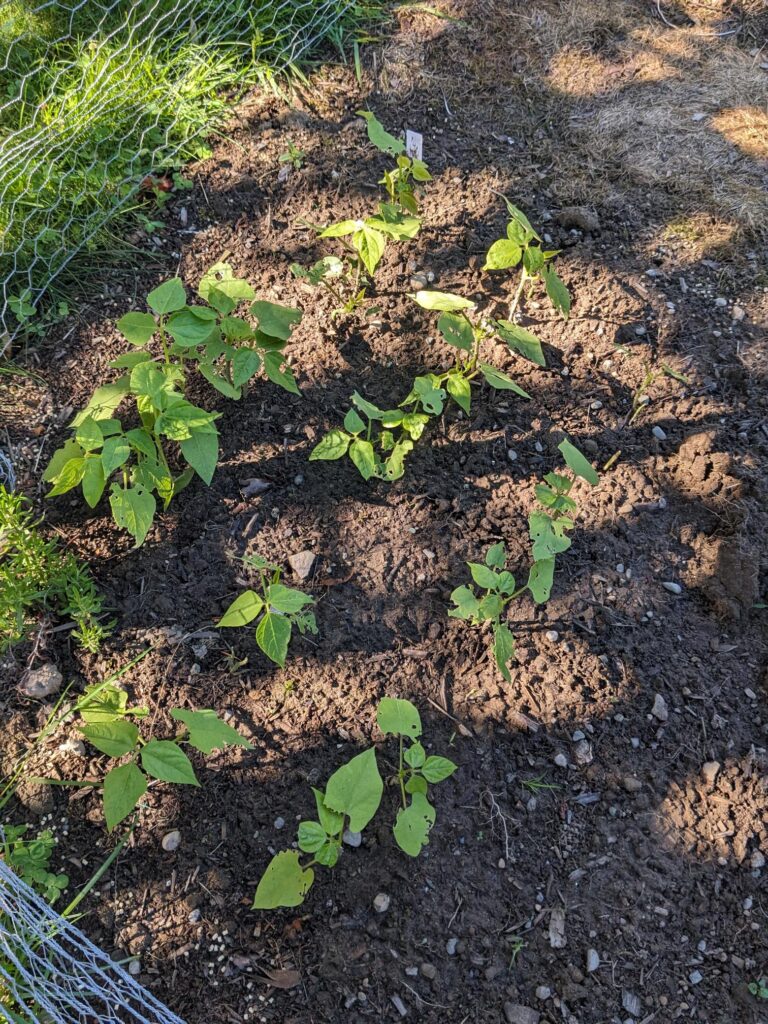
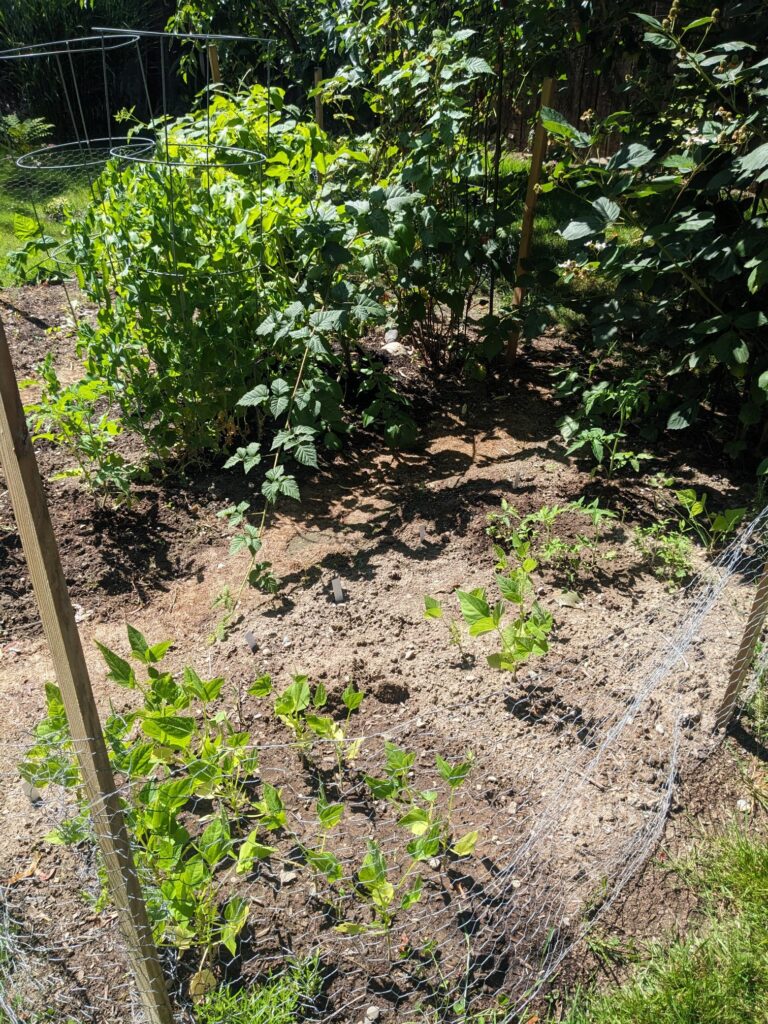
And lastly for the garden section, I’ll be excited if I see one bean! The black beans germinated the best, but also seem fairly stunted. They’re coming out of their initial slug eaten state, but are quite slow.
It’s all a learning process!!
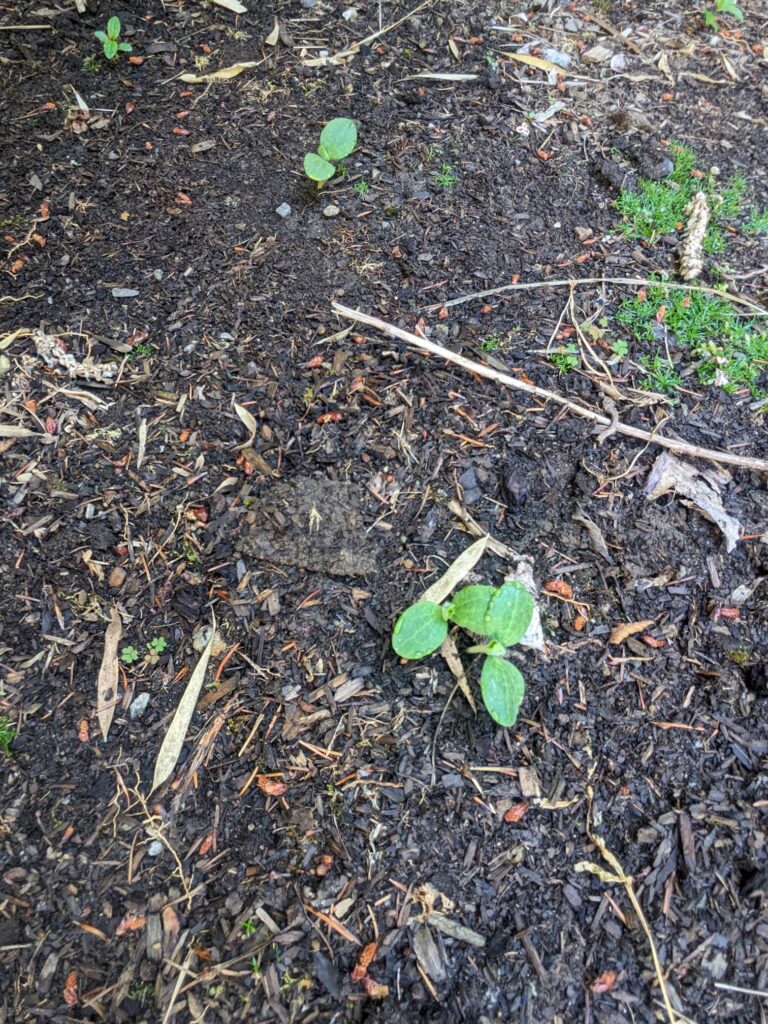
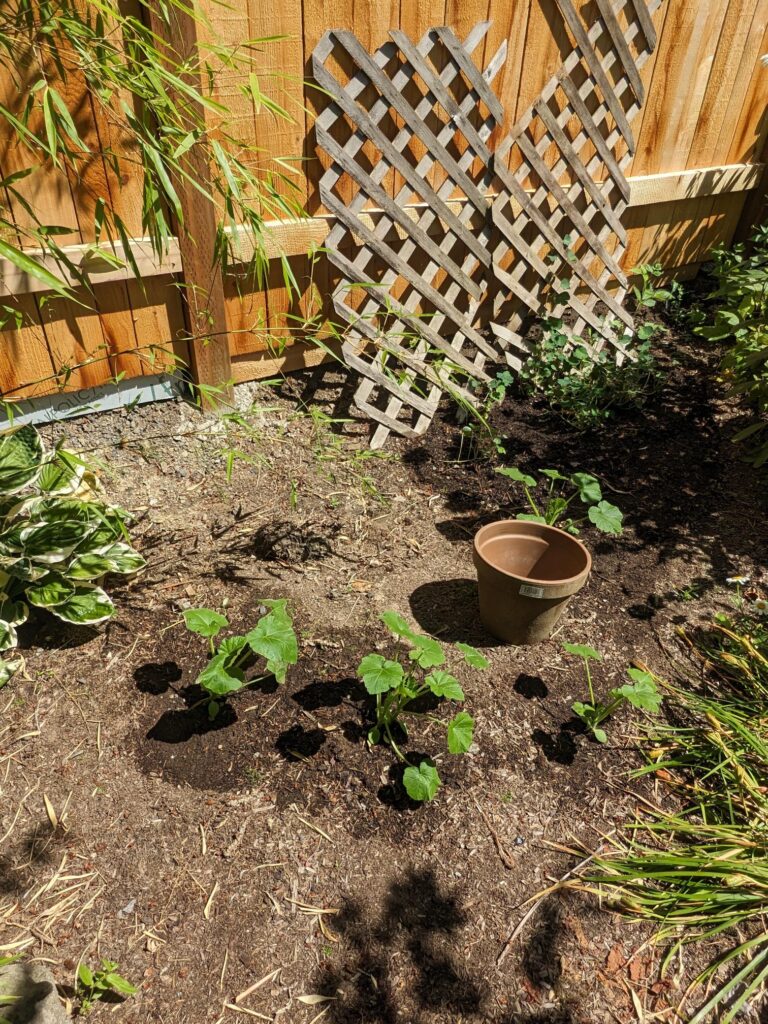
Sorry, not lastly, one more garden section – the Mashua Tubers and the Delicata Squash on the side of the house are coming along. The squash seems to be in the same state as some of the other garden. I wonder if it is going to have enough time to do anything before summer is over. Time will tell.
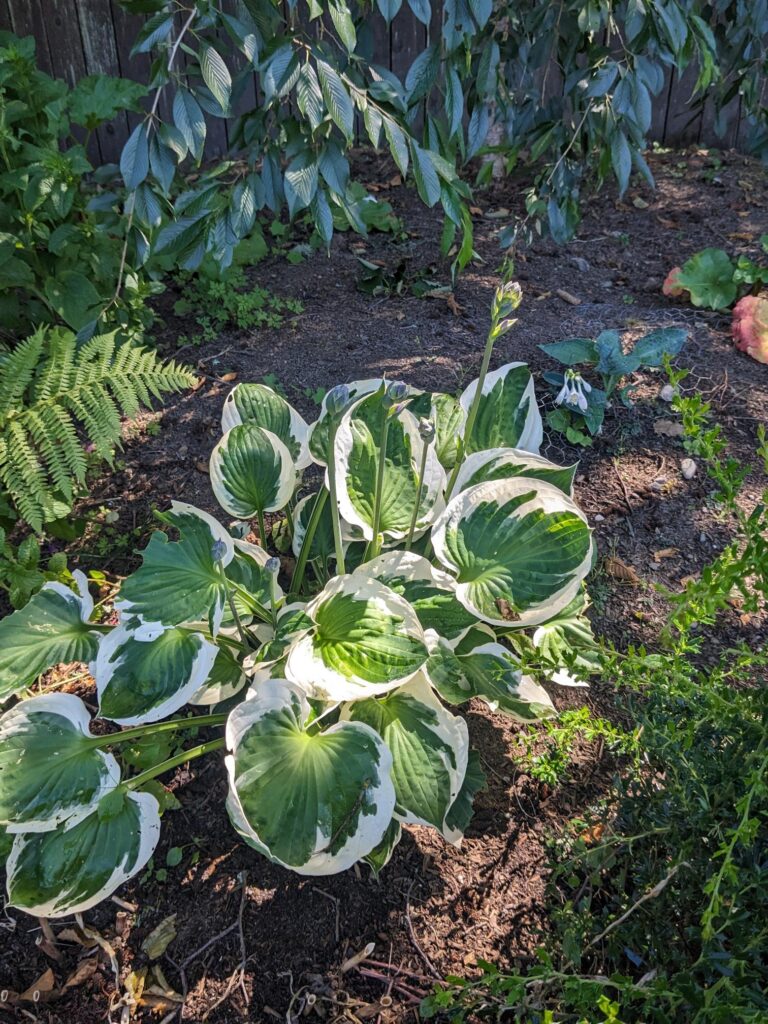
These items are on the end of the row of raspberries, but all of that area has lots of daisies all along the walk. And I planted a hosta at the end near the bamboo that a neighbor was going to throw out. It has done REALLY well! The hostas are about ready to bloom!
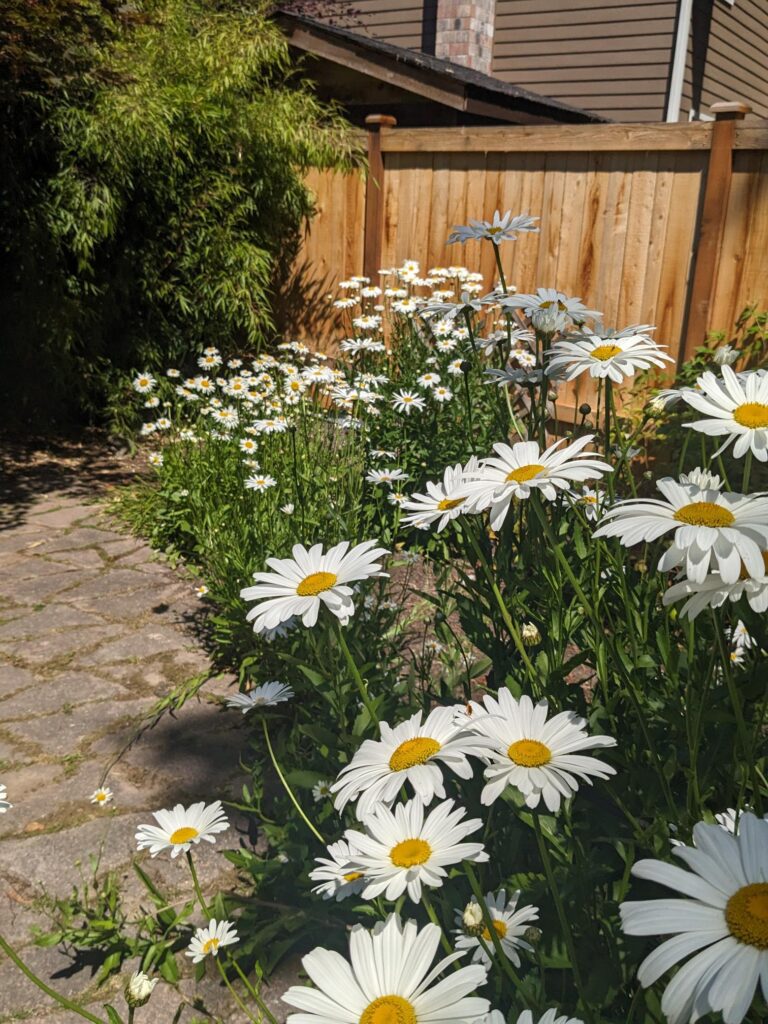
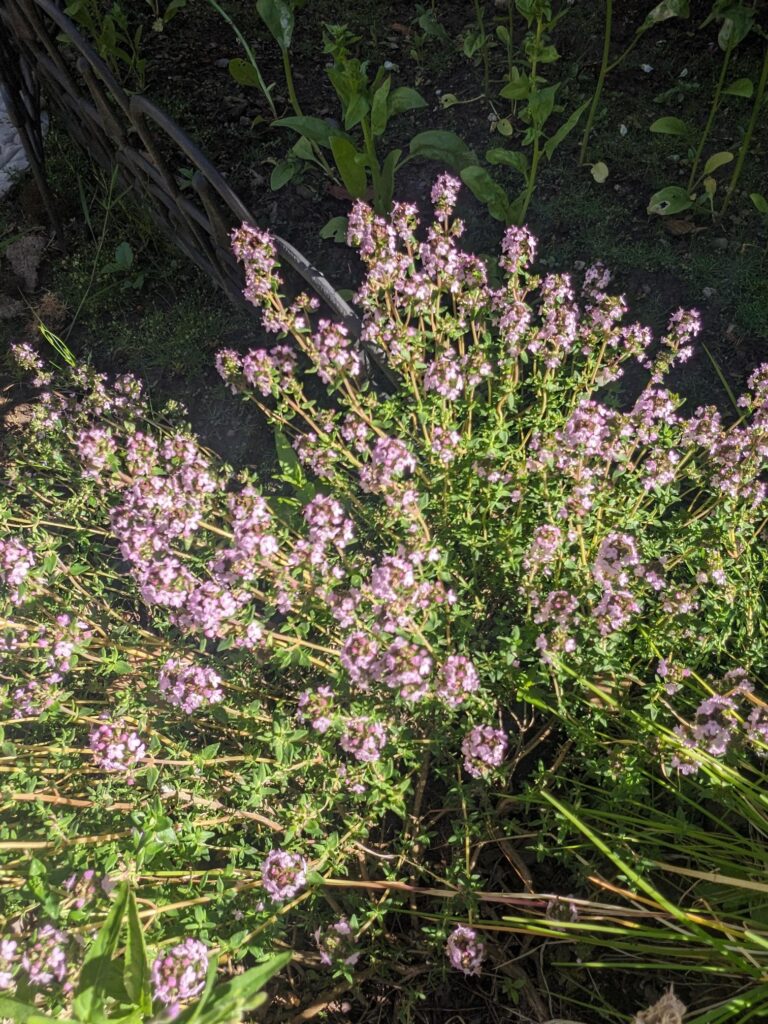
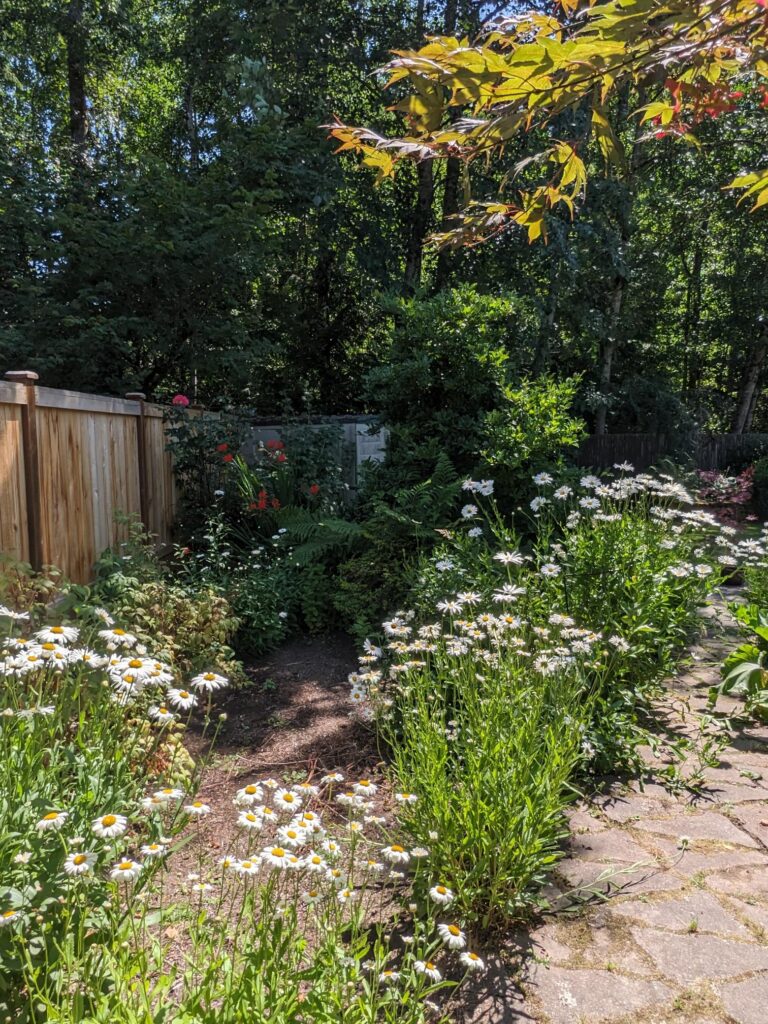
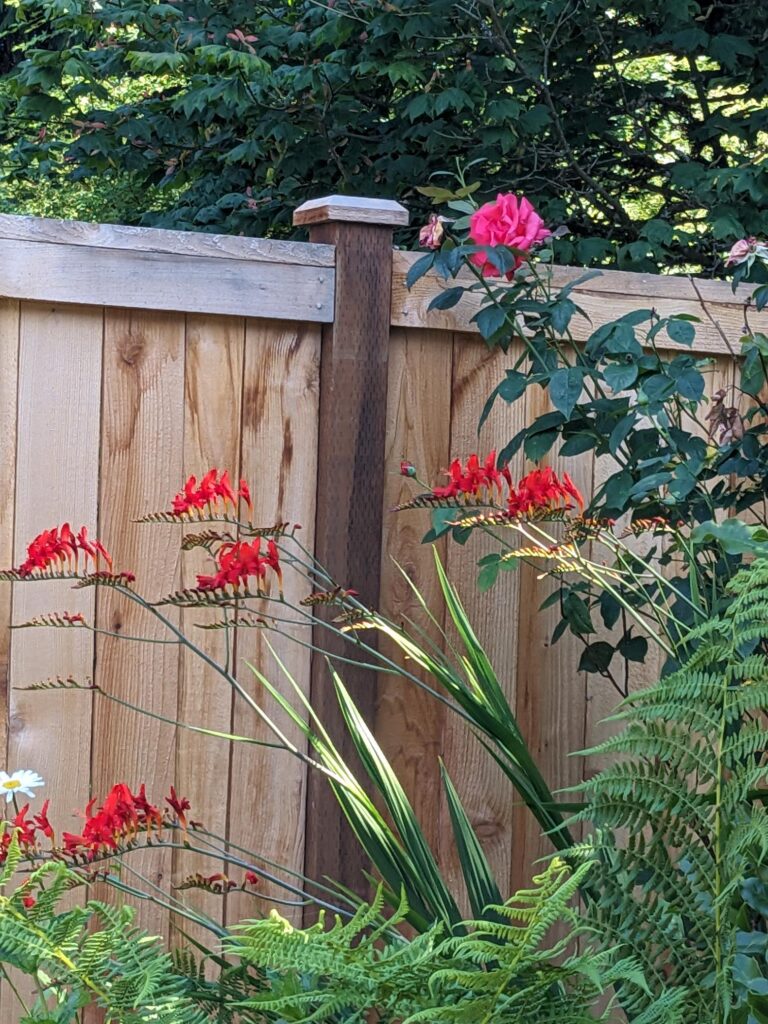
For this update, I decided to add a few pictures of the flowers around the yard. We have quite a variety that are all meant to help provide plenty of food for hummingbirds and bees.
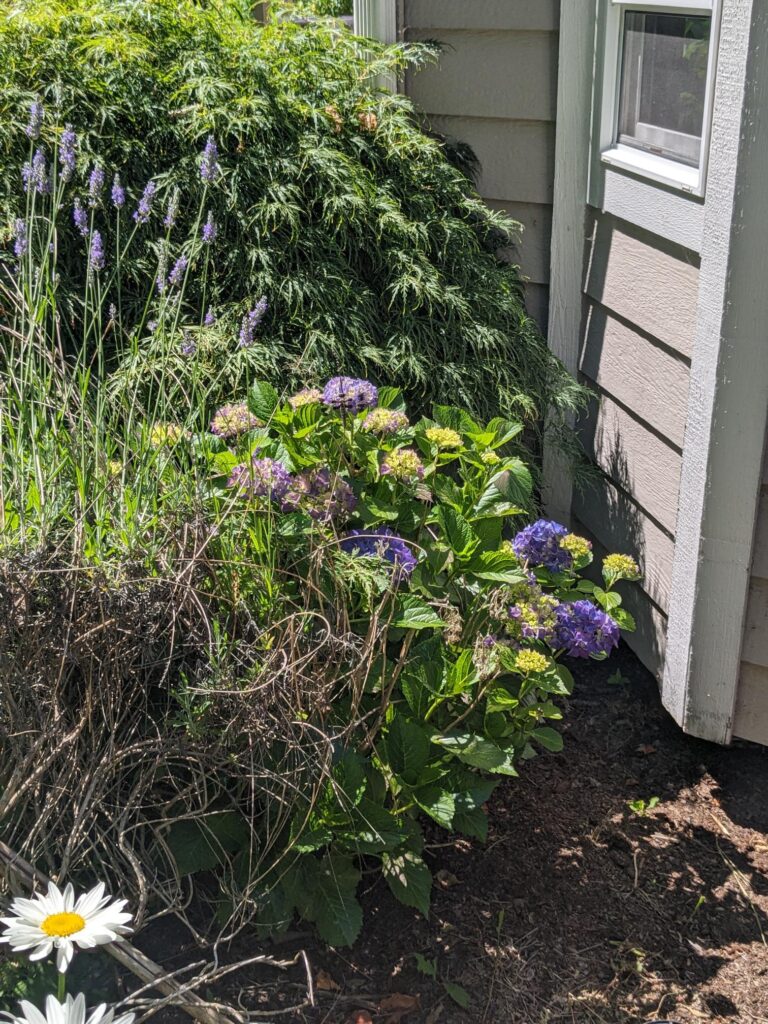
We have some hydrangea and lavender next to each other and the purples are beautiful.
There are also a couple of roses blooming and the Lucifers are starting to bloom. (The hummingbirds LOVE the Lucifers.)
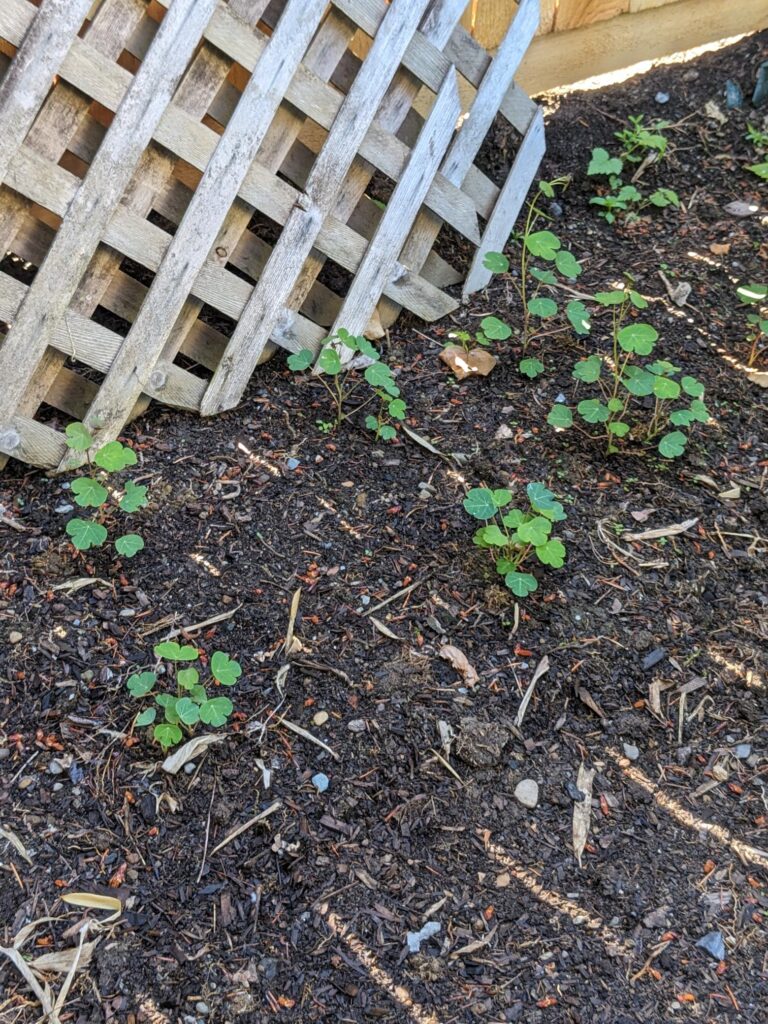
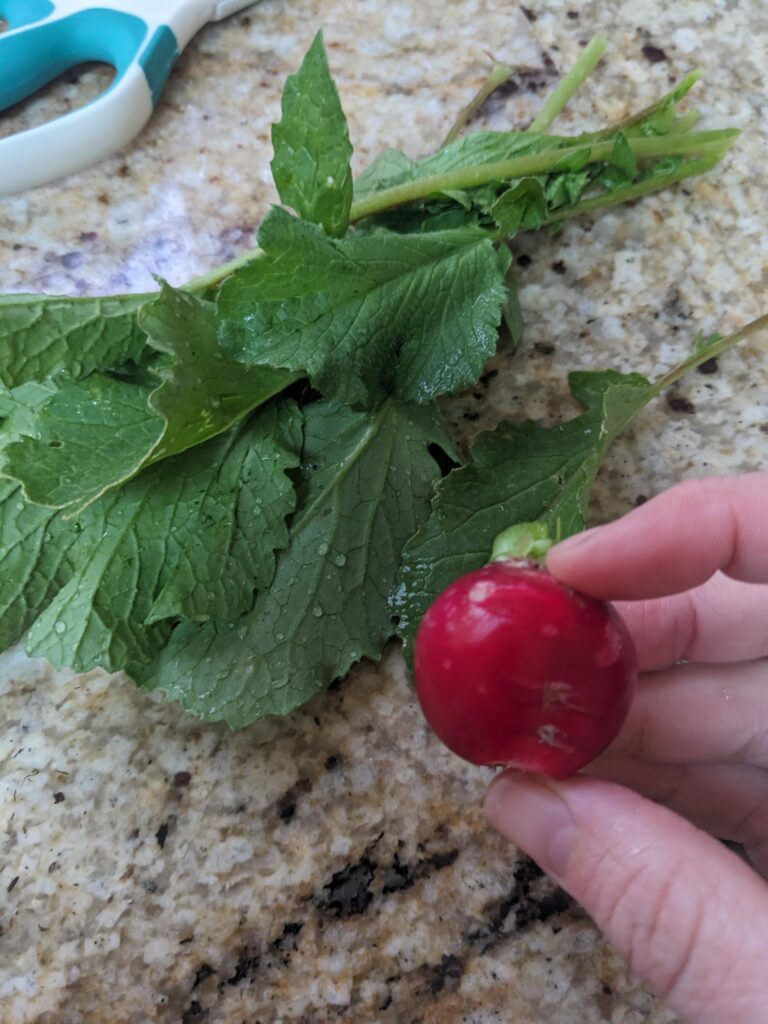
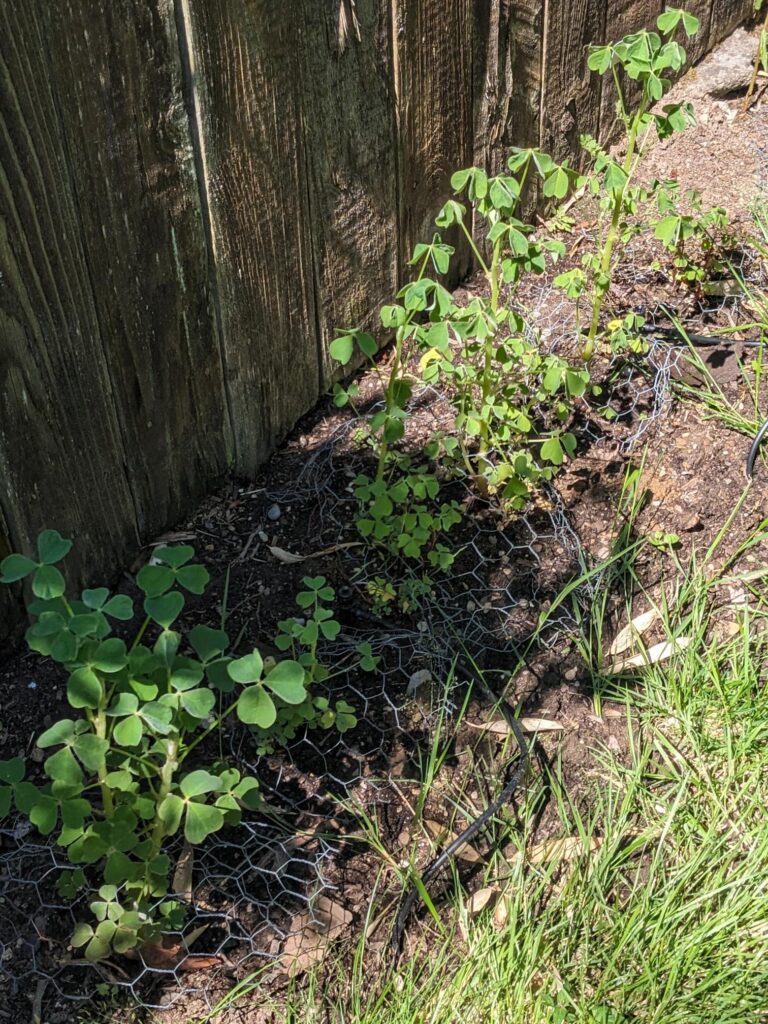
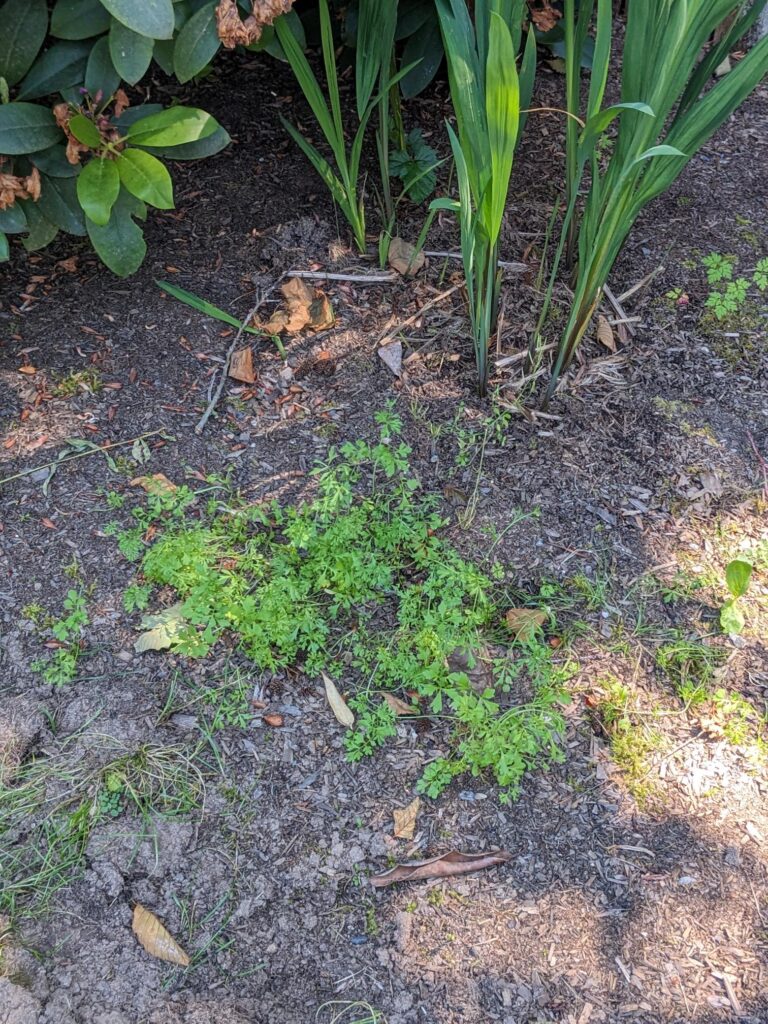
Last piece of the yard/garden to share is the bunny garden. The bunnies did NOT get the message that they’re allowed to eat this stuff. Oh well, I guess if they don’t eat it, I can harvest some. It looks like the cilantro is what actually germinated.
(Oh and at our house, the bunnies go by the name Henry. The hummingbirds are Philip and the bat (when she’s around which she hasn’t come back this year) is Genevieve.)

The harvest from the backyard so far this year is up to 23.2 pounds!