Category: Frugal Living

Ideas and everyday things to live below your means or save money

  • Spaghetti squash in the freezer

    I enjoy cooking, but sometimes I hate all the prep needed for a recipe.  That’s why, I love to be able to prep ahead of time and freeze for future.  

    Spaghetti squash is SO easy to prep and have ready.  I have found that a sandwich zippie bag is enough to nicely fill the bottom of an 8×8 baking dish which for most of the recipes I use is a ½ recipe.  If I want to make the full recipe, I’ll use 2 bags in a 9×13 baking dish.  Here’s how I do it: 

    Preheat the oven to 350. Line a baking sheet with parchment paper (not necessary but easy clean up).  Wash off the squash and then pierce the skin with a fork or knife in several places.  Place whole squash on baking sheet and bake for an hour and 20 minutes or a bit longer if the squash isn’t easily stuck with a fork by then. 

    Today, I took the squash out of the oven and let it cool. Once it had cooled well, I cut the top & bottom off the squash and then cut in half lengthwise. 

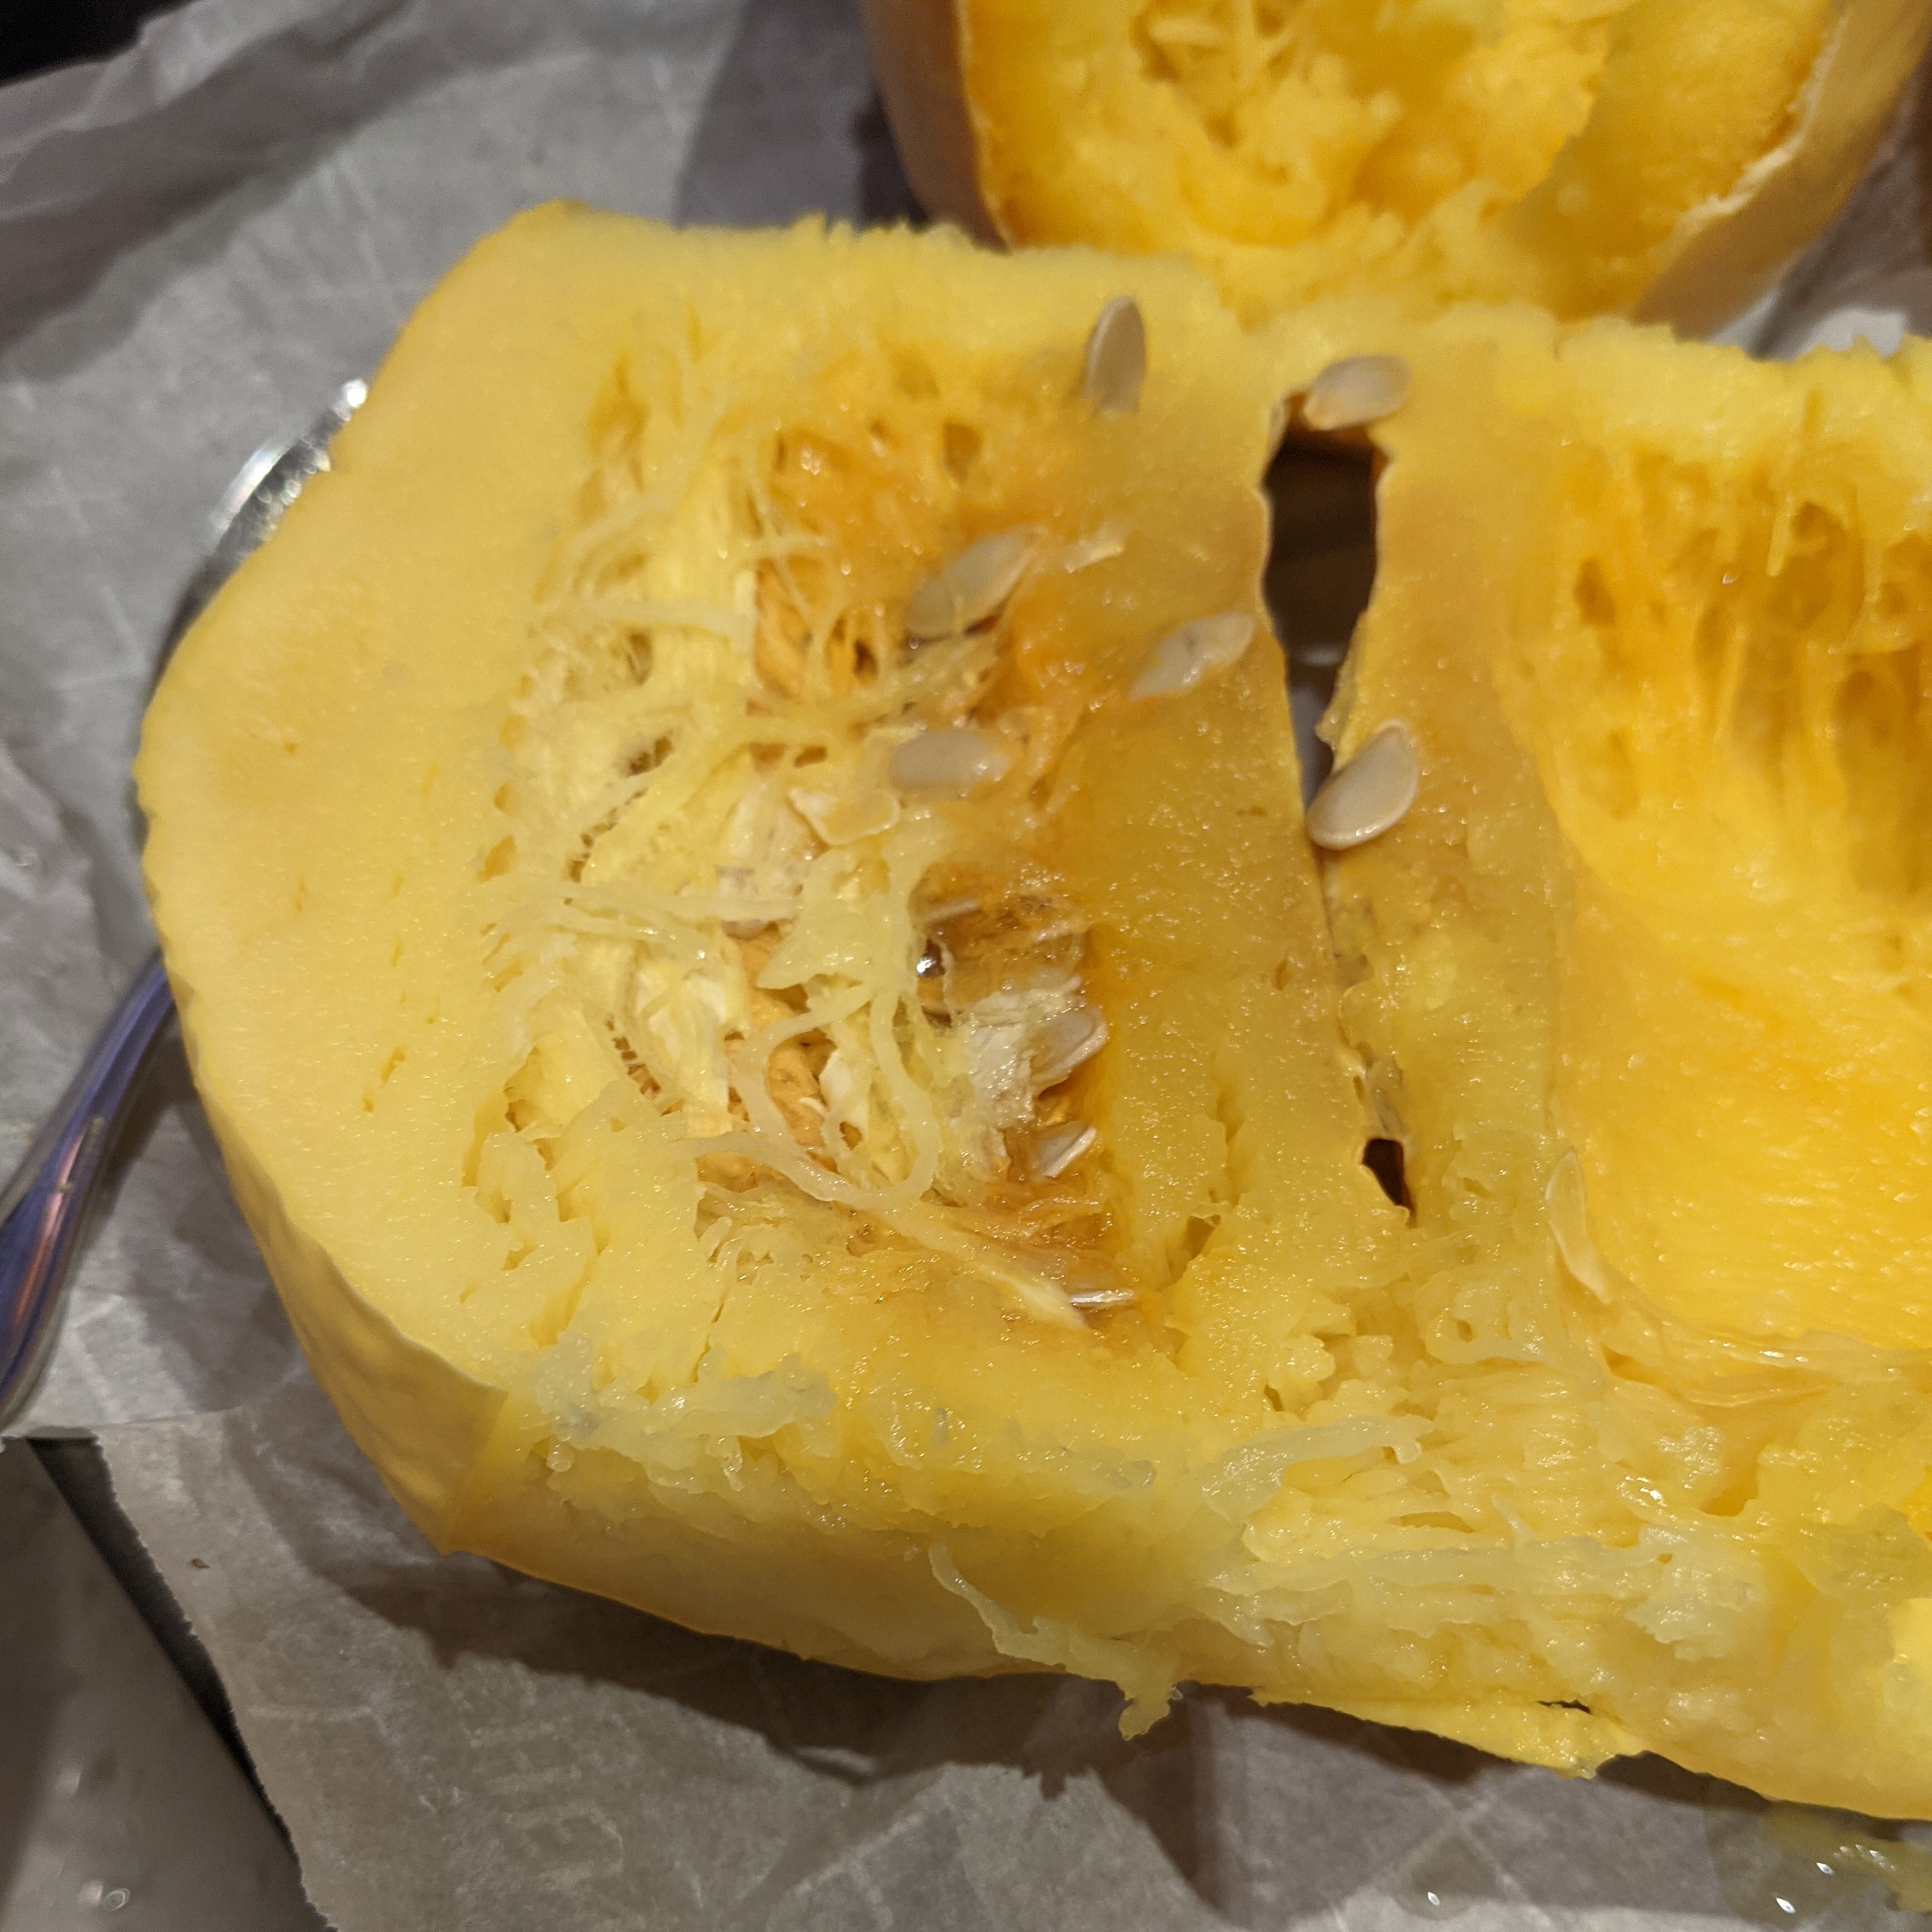
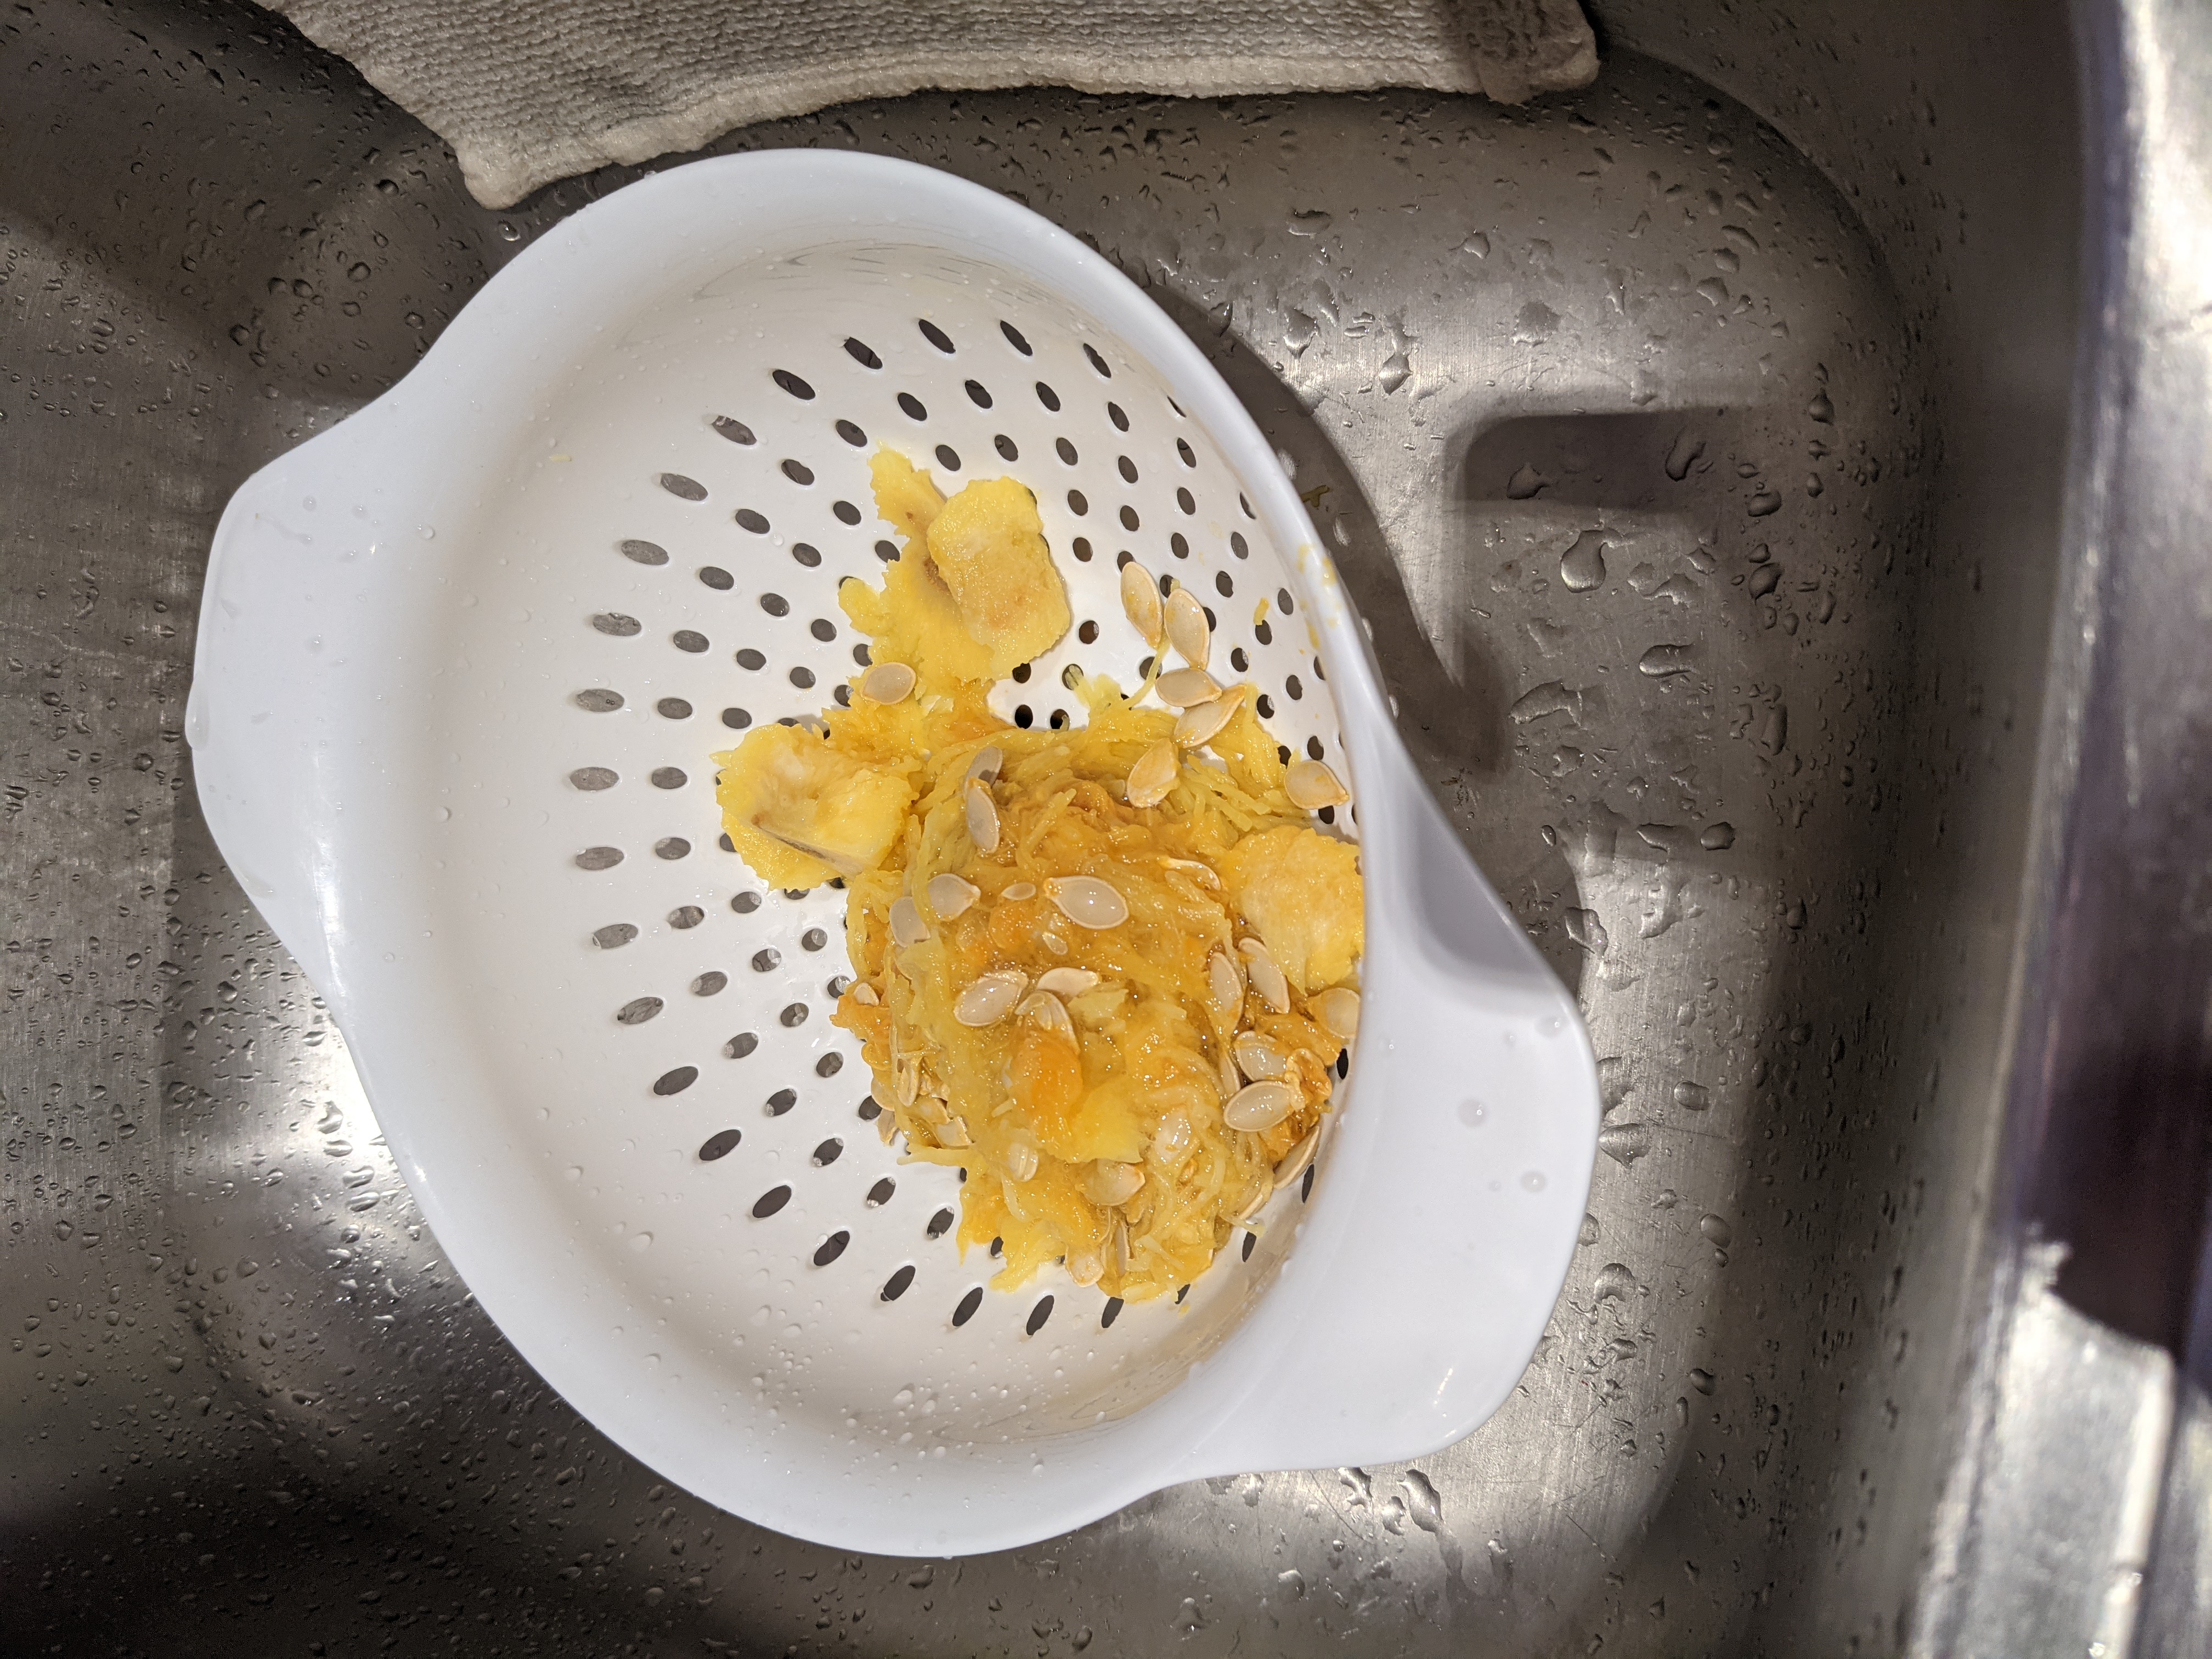
    I then scooped out the seeds and put them a separate colander to clean up and sort through to save to see if I can plant them next summer. (I bought my squash at CostCo which usually has organic produce so going to give it a shot at saving the seeds). 

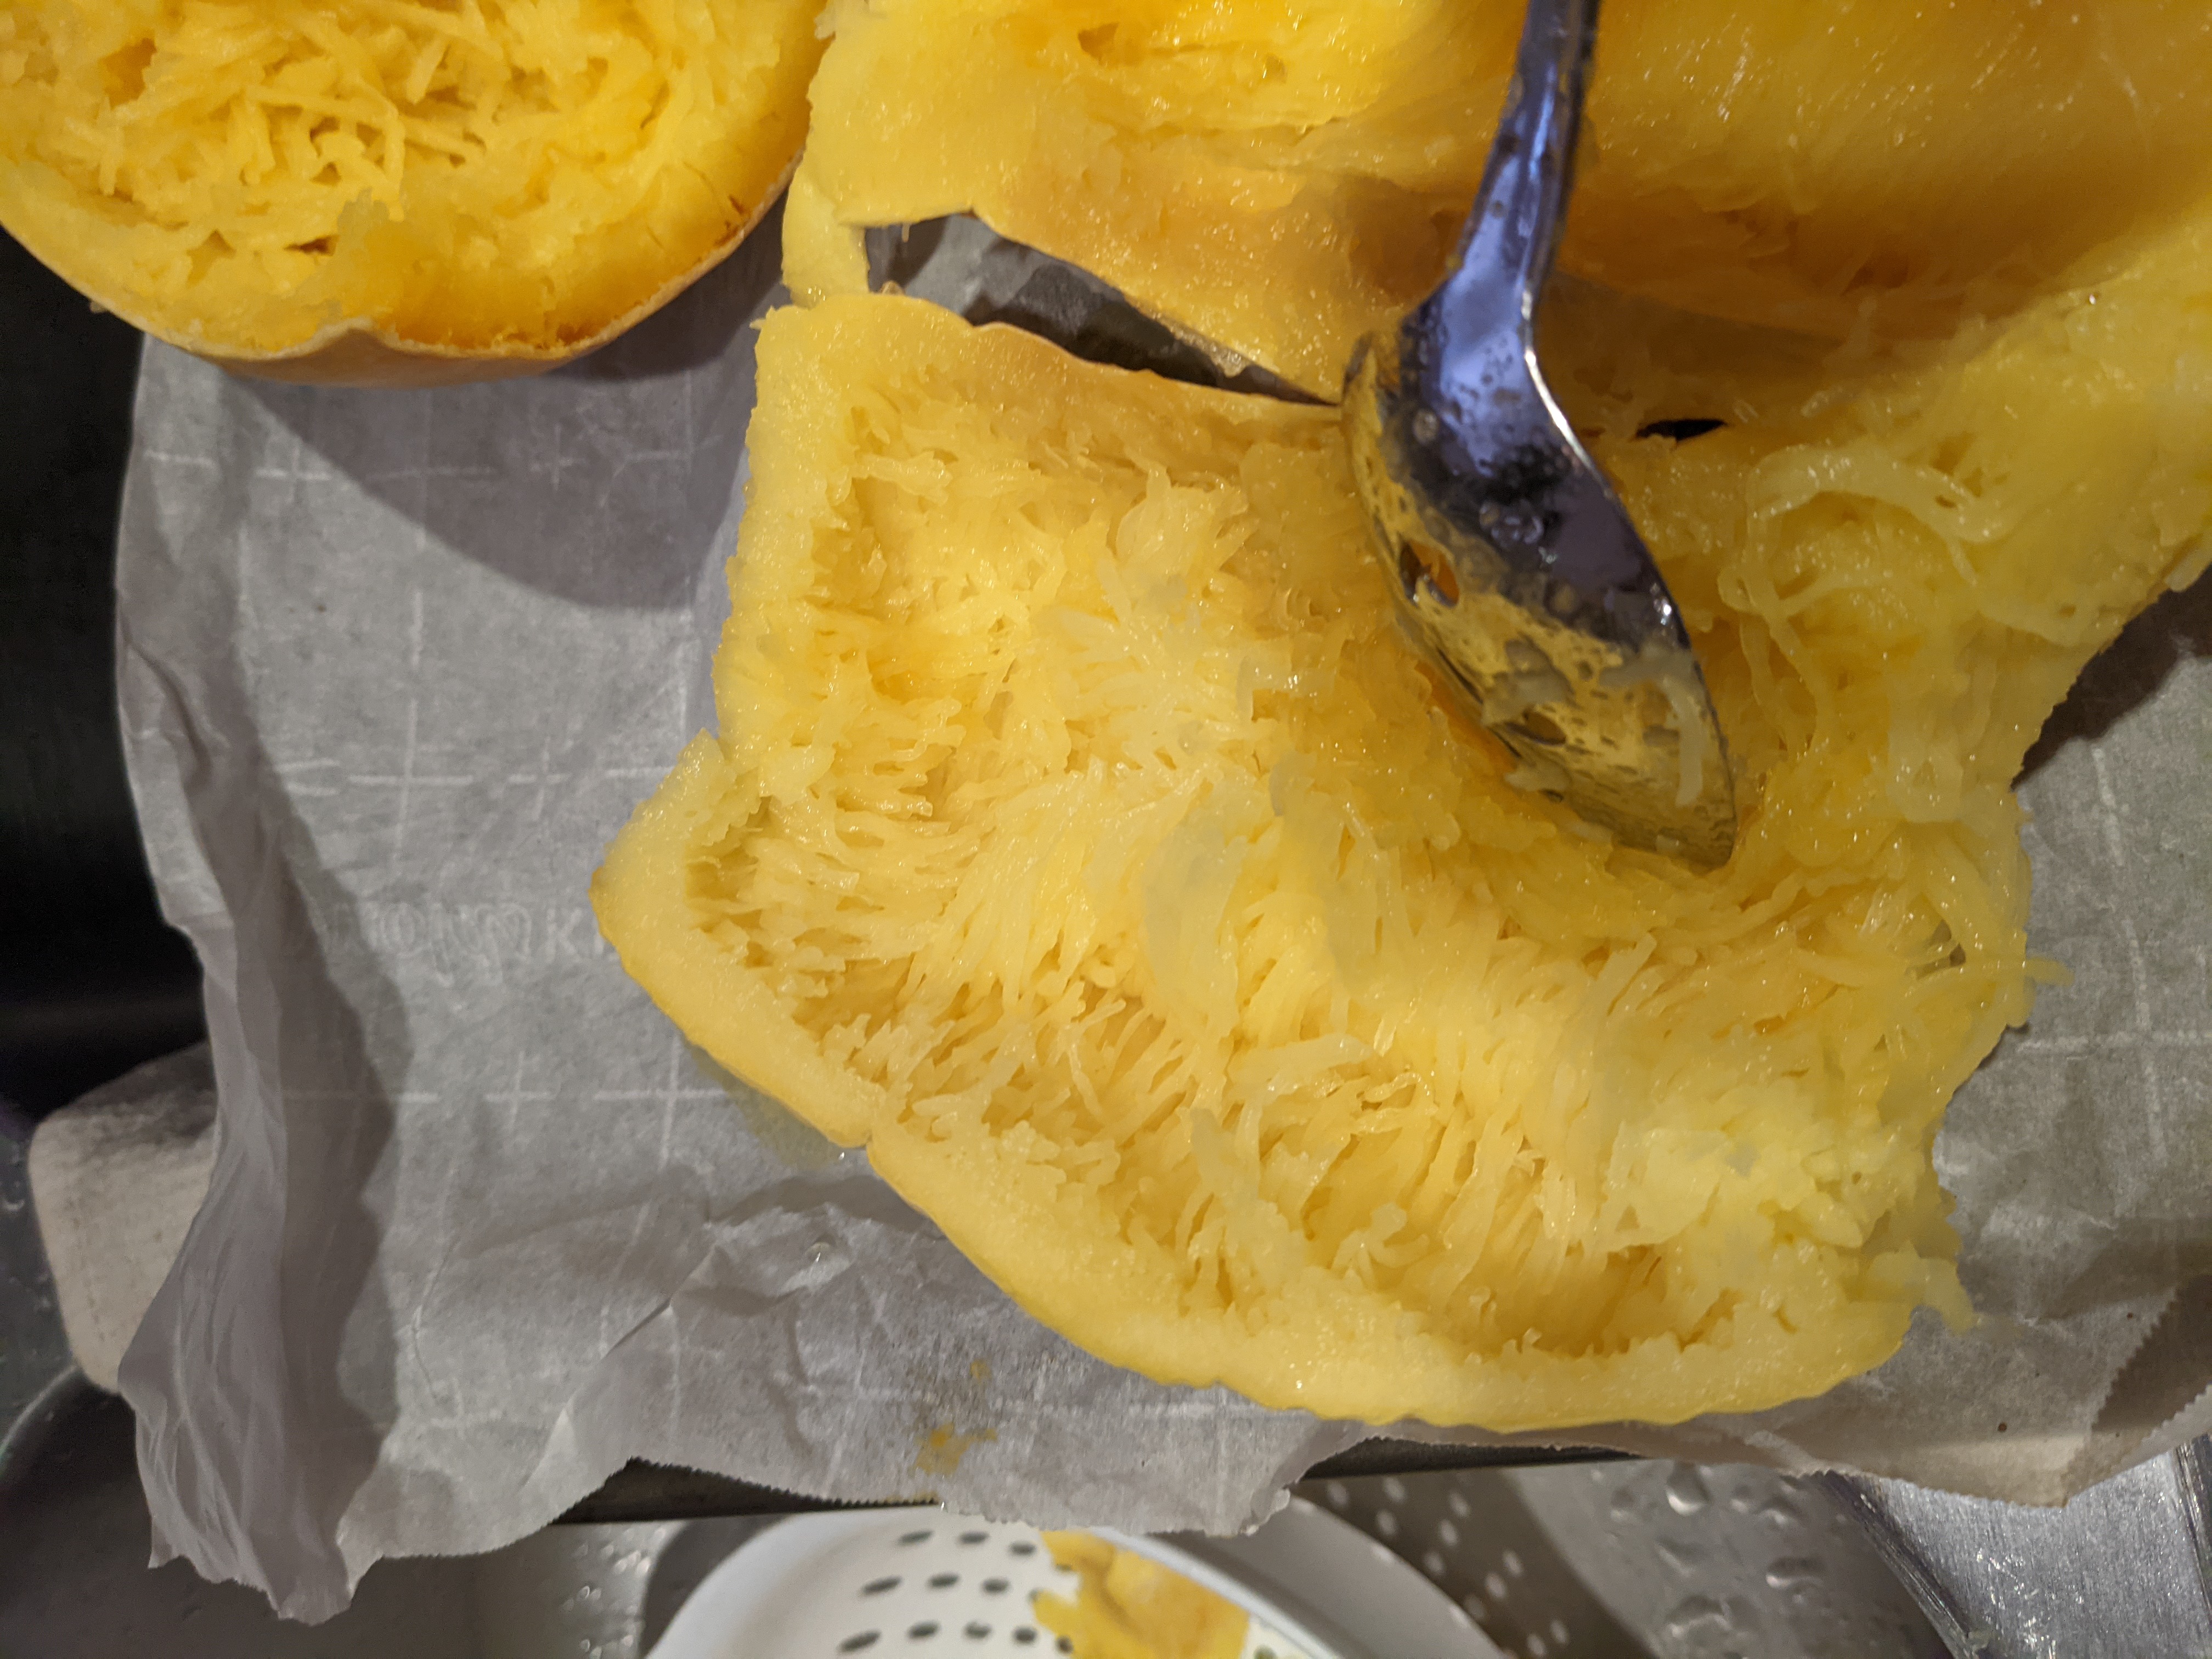
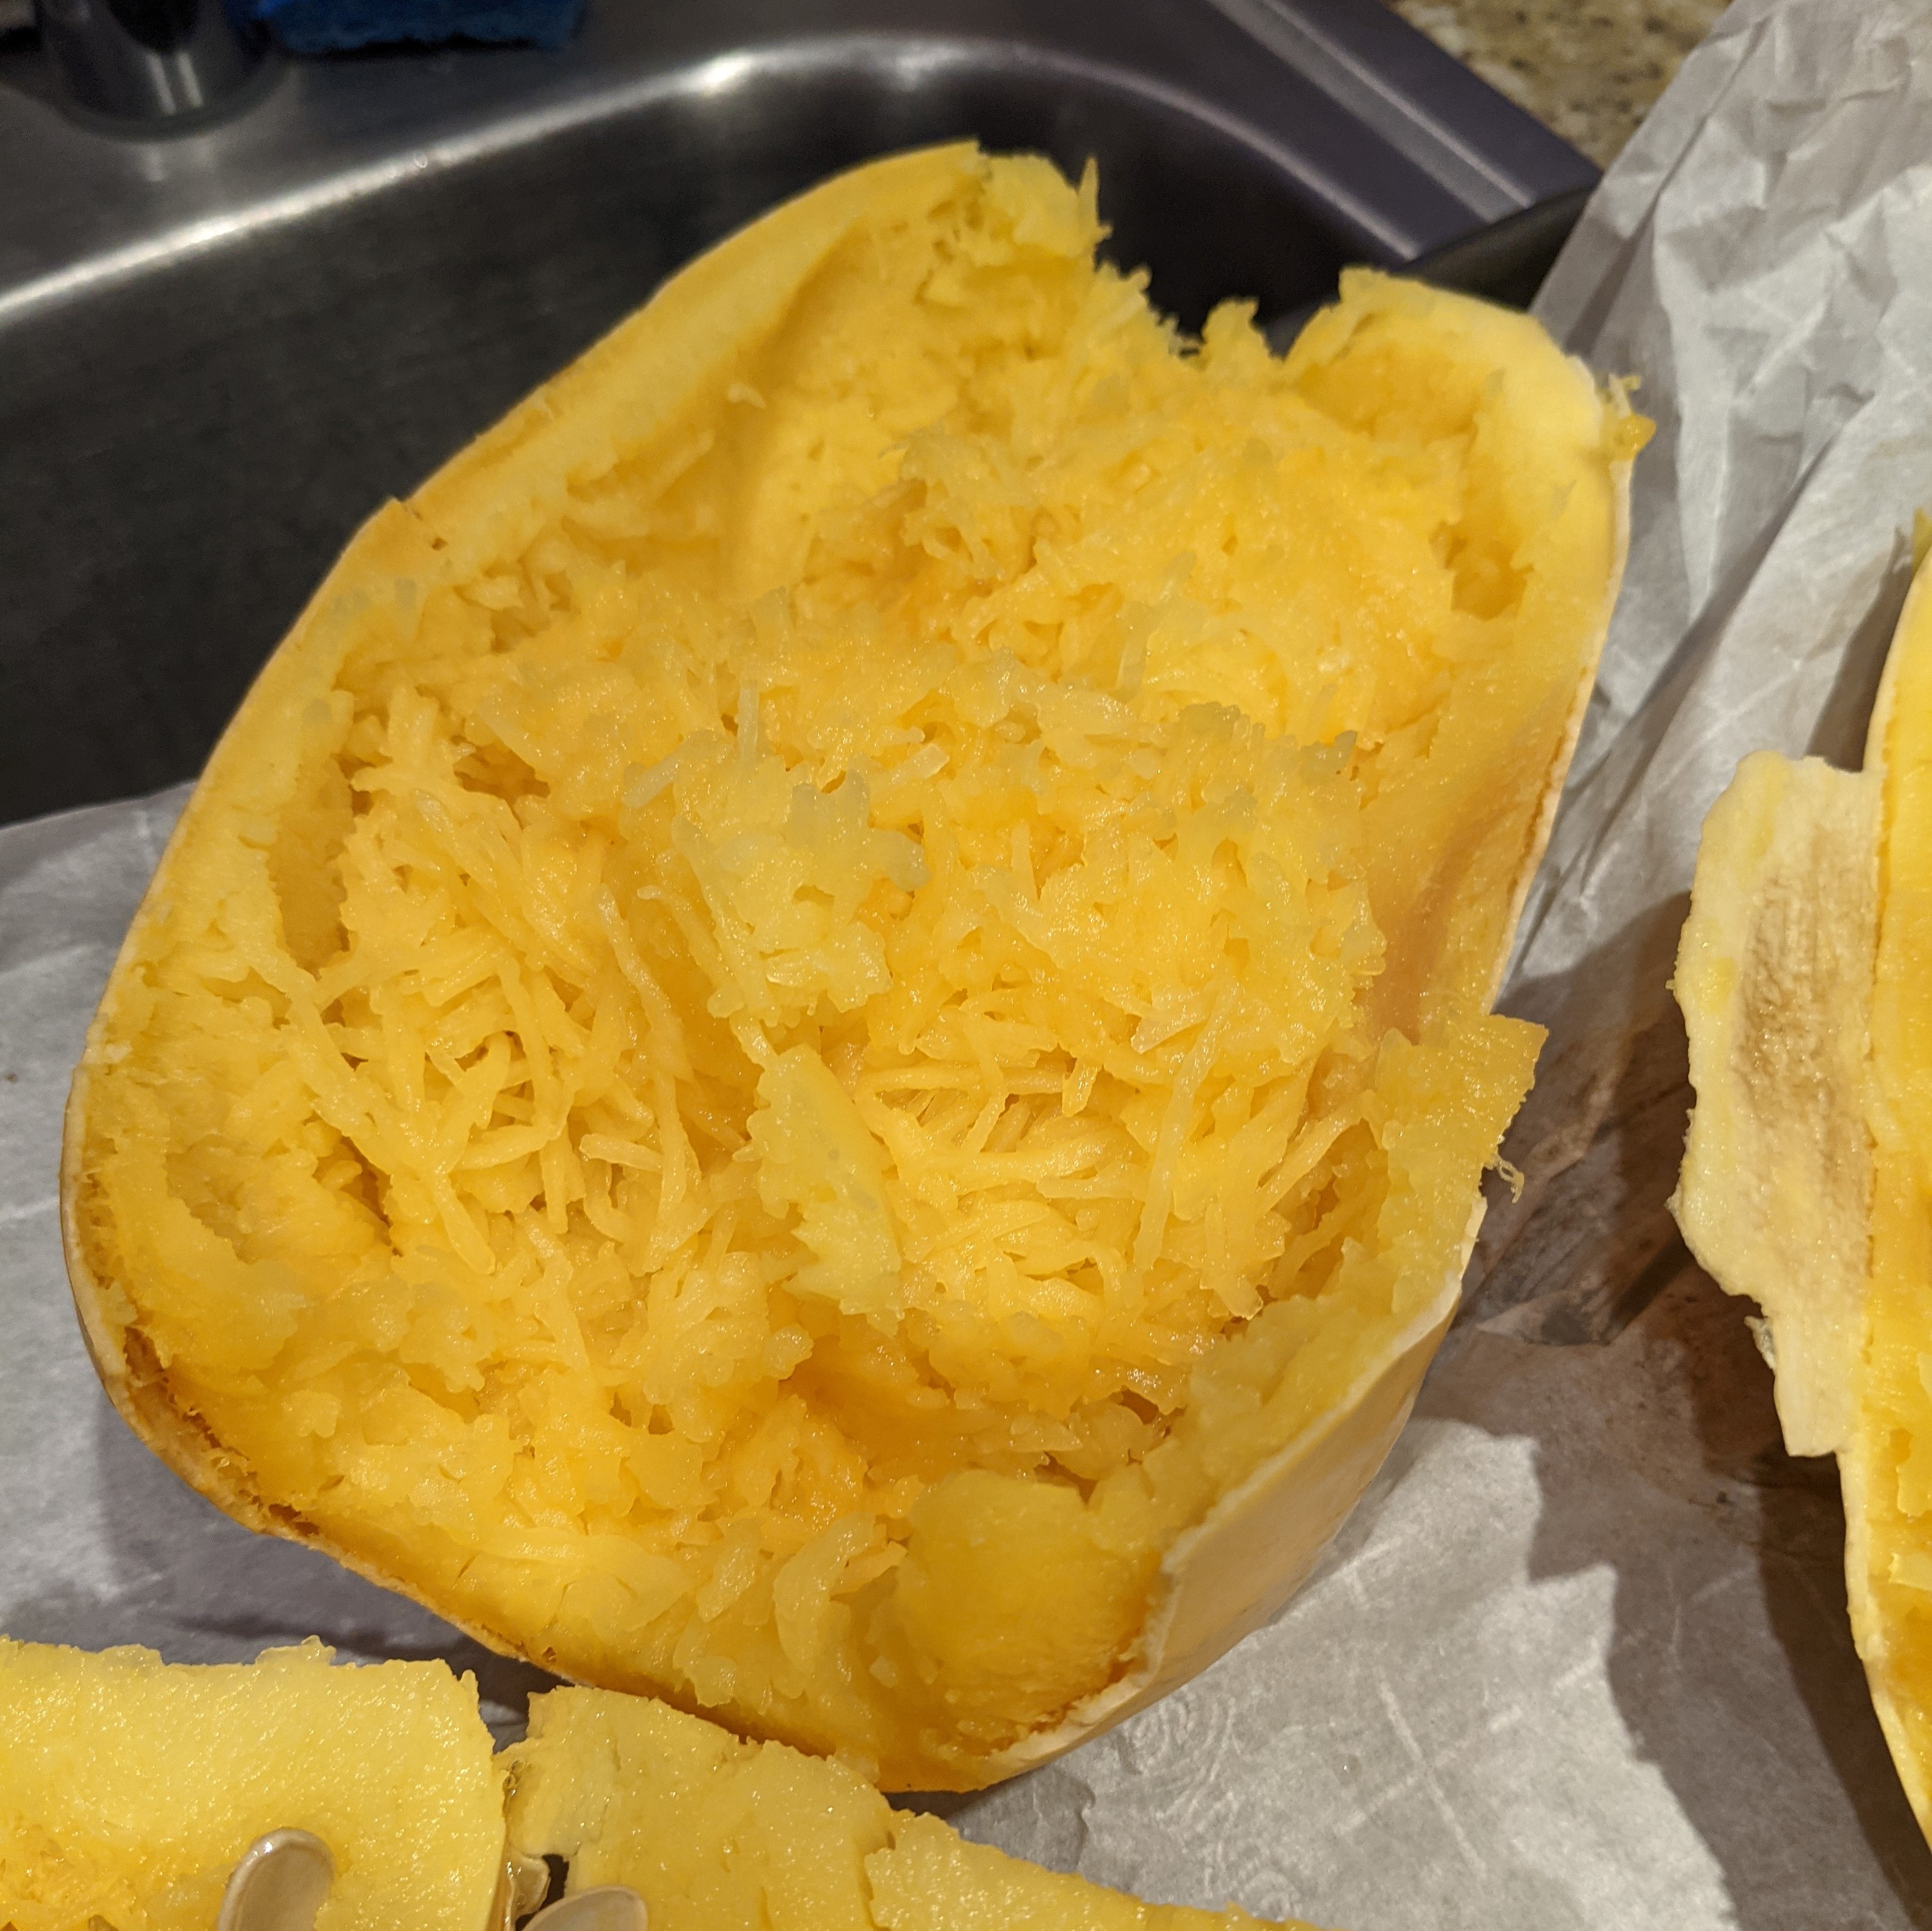
    Then go to town with a fork or spoon to “make spaghetti”.  This is SO simple – just start scraping and it separates into the spaghetti strands. 

    Put the shreds into a zippie bag and as you close it, squeeze out any air.  TIP: to keep the outside of the bag pretty clean and the zipper clean for best closing, turn down the top until it’s full. Then turn up and zip closed. 

    Once a bag is filled up, I lay on a small baking sheet and squish as flat as possible.  Freezing in consistent sized and flat(ish) objects results in more efficient freezer storage (I.e., you can fit more in the freezer without a bunch of wasted space) 

    Then freeze until you’re ready to use. When you’re ready to use, you can thaw in the fridge. 

  • Soap Making

    Learning New Skills – Soap Making 

    After a rough tiring week at work, I took Friday afternoon off. (Truth be told, my ‘afternoon’ started at 10:30AM that day.)  I headed to my friend A’s house to do some soap making.  When I got there, her daughter dutifully told me that “daddy prayed that nothing will explode.”  Ha ha!  A’s husb& was home & he said in his defense, “I was laughing when I prayed that.”  (I’m glad he did!  – both pray for us & laugh!) J 

    A had gone out & purchased all the ingredients needed ahead of time so when I arrived, we were ready to get started.  But, before we did, A & I sat down & read through all of the instructions on how to make the soap.  Then we headed to the kitchen. 

    A covered the counter with butcher paper & pulled out all the ingredients we would be working with.  She determined which pitcher to use to mix the water & lye & marked it so her family wouldn’t use it again in the figure. 

    We started by mixing the water & lye.  This was where we prayed ourselves that nothing would explode.  Thankfully, their house is 100% intact with no damage done.  There was an odor that was pretty harsh when inhaled, but we opened the kitchen window & door then turned on the exhaust fan.  The odor didn’t last long. 

    While we waited for the water/lye mixture to cool off, we measured out & weighed the other ingredients.  We used Olive Oil, Coconut Oil, Castor Oil & later added the lemon essential oil.  The oils went into a pot on the stove which was turned low to melt the coconut oil.  By the time we were finished getting all of the oils measured & into a pot, the water/lye mixture had cooled to about the same temperature as the oils. 

    We then cautiously poured the water/lye into the oils pot & got the immersion blender going.  We fully submerged it & I started it on low.  I blended & blended & blended.  The mixture started to look like pudding (DON’T EAT IT!) & kept going until it was thick enough that we got ‘trails’ as we moved the blender through it. 

    Once we had trails, we added the lemon essential oil.  We poured it in on top & then started up the blender again to get it all incorporated in. 

    Once we had deliciously smelling liquid pudding-like soap, we slowly poured it into paper cartons.  A had cartons cleaned ahead of time to use as the forms.  (Remember making c&les in kindergarten using the school milk cartons? – ok, maybe I just aged myself.)  I held the pot up & A scraped the mixture into 2 of the forms. 

    She decided ahead of time that she wanted to try lemon poppy seed for one of the forms, so we stopped & put the pot down.  She added the poppy seeds & we mixed it all together again.  We then poured the mixture into the final form. 

    I lifted & dropped all of the forms (ok, so actually one or two at a time, not all at once) against the countertop to work any air bubbles out before it set. 

    Now, we wait.  A moved the forms out of her kitchen so they could set for a day.  They are still caustic for 24 hours.  & Saturday, she’ll take them out of the forms & cut them.  We’re hoping to get 24 small bars from this batch.  Once they’re cut, they will cure for 3 weeks before we’ll use them. 

    I’ll provide an update once they’ve been cured. 

    We both decided this was not something to be afraid of doing & was much easier.  We were also very happy to try it for the first time with a friend & not alone. J (What isn’t better with a friend?) 

    The recipe & instructions we used came from Little House in the Suburbs by Deanna Caswell & Daisy Siskins.