Blog

  • Garden – June 2025

    My garden is growing!

    I wasn’t sure how things would work with being gone at the wrong times this year, but thankfully things seem to be chugging along.

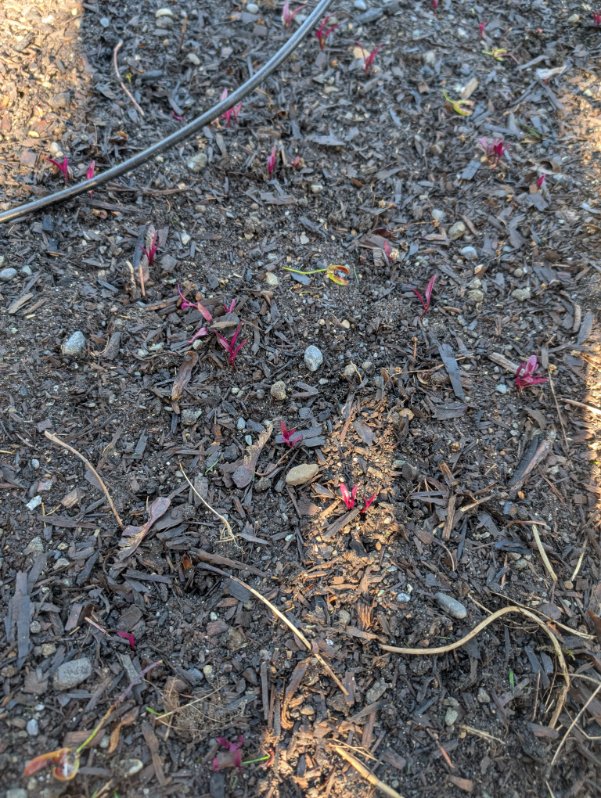
    Some things are just plain slow, and I need to do some education to figure out why (beets – yeah, you!!). And some things are plugging along as expected and should be ready to harvest on time soon (peas – way to go babies!!)

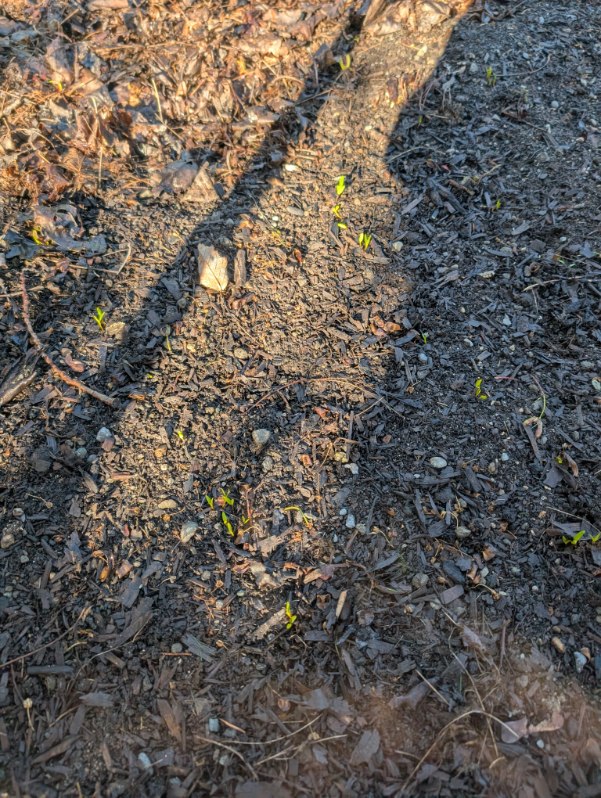
    In the main garden, I have a couple of volunteer potatoes. I didn’t buy seed potatoes this year. I had a couple of potatoes from last year that had sprouted. There was also a leftover store-bought organic russet that I used as well. Time will tell how any of those turn out.

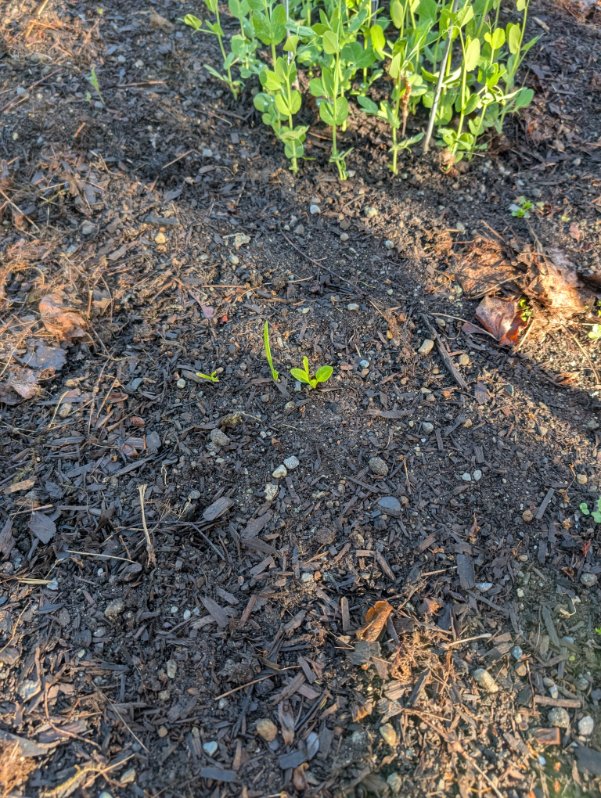
    I’ve tried planting things more interspersed to not waste space, but also to hopefully have things that help one another. Since beets prefer cooler weather, I’ve planted bush beans in between the row of beets.

    (Maybe I should take a gardening class – its all one big experiment)

    The berries that line one side of the main garden are all doing well. The Logan Berries skipped last year but appear to be a bumper crop this year. Tayberries are already ripening. And the Boysenberry has a lot of blossoms.

    First Tayberry harvest

    The side garden is doing well. We added a hog panel as a trellis. The tubers, squash and cucumbers all need something to climb. I planted zucchini, yellow summer squash as well as spaghetti squash and delicata squash. Thankfully, at least 1 of each one has come up.

    Cucumbers are planted along both sides of the trellis.

    My hubby planted about 4x more tubers this year. Now to figure out how to cook them properly to eat them!

    The side yard also has most of the rhubarb, raspberries and the biggest, more prolific blueberry bushes. The raspberries are beginning to ripen, and I picked the first one last night.

    A couple other random things that are coming along – the black currants and honey berries are almost ready to harvest.

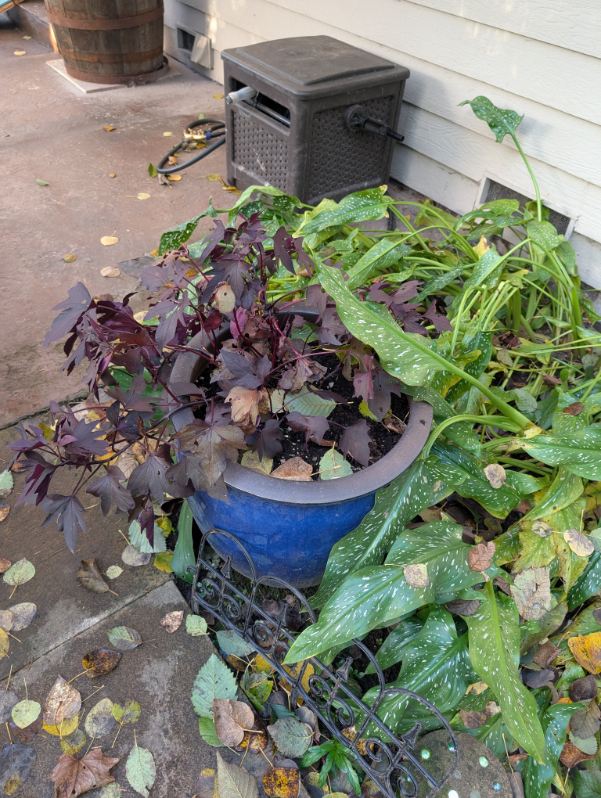
    The main potatoes are in a pot and doing really well! I can’t wait for the blossoms! Have you ever smelled a potato blossom? Seriously, why has no one ever come up with using that scent??

    Goji berries are going crazy and starting to ripen. The quince tree has lots of little quince growing. And the tomatoes are in the ground. (I have basil and parsley planted nearby. These were from seed so they’re VERY behind)

    The flowers throughout the yard are beautiful and doing well. The peonies are just about finished up. The allium look gorgeous. And the sedum I planted in the fall from the neighbor are all doing well.

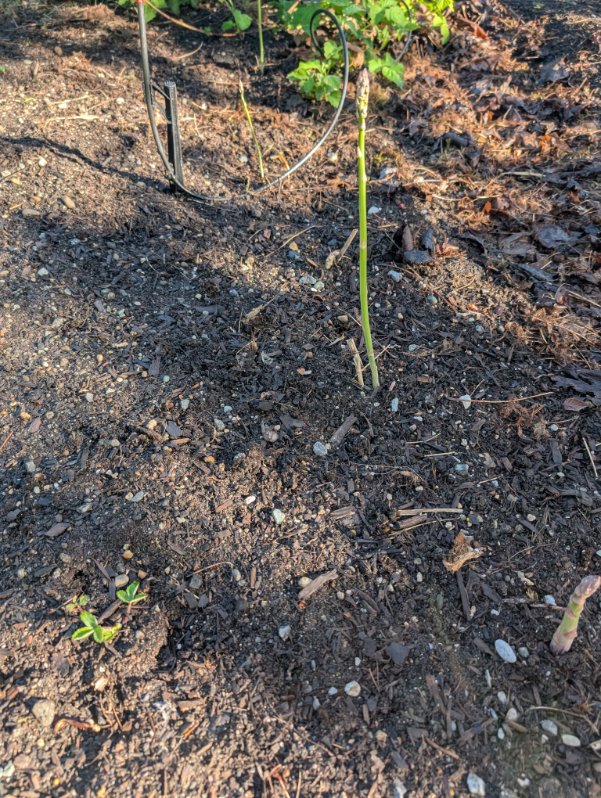
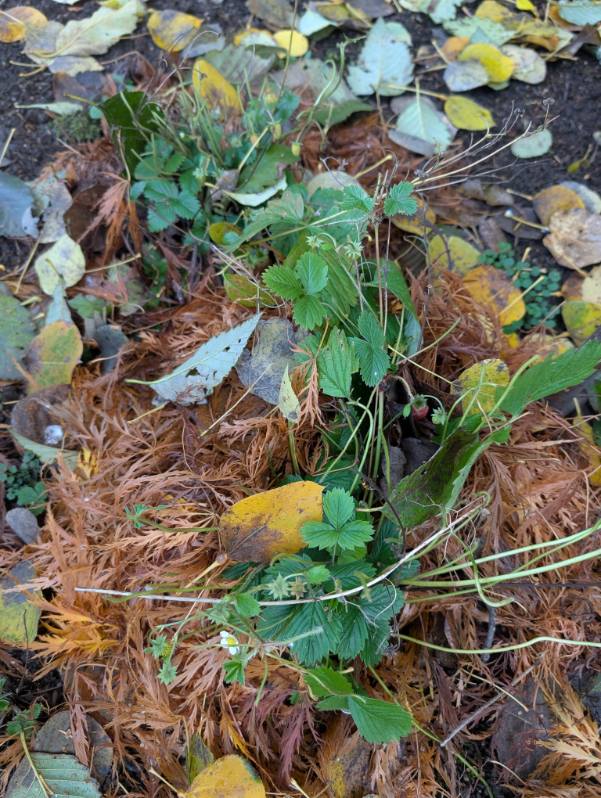
    Alpine strawberries are ripening. I took a couple of shoots last year and managed to keep two of them alive over winter. I’ve planted those near the asparagus as they’re supposed to be great companion plants.

    For missing April and getting things started, I’m pretty happy with how things are going. I’m gearing up for the July harvest as the blueberries ripen up.

    I’m hoping to harvest 100 lbs. If I get that much, great. If I don’t, that’s great too!

  • Patio Cushion Refresh

    With Joann Fabrics closing permanently, I have made a few too many stops in there to look for deals on fabric. While visiting my parents in WI, mom & I went into the Joann store. The day we went they had a sale for when you bought the rest of what was on a bolt, you got an additional 50% off the price (which was already 70-80% off).

    I’ve had my eye on this fabric every time I’ve seen it, but because it is canvas, it is too thick for quilting. But I love the pattern. I took a picture, sent it to my husband to make sure he didn’t hate it, and then bought the rest of a bolt. It was 8.5 yards. (Turns out, I probably needed at least another half yard)

    I decided this would be really pretty to recover the cushions for the patio chairs. There is nothing wrong with existing cushions, except that the fabric is faded.

    Once I got home, I took one of the cushions apart to use as a pattern. I knew I needed cording for these, but as I took them apart, the existing cording is plastic that I can reuse.

    Once I cut out all the pieces, I put the various pieces together and started sewing. Having so many components to sew together took a bit to get in the groove, but I got there. I have learned some lessons on the first one to make sure the remaining three turn out better.

    My husband’s first reaction to seeing the finished cushion was “wow! That has a lot of color in it!” LOL, yes it does. Then, this morning, he sat outside to drink his coffee and said he really liked it and I did a great job. <3

    I really like how it turned out and am looking forward to getting the remaining three cushions finished. It is so much brighter, fresher and cleaner. Maybe we’ll actually end up sitting out at the patio table now.

  • Garden – May 2025

    Spring has sprung in the Pacific Northwest! We were on vacation the month of April. With not being home, I wasn’t sure if I’d get much of a garden in this year. I decided to give it a shot and plant a variety of seeds before we left.

    On March 31st, I planted beets, peas, kale, spinach, cabbage and mesclun lettuce. I hoped that the month of April would get enough rain that it would go ahead without me.

    Thankfully, it seems to have worked! We got home on April 30th and I had at least a bit of everything I planted.

    I planted golden beets and bulls blood beets. Both are growing. Now a couple of weeks after getting home, everything is a bit bigger than the pictures show. I’m looking forward to harvesting these!!!

    The peas are coming up well. I strung up some trellising using big tomato cages, a shepherd’s hook plant stand and some cotton twine. I’ve had peas grow 6+ ft tall in the past. Last year, they were barely 3 ft tall without anything to grow up. I have ‘high’ hopes for these peas!

    We have asparagus coming up which makes me really happy. My husband transplanted these crowns a couple years ago so I’ve let them go and haven’t harvested. So far, there isn’t enough to harvest yet, but I’m hoping it keeps coming up and there’s more as it continues to warm up.

    Spinach is starting to pop up and grow bigger. I’m hoping quite a bit more of this starts soon. But, I need to plant a second (and third) round of this seed.

    In other parts of the yard, we have quite a few berries that are blossoming beautifully.

    The blueberry plants are blossoming so well! I’m excited to see how much we harvest this year. Several of our plants are in their 3rd year, so they are coming into their full production!

    The huckleberries are also in full blossom. They are so tiny, its almost hard to harvest, but they’re so good, its worth the effort.

    The honey berry plants are also in full blossom. These plants will be the first that we can harvest as they are earlier than the other berries. We should be able to harvest these by mid-June or earlier.

    We cut down 2 of our 3 apple trees last fall. We replaced them with new columnar apple trees. These don’t take up nearly the amount of space, don’t block the sunlight for the surrounding plants, but they produce well. Hopefully we’ll get a few apples from these new trees this year, but I anticipate great results in the next few years.

    One of the things I commented to my husband when we got home from our vacation is that the neighborhood was in full bloom. The colors at this time of year are beautiful!

    I have started seeds in trays for tomatoes, herbs, and cucumbers. Hopefully those will be ready to be planted by the end of the month or early next month.

    Gardening 2025!!!

  • Away from Home: North Cascades NP

    The North Cascades National Park is one of the least visited national park in the lower 48! And thankfully, it’s only a couple hours from home!

    This is one of the favorite places that my husband and I love to spend time. We will take day trips, but we’ll also take the travel trailer up and stay the week.

    Here are some of our favorites:

    Maple Pass Loop

    One of the most popular hikes in the North Cascades is Maple Pass loop. It is technically outside of the North Cascades National Park, but at the top of the pass, you will step back into the park. It’s about a 6.5 mile (my personal Strava records say it is over 7.5 miles) and over 2,100 ft of elevation gain, but the views make every single step worth it!

    It is a loop that heads up, has amazing vistas all the way up. The views at the top are amazing in all directions. As you head back down, you’re going through the woods for the last bit.

    Blue Lake

    Blue Lake is another gorgeous lake that is technically outside of the North Cascades National Park, but well worth the drive out Highway 20 through the park.

    As you walk up the trail, you can see the Liberty Bell spire to your left. Often, there are climbers working their way up. When you get close to the lake, there are the remains of an old cabin. When you arrive at the lake, the name fits it perfectly! It is an incredible shade of blue. Take your time, sit and eat lunch as you soak up the magnificent views.

    Cascade Pass

    I have to stop myself from gushing about Cascade Pass. There is nothing at all not to love about it. Even the trailhead parking lot has amazing views. This area is called the American Alps, and this trail definitely makes that nickname make sense. My husband and I eloped at the top of the pass. (Now you know why I gush about Cascade Pass.)

    This has easy switchbacks up the mountain and then the trail opens up. When the trees open up, you can look down at your car in the parking lot. Once you reach the top of the pass, there is a gravel area with large stones set up to sit and enjoy the view overlooking the valley below. It truly is a magical place!

    You can hike down the valley in the picture to a town called Stehekin which is only accessible on foot or by ferry.

    Big Beaver campground

    The Big Beaver campground is on Ross Lake. You can either boat in from the resort or hike in. We hiked in and backpacked in the area and loved how gorgeous it was. We backpacked in 13 miles our first day to a small campground called 39 mile, but we had stopped just around the inlet from the Big Beaver campground. The second night, we headed back to Big Beaver stock camp, but we walked up to the main campground to check things out.

    It had boat docks for easy access from the lake. Or, it was about a 7.5 mile hike in from the Ross Lake Dam parking lot on Highway 20. It had many camp sites near the lakeshore and the bathrooms were quite nice for backcountry toilets. If you’ve never backpacked, then trust me, vault toilets that are clean and stocked with toilet paper are a luxury!

    We will definitely be heading back to that area for future backpacking trips.

    Ross Lake Resort

    The Ross Lake Resort is a bucket list item. My husband & I were able to get in to stay for a couple of nights due to a cancellation.

    The Ross Lake Resort is 15 floating cabins on Ross Lake National Recreational Area. It is the type of place that you can’t just make a reservation to get into. You fill out the waitlist for each year and/or watch their website for cancellation availability. But it is worth any amount of effort to get in.

    The cabin we stayed in was one of the two duplexes. It had a full kitchen, running water, flush toilets – not what you expect when floating on a lake. It also had a small wood stove for heat if needed and a pile of firewood outside the front door. Or, if the weather is warm, take a dive off the dock out your front door to cool off!

    We will continue to try getting in this resort as it is a quiet, relaxing trip with the most amazing views.

    While the North Cascades is an easy to drive through National Park, there is a lot there! It is well worth your time to come this far north and check it out.

  • 1st Bed Quilt

    With my new sewing machine, my husband suggested that I make a quilt for the bed in our travel trailer. I suggested that I get a National Parks panel. There is a fabric designer, Riley Blake that had an entire National Parks themed fabric line.

    He liked that idea but insisted we had to have Canyonlands National Park as part of the quilt. That specific park isn’t one that was made as its own panel, but I was able to find it as part of “The Grand Circle”.

    I purchased the panel from a seller on Etsy and then got to work figuring out the colors and design to use. Flying geese was the winning quilting design. I found solid fabrics that matched the panels they would be next to. As I made the flying geese, there were extras left over that were used as a 2nd border. Hooray, no waste (or at least less waste)!

    I had fun choosing which border color fabric to use. I took the quilt top that I had done to that point and other fabric that I had used in the trailer redo a couple years ago to the quilt store and laid it out to see what colors would work best.

    As it goes with quilting, there were a few things that came up a bit short (sometimes my math was a little off) so I added a bit more fabric to it to make it work.

    There was an issue along the way. For some reason, the navy blue fabric melted when ironed even though it had been ironed at least 5 times previously. That fabric was reusing an old pillowcase, so I think the fiber content wasn’t as much cotton as I thought. Oops!! Thankfully, the iron was easily cleaned up.

    It was really fun to see the quilt develop as more borders were sewn on. I knew what I wanted it to look like but actually seeing it in the end was even better (and a LOT bigger) than I had imagined.

    To finish the quilt, I was able to visit a friend who has a long-arm quilting machine. It was so nice of her to let me invade her and her family for a couple of days, and it was so much fun to get to spend time with her! (Thank you Emily!!!!)

    She showed me how to get the quilt attached to the machine and then how to run the machine over the quilt to get all the stitches in. I asked if I could do it, and I ended up doing the majority of the stitching on the quilt. It’s a learning curve, but so fun once you get in the groove.

    We got it finished up in 1 day. I headed home the next morning and then was able to finish the binding once I got home.

    Completed quilt

    I really love how it turned out. It’s a little bit too big for the RV bed, but that’s okay, that just means there’s more to wrap up in on cold nights.

    I believe this will be the first of many quilts to come!

  • New Sewing Machine!

    My hubby got me a new sewing machine as a Christmas present. I got a Bernina 590 which includes the machine embroidery attachment. Wow, is it ever nice!!!

    I learned to sew as a kid. Both grandma’s and my mom sewed. There were home economics classes in both jr. high and high school that included sewing.

    For quite awhile, I used my grandma’s old (from the 1980’s, not an antique, although are the 80’s now considered old enough??) Singer sewing machine. I was told when I got it that something needed to be fixed, but it was going to cost more to fix than the machine was worth. Based on that, I never expected much from the machine and only used it for very basic sewing.

    Being retired, I wanted to be able to do more and better work. I took the machine mastery 101 class where I learned how to properly use the machine, learned all the various features and learned how to service the machine. I had no idea I had to oil the machine EVERY TIME I use it!!!! HOLY COW, no wonder that Singer wasn’t fabulous, I was being very neglectful.

    In January was the two-day embroidery mastery class. I immediately came home and did 4 small embroidery projects! (Literally before dinner that night.)

    Here are some of the things I have worked on since getting my new machine.

    I made a fall table runner. I’m a sucker for anything autumn or pumpkin themed. I machine quilted this one using templates I had at home. For anyone who hasn’t machine quilting, there is a learning curve! This project is at the start of my curve.

    With the embroidery machine attachment, I wanted to give that a try and make a few things. There are tea towels for my college roommate’s birthday, my mom and one for our travel trailer.

    The above snowman quilt was a combination of quilt piecing with hand applique. This is a primitive pattern my mom gave me years ago. She bought everything needed but never got around to making it. She gave it to me and I’ve been intimidated for years to even try it. This winter, I got tired of setting it aside whenever I went through my stash and decided it was time to no longer be intimidated. Mom was VERY patient in waiting for this.

    I did NOT make the above stuff, but from the first time I stepped into the quilt shop where my machine was purchased, I saw these little mini quilts and knew I needed to make them. (Again, I’m a sucker for anything autumn or pumpkin themed). Turns out these are part of a 6 month program thru Kimberbell and are the mini quilts for September and November 2024. I ended up buying the patterns and made my own.

    They don’t look exactly the same, but I love how they turned out. This was a fun project that combined both quilting and embroidery. I mostly used fabrics I already had in my stash rather than exactly what the project called for.

    This past year, we had a fireplace insert installed to have a heat source should the power go out. (There have been some silly, dumb reasons (i.e., criminals being ridiculous) in our area that made us decide we needed to be prepared.) After the first few fires of carrying wood in a few pieces at a time, my husband asked me to make him a firewood sling. Without a pattern and using material and old jeans I had on hand, I made him one. I love how it turned out and so does he!

    And finally, with Joann Fabric going out of business, I have stopped in a few times and picked up some mini templates which came with 6 patterns included. I decided to make a couple of placemats using a ‘flying geese’ pattern for our travel trailer. I used leftover fabric from the trailer makeover I did a couple years ago.

    I’m enjoying my new sewing machine. I have a feeling it will not get quite as much use in warmer month. But, it will definitely get a LOT of use in the coming years!

  • Reusable Paper Towels

    *Updated 1/9/2025 – scroll to the end for the update

    In previous posts, I’ve mentioned that I am looking for ways to avoid the stores (thus saving money). I was at a garden show earlier in 2024 and one of the vendors was selling reusable paper towels. The vendor’s stuff was cute, but she didn’t have the color scheme I was looking for.

    I looked over the product she was selling and thought “this is easy enough that I can make it myself.” It was flannel cut into 10×10 squares and the edges were ‘hemmed’.

    I went to the fabric store and purchased a yard each of flannel that was more to the colors/patterns that suited me.

    I received a new sewing machine for Christmas and was thrilled that it has the stitching ability to do the ‘hemming’ that I wanted to do. (It’s an overlock stitch)

    Like all projects, I procrastinated in getting started, but mostly that was due to waiting for the new sewing machine.

    I started by washing the material, so any shrinking was done before cutting and stitching. I then cut the material into 10″ by 10″ squares. (The material was folded so I was cutting more than 1 square at once)

    I then starting using the overlock stitch on my machine to finish them up. Sewing squares isn’t all that exciting. LOL

    Once I got all four sides done, I snipped any threads, and cut off the rounded corners with a good paid or scissors.

    I was careful around the corners to not cut the overlock stitch. I do expect a bit of fraying on those corners when I wash it. But, it’ll do that until the material falls off to the stitch and then it should stop.

    To roll them up like paper towels, I rolled one, then overlapped it with the next and kept rolling. It turns out 5 yards of material end up making about 3 rolls of ‘paper towels’. (I have scrap material left, but none that was large enough for paper towel size.)

    But they are finished and I love how they turned out!

    One less thing to have to buy at the store!

    Update: 1/9/2025 – My husband and I took a vacation on the other side of the mountains and the town has an adorable little store that we love to stop in at. Low and behold, they had some reuseable paper towels – 12 for $36.95!!!! :O This was definitely a cost savings.

    These are just like I made, but plain. I spent about $25 for 5 yards of material and used a spool of thread I already had at home. I ended up with about 55 ‘paper towels’. Holy cost savings Batman!!!!

  • Garden Update – December 2024

    Not much to add here but wanted to wrap up the year with the final post about the garden.

    The Oca and Mashua tubers were harvested in early December. We had a light frost earlier, but it didn’t kill off the leaves above ground until about three frosts in.

    My husband took care of it as he’s the one who planted them. He really likes having unique things growing in the backyard. Hence the variety of berries we have! I did help him a bit, but the digging was all him!

    He had ordered 3 different colors of the Oca tubers. We assumed the white with red creases is a mix of the other two.

    These little guys can be eaten raw and are supposed to taste like water chestnuts. My husband said that’s true (I didn’t try it!).

    We got a bit over 3/4 of a pound of the Ocas. There are several that he’s keeping in the fridge to use as seed for next year.

    The Mashua tubers did really well. We ended up with a bit over 3 1/4 lbs of these. (The above picture was obviously taken prior to washing. The weight was taken AFTER the dirt was removed)

    He cooked a few of these up like potatoes and they turned out pretty well. We have enough left for a couple more meals to have a side of tubers.

    The rest of the garden is a sleep for the winter aside from 4 beets that I haven’t pulled yet. Now that it’s too cold for snails and slugs, they’re doing great! LOL

    I put 6+ inches of compost over all the growing areas and then covered with a few inches of leaves. I’m also throwing our used coffee grounds into the growing areas to help add more to the soil over winter.

    The one crop I haven’t addressed in a post, but did harvest was the sweet potato. I’ll just say it was beyond disappointing. Not one was bigger than my thumb and all total the harvest was less than 1/2 lb.

    All total; the backyard produced 133.87 lbs of food. Not too shabby but thank goodness for perennials!

  • Garden Update – November 2024

    Alas, the garden has been put to bed for the winter. The time had come.

    As you know, I had planted some things for fall, but those things were not thriving if they were even growing at all. The slugs around here were feasting, so it was more frustration than anything.

    There are still a few things waiting for the first frost which should be any day now. The two types of tubers are dug up after the frost. And the sweet potato will get harvested this weekend frost or not. The leaves on that are starting to die off, so time to dig those up. (or since they’re in a pot, turn the pot over and sort through the dirt)

    Surprisingly, I’m still getting some raspberries. About every 2-3 days, I can go pick a small handful and get about a half an ounce.

    There are still some peas, beets and kale growing in the main garden. I’ll keep an eye on those and see what they do.

    But for the rest of the growing areas, I have added about 6+ inches of garden mix soil (mix of compost, fertilizer [horse apples] and fertile mulch) and covered everything with leaves.

    My suspicion has been that the soil is not nutrient dense enough for growing vegetables. My hope is that with a good amount of amendments this fall and another good amount in the spring, next year’s garden might do better.

    I have also put some leaves around the base of the strawberries (which are also still growing berries, just not ripening) to put those to sleep for the winter. I’ll get a bit more of the Japanese maple leaves and bulk that up this weekend as well.

    It amazes me what is still growing in spite of little sunlight, tons of rain and colder temperatures.

    This year’s harvest from the backyard has come to 129.2 lbs. Tubers and sweet potatoes still to come!

    Winter is coming!! Time to start planning next year’s garden.

  • Freeze Drying – 2024 Black Friday Sale!

    *this post has affiliate links which means that if you make a purchase through the links below, I will make a small commission

    If you’ve read my blog in the past, you know that I love freeze drying!! Here are some past posts where I’ve talked about it:

    Reducing Food Waste
    Strawberries

    I originally bought the machine so I could control the ingredients in the food we eat when we’re out backpacking. I stay away from sugar and preservatives and the pre-made meals we would buy were expensive.

    Freeze drying has allowed us to have homecooked meals out in the middle of nowhere. And the food is VERY lightweight to carry in backpacks!

    In late 2022, we bought a small Harvest Right home freeze dryer. Leftovers are now eaten in the backcountry instead of going in the freezer or the garbage because we forgot to eat them.

    I will often cook a meal with the intent of freeze-drying half for future meals. Often, I have leftover ingredients from meals I made and veggies are about to go bad. I freeze-dry those to use later. (Right now, I have celery, carrots and onions in the machine which is amazing to have on hand to throw into a soup in winter.)

    If you’ve ever thought about getting one, now is the time to check it out! Harvest Right is running their Black Friday sale through the month of November.

    A medium home PRO dryer is now the price I paid for a small 2 years ago!!!

    When I was first looking at them, I did the math to see how much this could save us. When we backpack, we would take breakfasts and dinners that we bought. Breakfasts averaged $9-$13 each and dinners averaged $15-$20 each. With two of us, that adds up quickly and the store-bought food isn’t that good. The price of the machine divided by the daily cost (mind, this did NOT include lunches as we usually would eat bars or snacks instead of a meal), it would take 80 total nights to pay for itself (40 nights if we were both going)

    That first summer after buying the machine, we were out 35 nights total between the two of us (Hubby had 2 backpacking trips I didn’t go on), but I also had a pantry full of food, ingredients, and snacks ready to go if/when I wanted anything.

    Our machine has paid for itself in two years. And we are still going strong on freeze drying and backpacking! My husband, who was skeptical at first, has shared his praises with friends about how great the food is and how much he’s glad we got this.

    If you’re in the market, take advantage of the great prices going on now!

    Harvest Right