Category: Cooking/Baking

  • Fall Harvest

    Fall has arrived and so has the harvest to be put up!

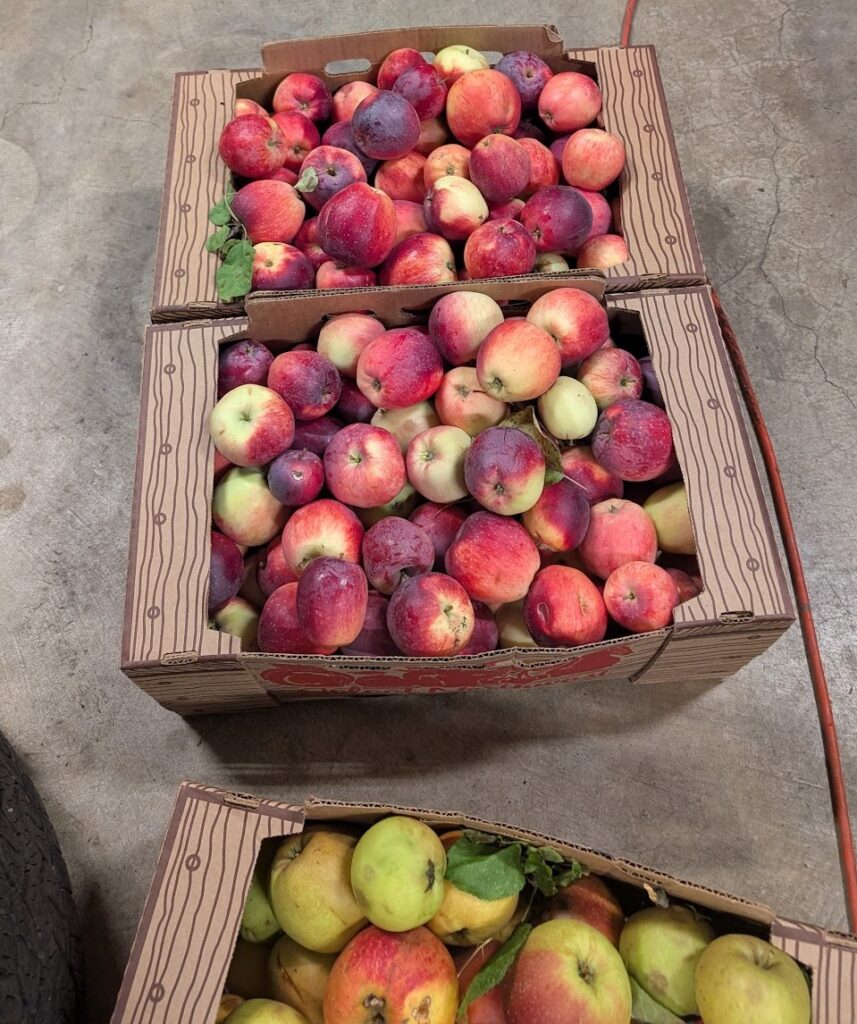
    I posted in a local FB group that if anyone had fruit trees that needed picking, I was available. I got two offers to get fruit FOR FREE!!!

    One lady had apple trees and I came home with 4 boxes! I overestimated my energy level to process all of those apples. (It didn’t help that by the time the weekend was over, I had a pretty nasty cold for a couple of days.) I gave one of the boxes to a family at my church.

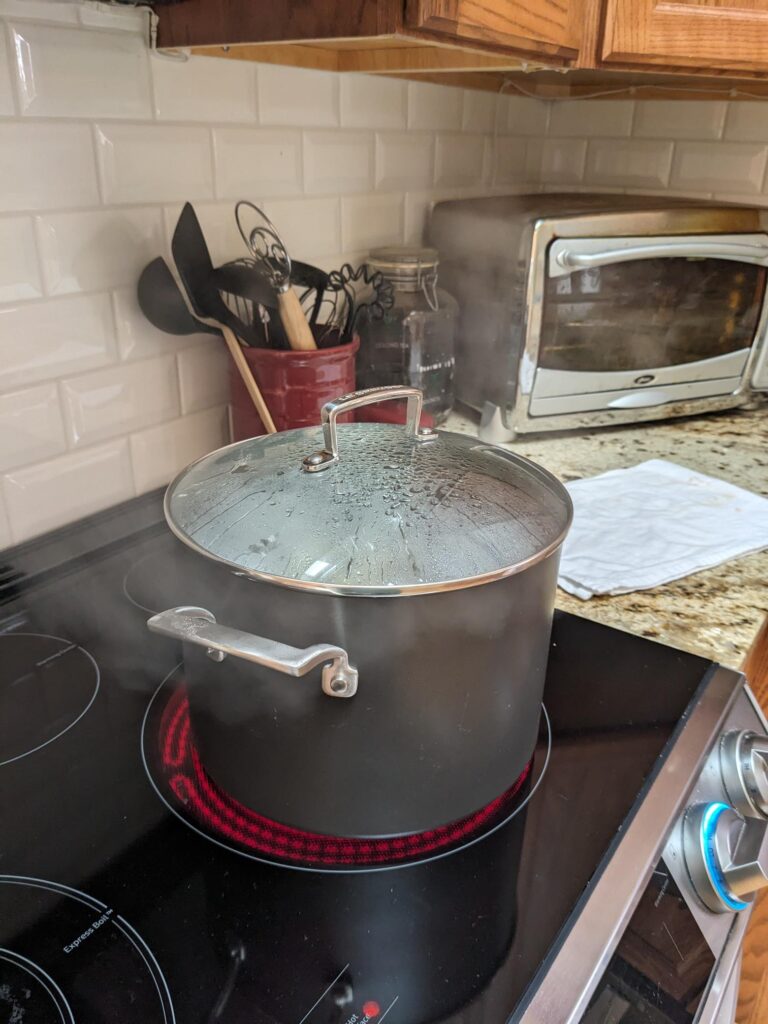
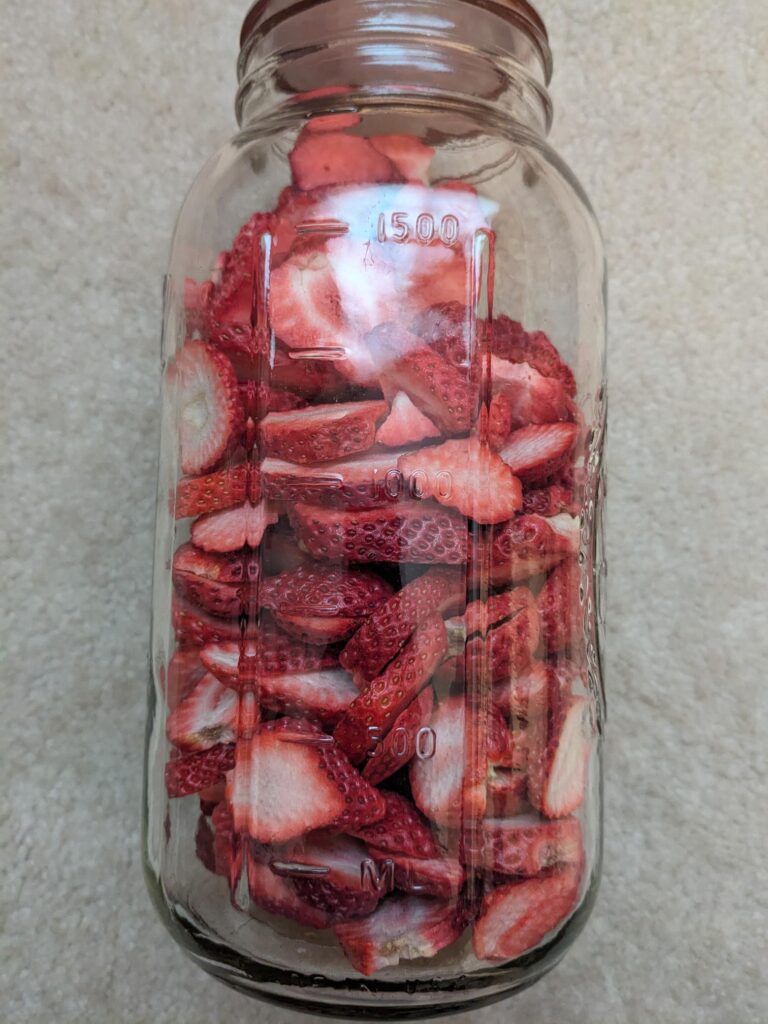
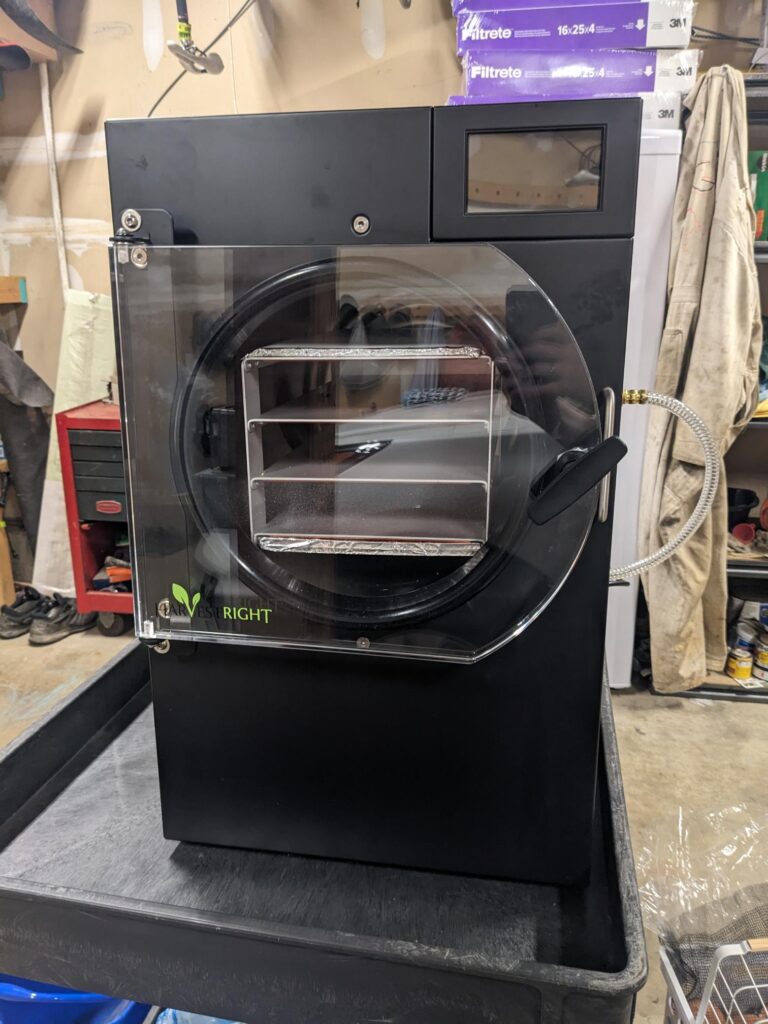
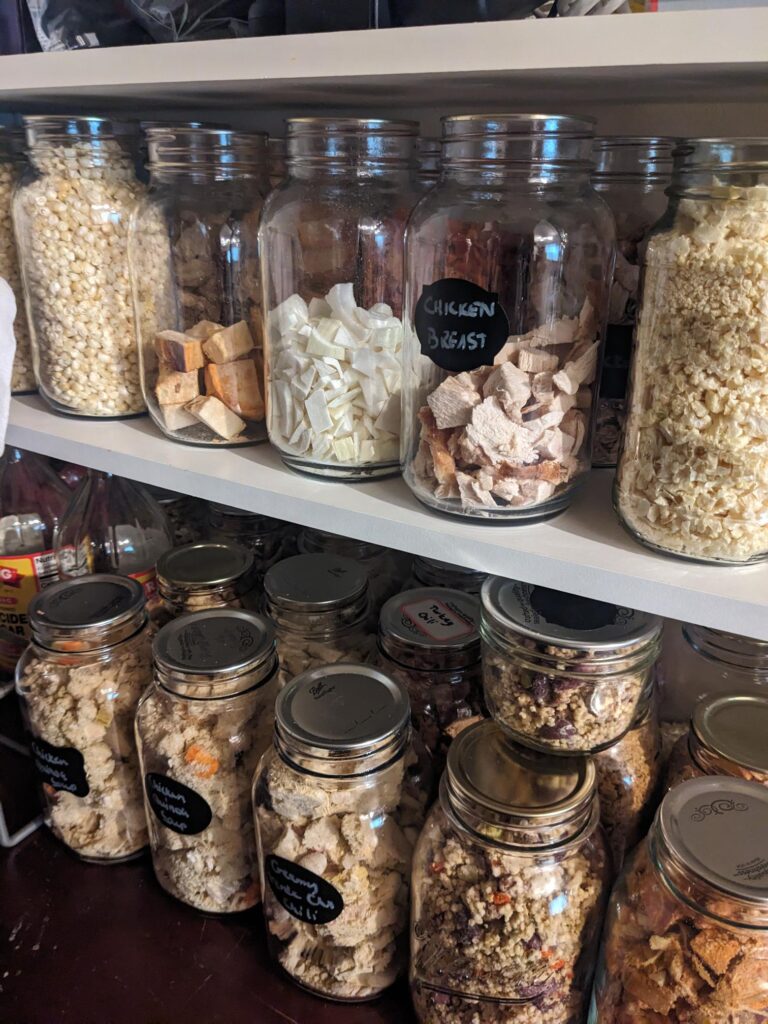
    With the apples, I have made a double batch of apple butter, 4 quarts of applesauce (so far) and freeze-dried 2 trays (so far) of apple slices.

    I have another batch of applesauce started and will finish the box of the red (Liberty) apples making those into sauce. When I cook them down, I run them through an old-fashioned sieve and end up with a lovely pink sauce because of the red skin. My husband has been enjoying eating what’s leftover in the sieve.

    My applesauce is literally just cooked down apples. I don’t add anything to it. I prefer unsweetened and these apples are so sweet, I definitely don’t need to add anything to them.

    Another lady had an Asian pear tree that was ripe. Unfortunately, that one ended up being too tall to get much, but I did come home with 3/4 of a box of pears.

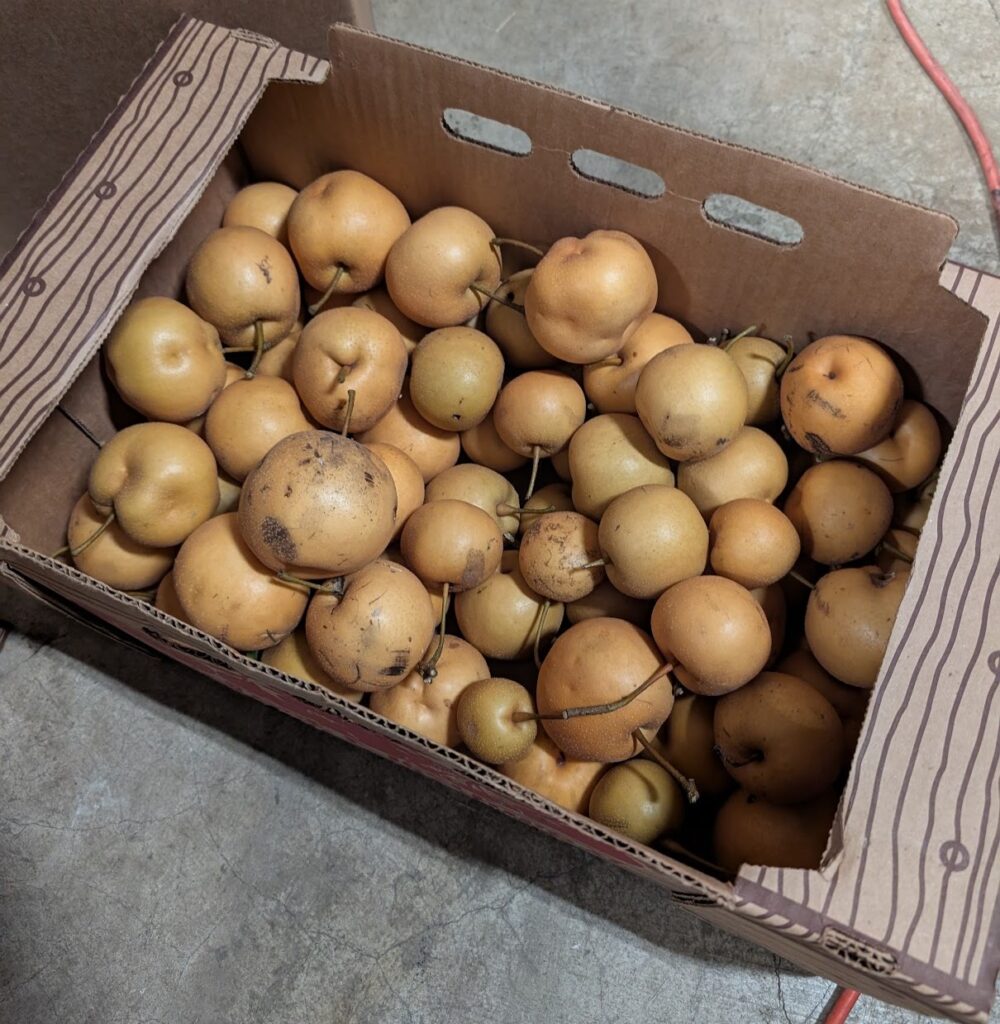
    When I got home that afternoon, I made some ginger pear muffins from the Trim Healthy Mama membership site. They’re delicious!

    I plan on making a batch of pear jam and then freeze-drying the rest of them. I like pears as snacks when we’re hiking but then can easily rehydrate them for baking.

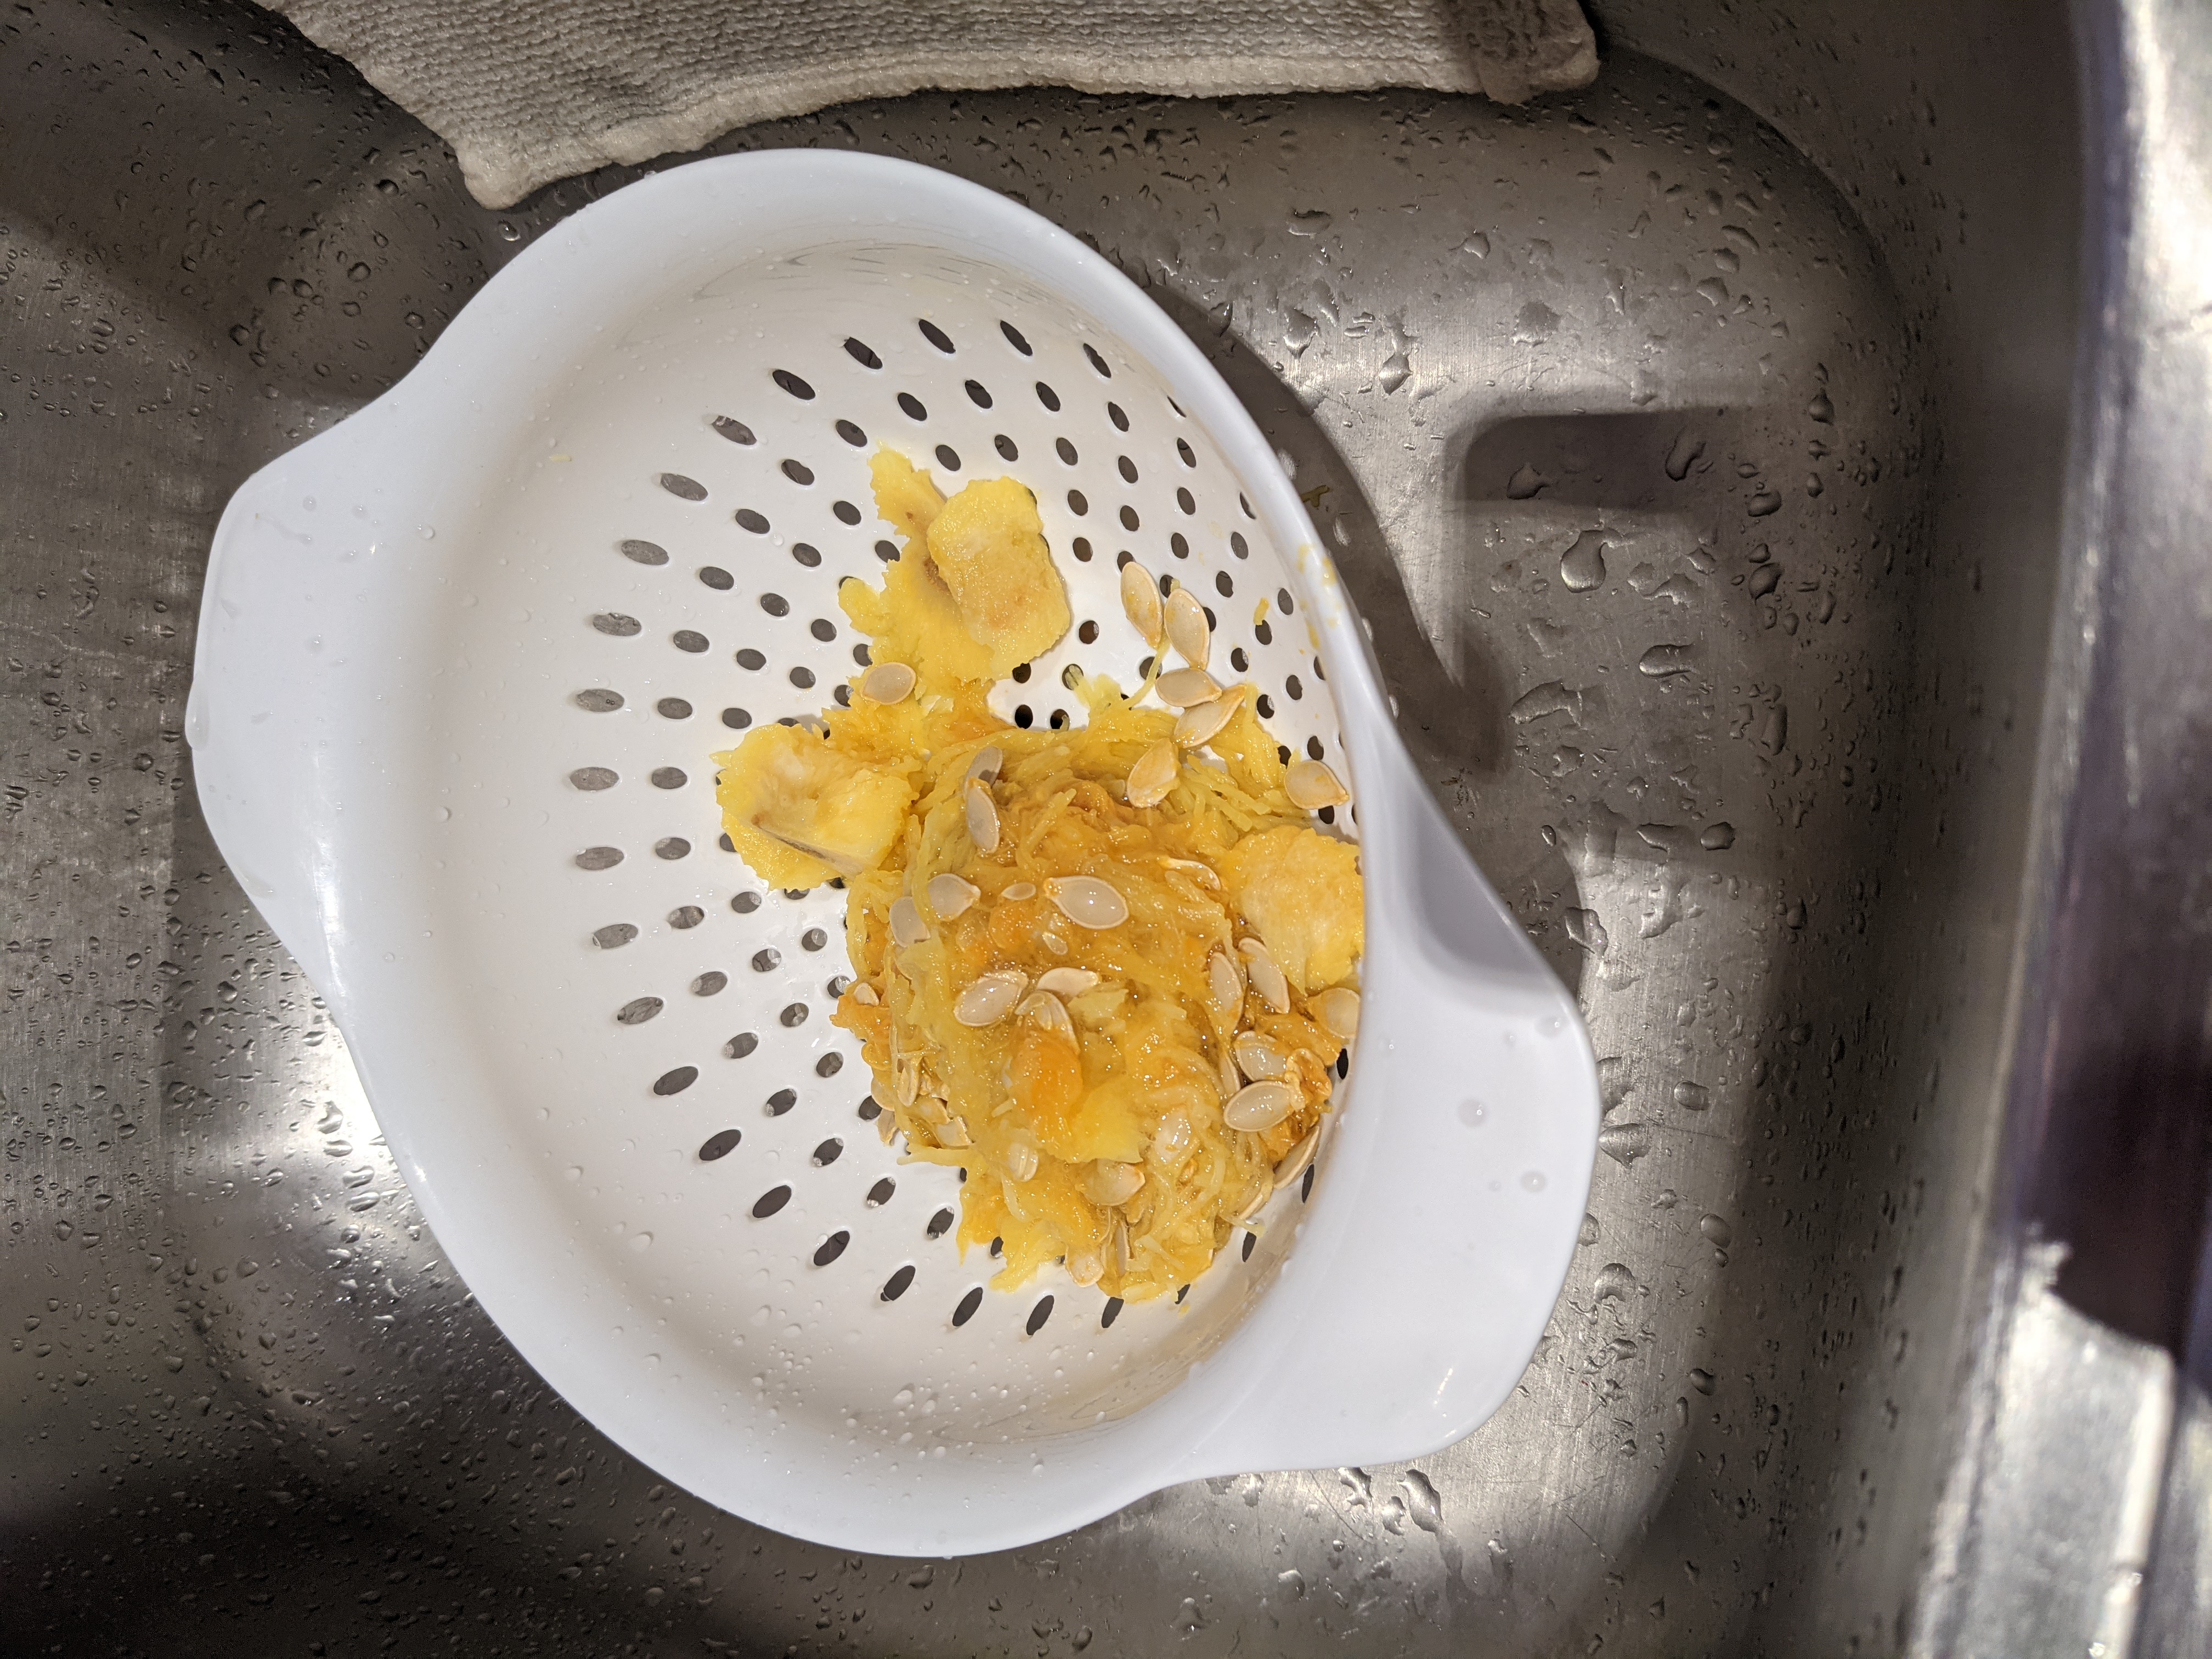
    We also harvested the quince from the quince tree. My husband planted the tree as a novelty in the backyard last year and there was 1 quince. This year, we picked 13 for just under 9 lbs. of fruit.

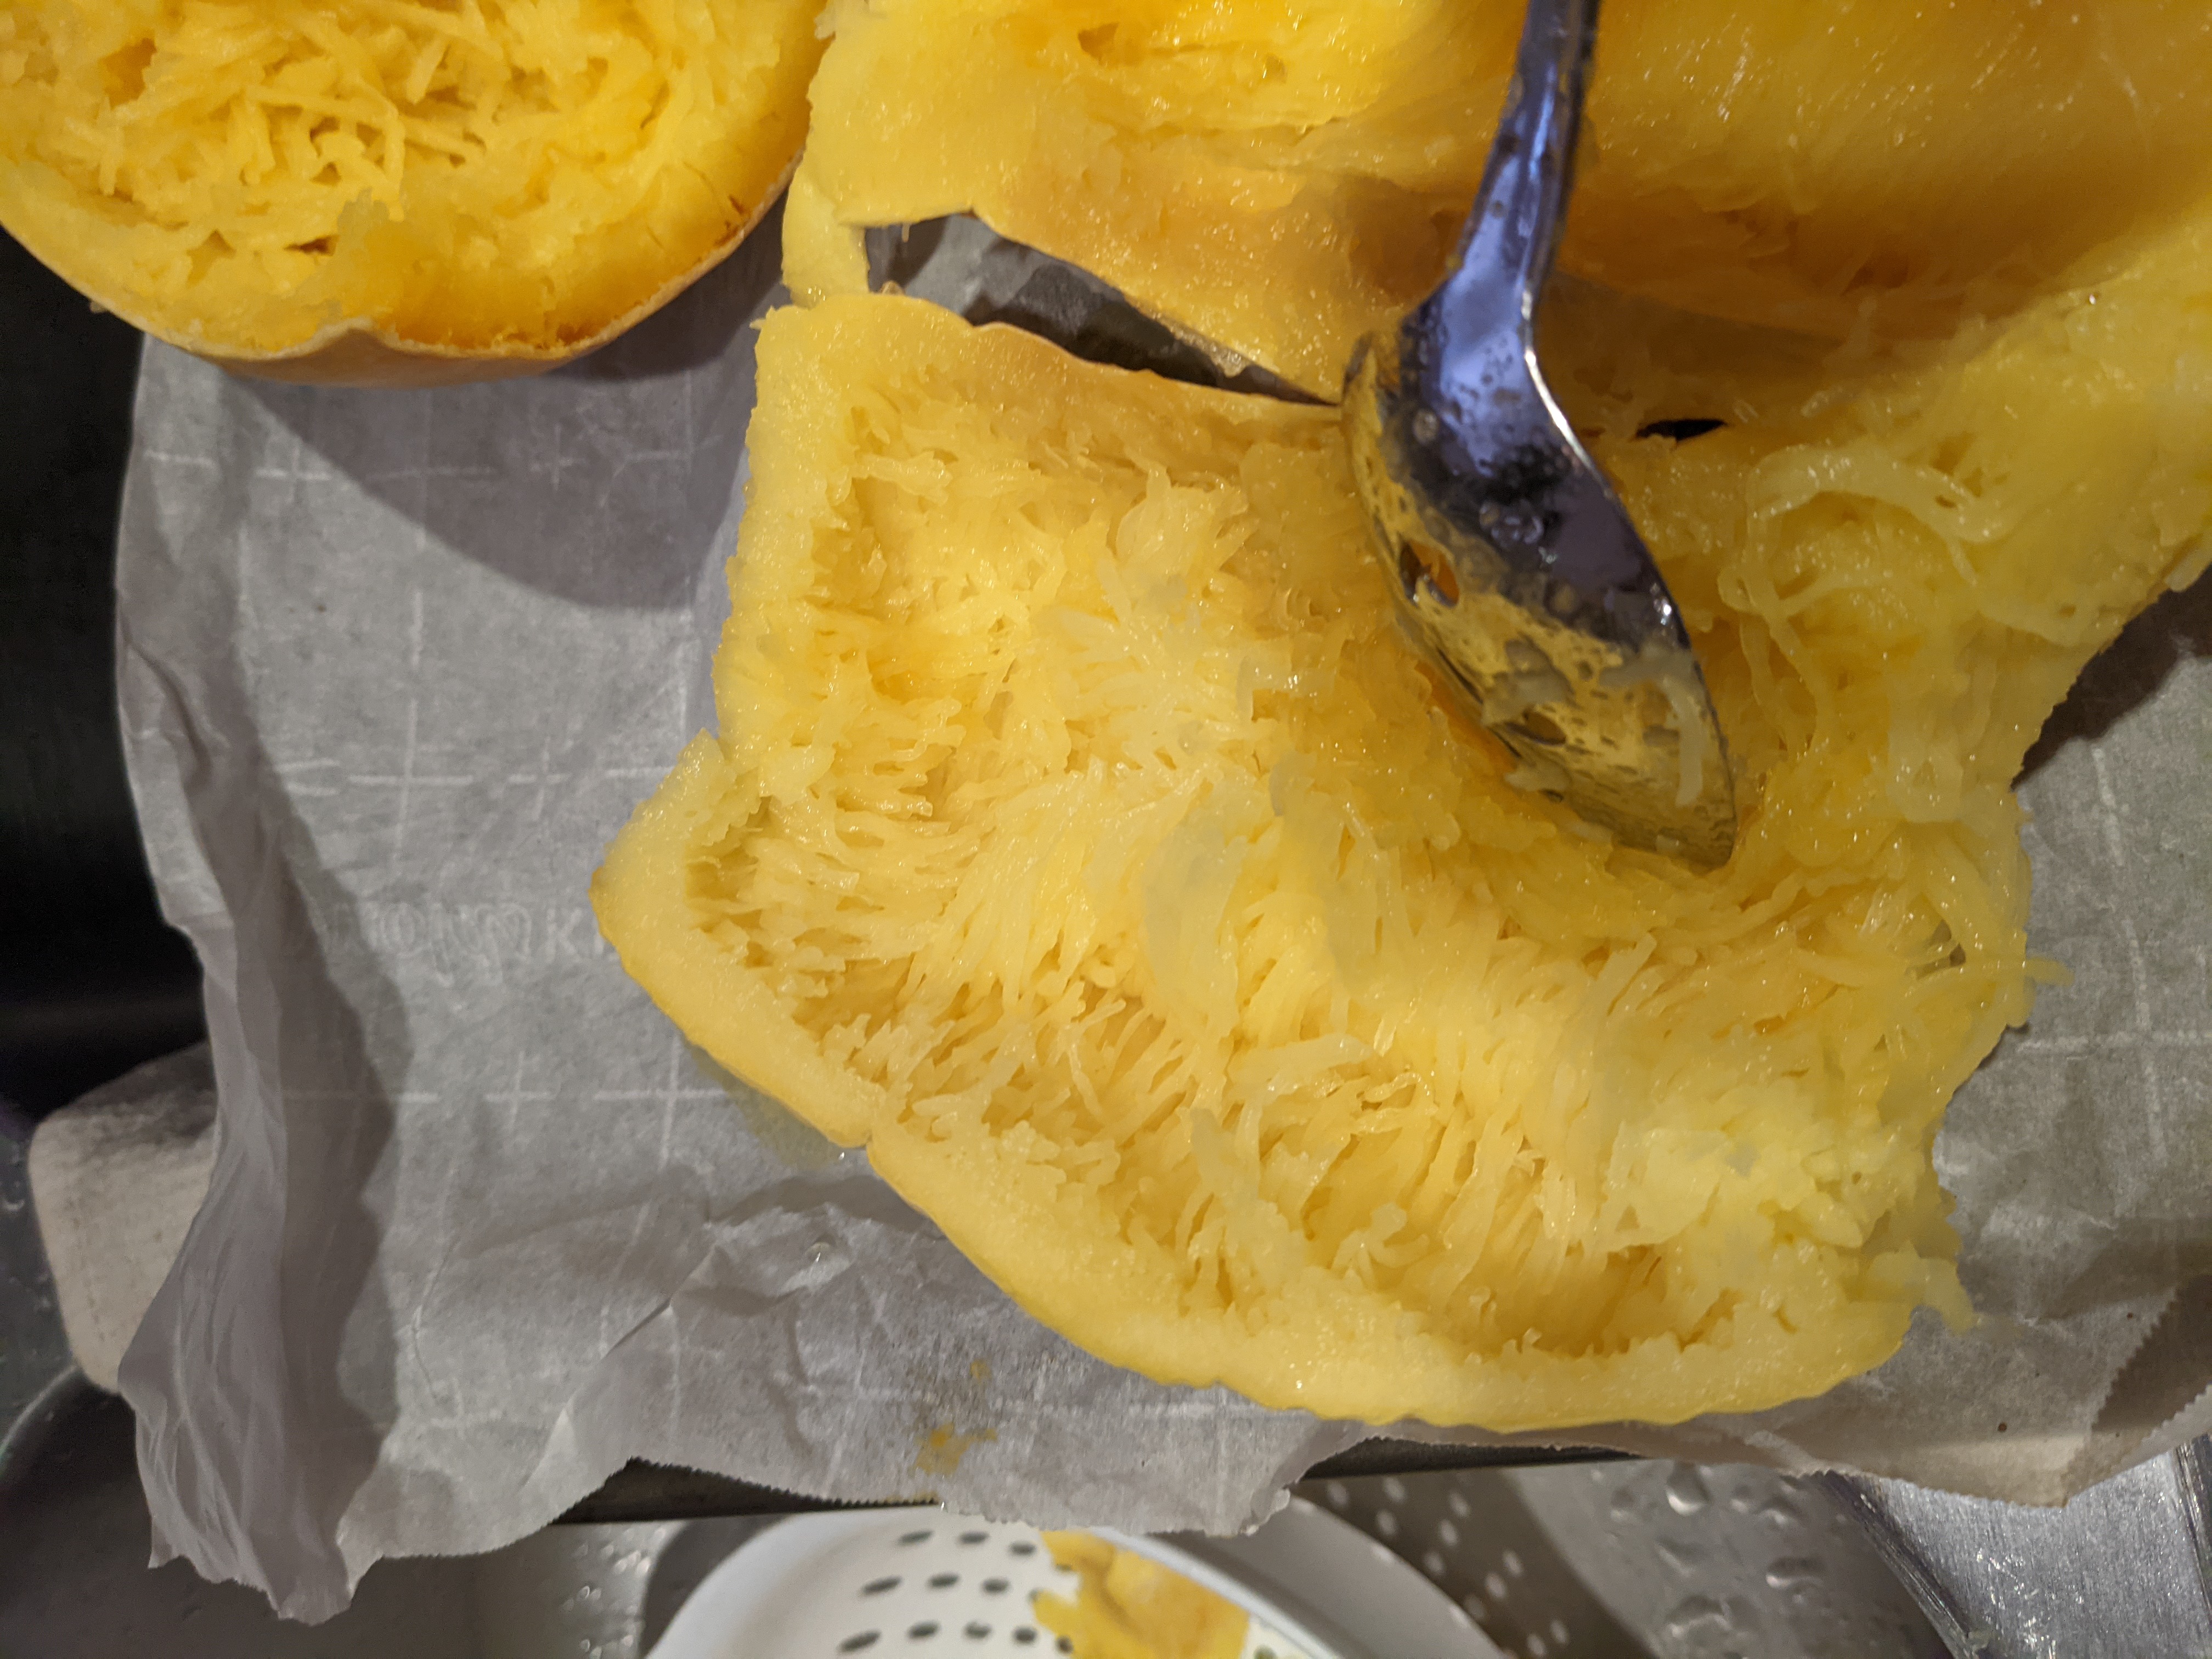
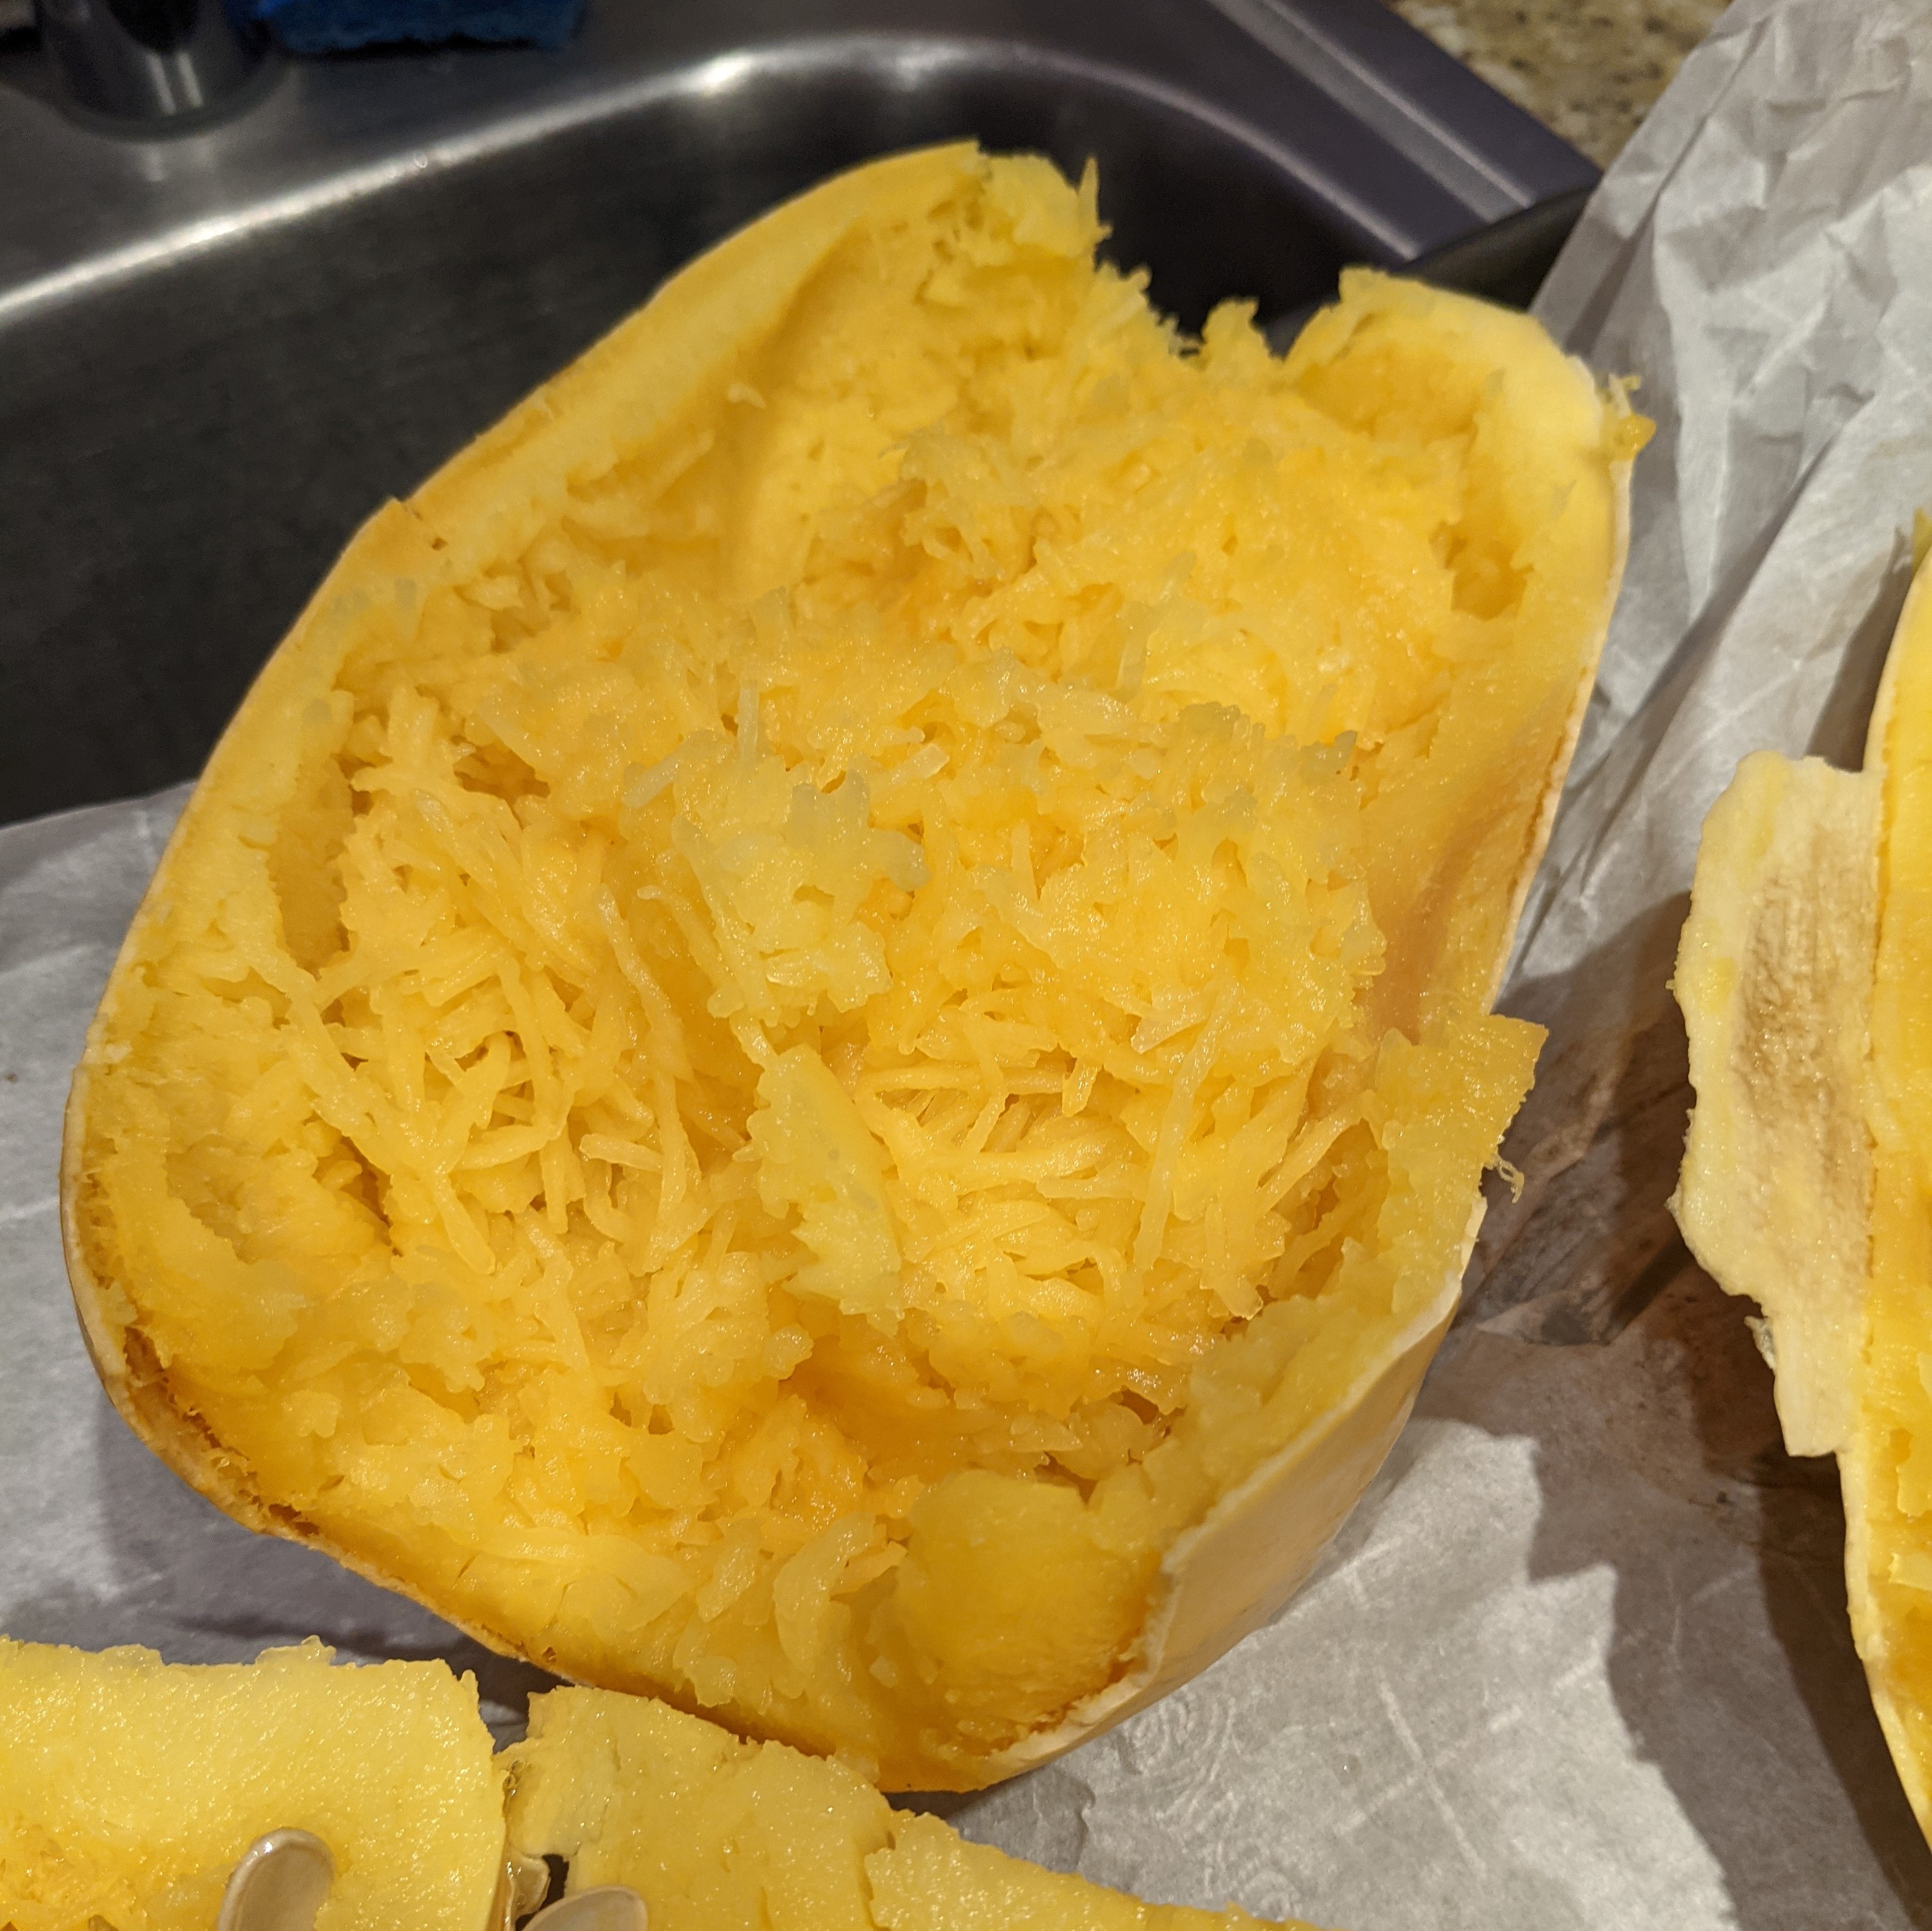
    I’ve had to look up quite a bit on quince to know what to do with them. These are Portugal Quince, and they look like a large pear. They can be eaten raw but are quite hard and very tart. But when they are cooked, they sweeten up and have an almost tropical scent.

    Unfortunately, when I cut the first one open (and each one so far since) they’re brown on the inside. I have a message to the nursery we bought it from to see what they think.

    UPDATE: I heard back from the nursery and they confirmed they were overripe. Next year, we’ll pick them as soon as we can smell them while on the tree.

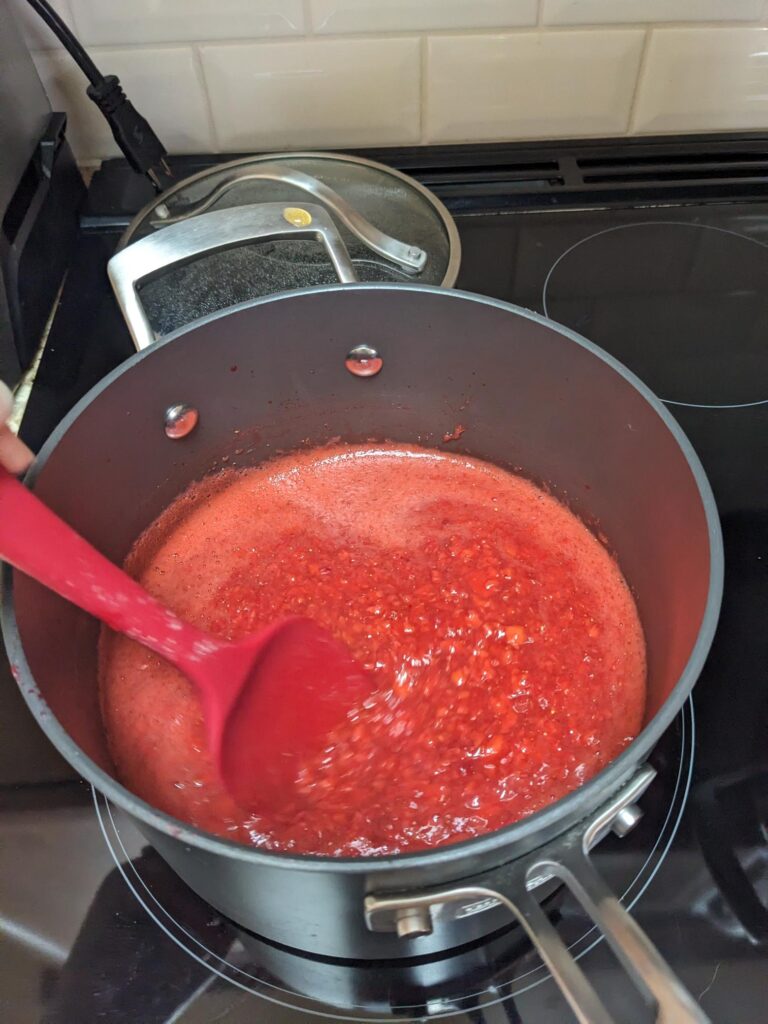
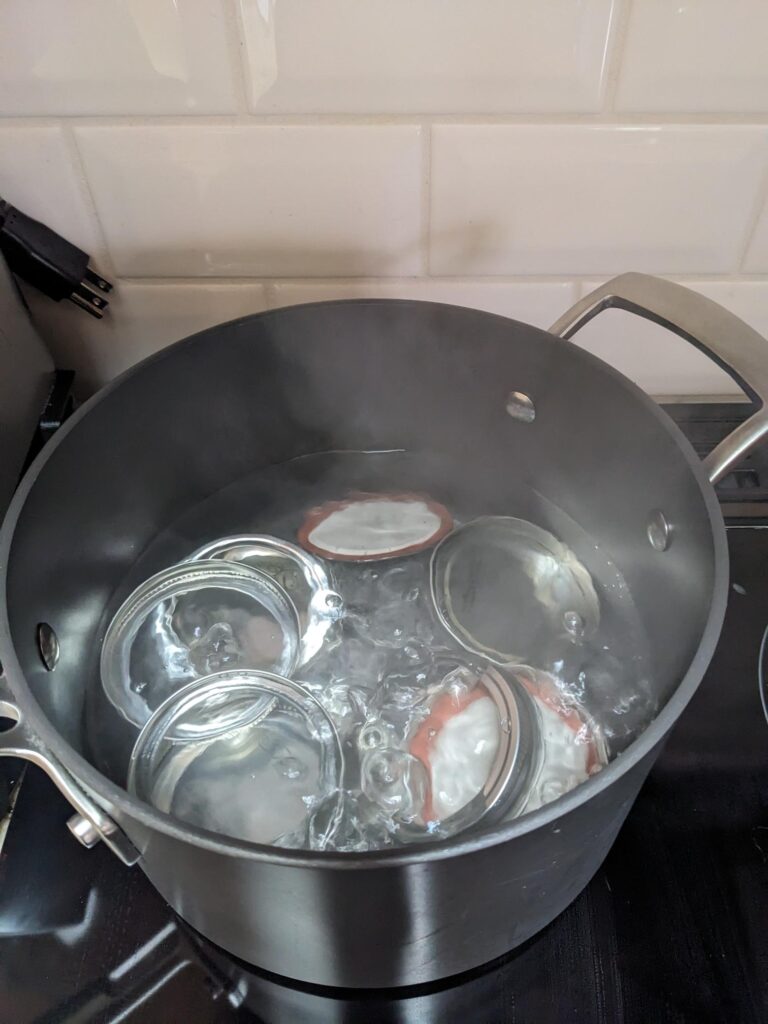
    But, we did bake the first one and my husband ate it. I don’t think it had been cooked quite long enough as it was still pretty hard. And today, I’m cooking down 3 of them to try quince jam.

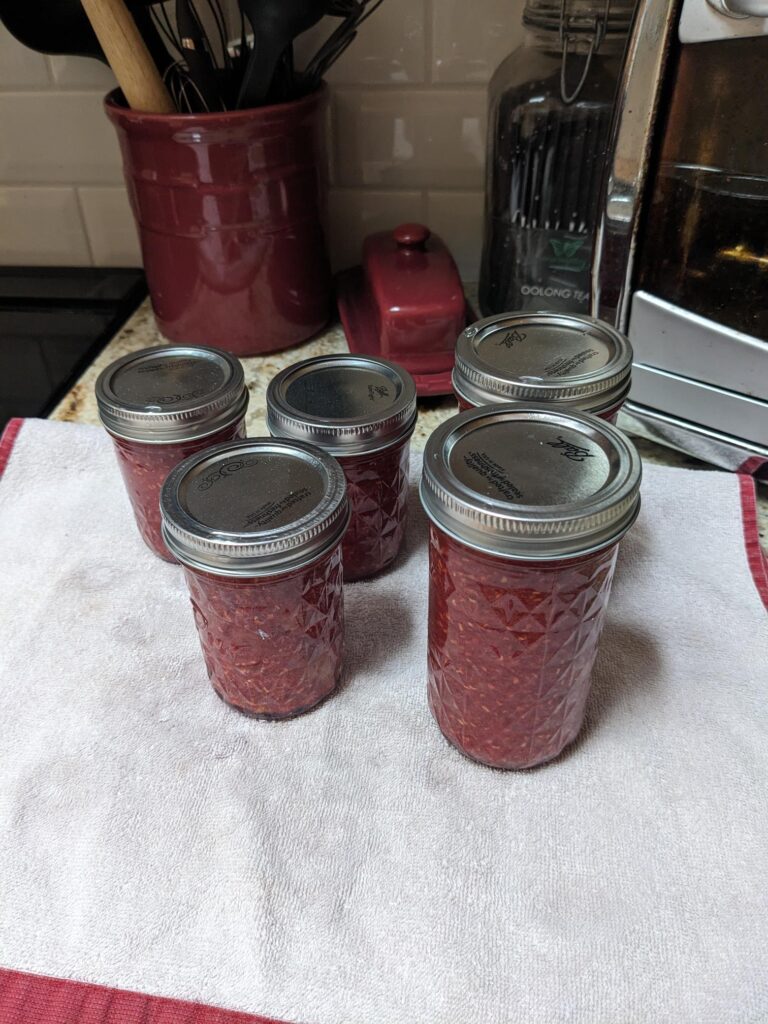
    The best way I can describe what quince tastes like is a peach/pineapple cross. It’s good, just unusual. I believe I cooked down enough for 1 jar of jam. We’ll see what happens!

    UPDATE: The finished jam has a delightful flavor that I think is a peach/pineapple mix, my future SIL said he thought it tasted like pear. My husband and stepdaughter both said mango. So, pick your fruit flavor, but it’s a really bright flavor for a fall fruit. I like it!

    The weekend will tell how much of this processing gets finished. Happy Fall!

  • A Day In The Life – July 2024

    *this post contains affiliate links which means I’ll get a small commission if you buy something through one of the links below

    Whew what a day it has been and it’s only 2PM!

    Summer is here which means it’s backpacking season. I knew I wanted to get some food freeze dried to prepare for upcoming backpacking trips. I have also been changing some dietary things to improve my health and well-being and wanted to do some food prep for that. And finally, it’s the 3rd of July and we have a 4th of July party we’re attending tomorrow, and I need to take food to that.

    Wednesdays are my ‘rest’ day from my Barre workouts. For some reason, I woke up an hour early which ended up being just fine. I got up and stripped the bed and the guest bed. Since we’ve been doing some backpacking, our dog sitter has been staying with our boys while we’re gone, so I stripped the bed she uses to wash the sheets. I’m also working on getting a bit more of a routine down and chose Wednesdays as sheets & laundry day.

    Next up, I headed downstairs and made my coffee and breakfast – I’ve been incorporating a LOT more veggies and protein with breakfast – of sautéed zucchini, eggs and sausage and berries.

    Most mornings this time of year, after breakfast, I head to the backyard with a small colander to harvest whatever is ready. This morning, I picked tayberries, raspberries and blueberries. (The picture below is from a couple days ago.)

    Harvest from June 26th (blueberries, raspberries, black currants, honeyberries, a couple of peas and tayberries)

    Once I weighed and washed what I picked, I put everything away. I then headed upstairs to change clothes, brush my teeth and head out the door to pick up some free ‘canning jars‘ from Facebook Marketplace.

    While I was out, I dropped a card in the mailbox and headed home to get my jars cleaned and ready for use. Well….these were not mason jars unfortunately and I ended up recycling many of them. It’s a good thing they were free! All of the jars were glass, but none of them were actual canning jars. I grabbed a regular and wide mouth lid to see which ones will work.

    I usually use a vacuum sealer to seal jars that I store freeze dried foods in. I’ll use these jars for storage and will be able to see very quickly if a jar doesn’t seal.

    Goo Gone is needed get these jars cleaned up. I prefer nice, clear, no residue jars.

    Next up was to make up a salad I’ve been enjoying recently. It’s a very simple recipe of cucumbers, bell peppers, lime juice, salt & Tajin.

    I recently freeze dried some to bring along as a cold soak lunch while backpacking. (Most freeze-dried meals require boiling water to heat up and rehydrate which you eat a hot meal. A cold soak means you add the desired amount of water to the container and leave the food to rehydrate over several hours. Its ready to eat later on as a cold meal.) I added some chicken that I had freeze dried last season to add some protein to my lunch. I loved it!! For our trip last weekend, I made up a couple of those for us to take along and we both loved it!

    Today, I made up a large batch of this salad to freeze dry (probably 8 servings worth). I didn’t have quite enough to fill the third tray in the machine, so decided to only freeze dry 2 trays and save the rest to eat this week.

    I then cut up 3 kiwis to fill the third tray in the freeze dryer. I did kiwi last year, but we ate it for the first time this past weekend while in camp. We loved it and our friends loved it too. Once we were back, I made sure to pick up more kiwi to get more freeze dried for future snacking!

    salad and kiwi

    I turned on the freeze dryer, set a timer for 15 minutes while it cools down the inside of the machine and got some water boiling to make deviled eggs.

    I sat down for a few minutes to read a few pages in a book while waiting for both things to be ready.

    After15 minutes, the food went into the freeze dryer and I headed to the stove and dropped in a dozen eggs to boil. I got out a big bowl and filled it with ice water for the eggs once their 12 minutes of boiling finished. (It’s easier to peel the eggs if they’ve cooled down and a big bowl of ice water speeds that up!)

    I’m bringing deviled eggs to a friend’s party tomorrow for the 4th!

    In the midst of doing these various tasks, I decided to refill the dishwasher detergent jars – washing soda and citric acid. Refilling those jars led me to check if other jars needed to be refilled. I went through the bulk spices I have and refilled the spice jars too.

    (Having a small flexible silicone funnel makes that job easier! I bought mine years ago from Pampered Chef, but this set is very similar)

    Once the eggs cooled, I turned them into deviled eggs. When I was a kid, I got a paperback trio of cookbooks that I still have. I used the Fanny Farmer cookbook recipe for the deviled eggs and sprinkled paprika on about half and dill on the other half.

    By the time I finished all of that, it was time to sit down and have lunch! Whew, what a morning.

    Now, on to make remake the beds and mix up some cookie dough to bake in the morning before we head to the 4th of July party!

  • Strawberries

    (This post contains affiliate links which means if you purchase from my link, I will make a few cents)

    It’s strawberry season here in the PNW. I’m very thankful for a u-pick farm nearby that has a variety of things I can pick. While they aren’t certified organic, they practice clean farming practices which we appreciate. 

    I picked about 8ish pounds and brought them home, cleaned them up, sorted them and got to thinking about all that I going to do with them. 

    First up, EAT them! Strawberries are do delicious. Growing up, I wouldn’t touch them! I’m so glad my tastebuds changed in adulthood, and I tried them again. 

    I sorted the berries and separated the ones that are the ripest. (Some are almost purple, they’re so dark red!!) We’ll eat those tonight or tomorrow morning and whatever is left of those will go into jam. 

    Next up, make jam! 😛 I use Pomona Pectin which is a no-sugar/low-sugar pectin and uses calcium to activate the pectin rather than sugar. I tend to use a bit of honey for just a hint of sweetness (½ cup for the whole batch of jam). 

    I love this set of canning tools (see picture below) which helps when it comes to not burning fingers on boiling hot items!! You’ll also need canning jars. You can buy brand new with lids & rings. Or you can buy the jars, rings and lids all separate.

    Every time I can, I LOVE that ping of the jar sealing when it comes out of the water bath. I took a video and you can hear the ping, but it’s more of a ‘pong’ because the phone must have been a bit too close. LOL

    Third way to use them, freeze dry them. As I’ve previously posted, we have a Harvest Right freeze-dryer which I use to make shelf-stable, dried foods that are ultra-lightweight for backpacking. Freeze dried strawberries are delicious. They work great to break up and throw into oatmeal but are also great to eat by themselves as a snack. I love having freeze dried fruit on hand. 

    (I store a lot of my freeze-dried food in mason jars as I’m not doing this for long-term storage. There’s less waste with not throwing out a mylar bag every time I need to repackage something to take backpacking. I love these half-gallon mason jars! I use these jar sealers that I use with our Foodsaver accessory vacuum sealer)

    Lastly, I’ll freeze some that we can use in smoothies or other things throughout the winter. (Nothing like a taste of summer in the cold of winter.) Last year, we bought a stand-up deep freeze that we keep in the garage. I have loved having fruits, vegetables and meat in the freeze to ‘shop’ from when it’s time to think about what to make for meals. I have one bag of raspberries left from last year and about a half bag of diced apples from last season. 

    As it is still early in strawberry season, I’m sure I’ll go out to the u-pick farm at least once more. (The farm has about 7 varieties of strawberries and only the first two were ripe when I went today.) 

    Happy Strawberry season!

  • Raspberry Rhubarb Jam

    Rhubarb – how I love thee and how I hate thee!!!

    Rhubarb causes so much excitement because it’s the first thing to harvest in the spring which means it is almost the start of gardening season. (Here in the Pacific Northwest, that season starts late and ends quick!!!)

    I also hate rhubarb – what in the world do I do with it all????

    Rhubarb isn’t one of those veggies that you just take a big ole stick and munch on all day. There’s the usual Strawberry Rhubarb pie, jam, scones, cakes, etc., rhubarb sauce (think applesauce but with rhubarb) and……what else????

    Last year, I made strawberry rhubarb jam. It’s yummy, but it turned out to be my least favorite of the jams I made, and the color is rather unappetizing. (Strawberries lose their color when you cook them, so the jam is a lovely shade of…brown.) I still have 2 small jars of it left from last year.

    Earlier this spring, while visiting a garden shop, I saw a jar labeled Raspberry Rhubarb Jam. Lightbulb moment!!! I have frozen raspberries that were given to me. And I have frozen rhubarb that I harvested and had no idea what to do with.

    The other day, while my husband was out mountain biking, (I tend to my messiest kitchen stuff while he’s not home) I decided it was the day to make the jam.

    Out came lots of pots and pans – the pot to cook the jam in, the pot to put jars in hot water while they were waiting and another pan to put the rings & lids in to boil while the jam was doing its thing. (Oh, I was also making a batch of pancakes for the freezer at the same time – the kitchen was A MESS!!!)

    Last year, I found Pomona Pectin which is a no/low sugar pectin that uses calcium and pectin to gel jams. (that is an affiliate link) I still use some honey in my jams, but no sugar! (I used 1 cup of honey for a double batch.)

    *Interesting tid bit – do you know the difference between jam and jelly? (I’ll tell you below)

    I followed the raspberry recipe in the pamphlet inside the Pomona Pectin box and doubled it. (Their recipe calls for 4 cups of berries and since I had both berries and rhubarb and 4 cups of each, I doubled the rest of the recipe)

    I put the berries, rhubarb and calcium water into the pan and then mixed the pectin with the honey. I brought the fruit to a boil and then stirred in the honey and brought it all to a boil again.

    Time to fill the jars. I pulled the jars out of their hot water bath and put them on a towel on the counter (hot jars, cold granite counter – towels help!!).

    I ladled jam into the 6 jars I had out. The handy-dandy funnel helps keep things much cleaner. You need very clean jar edges to ensure a good seal and the funnel helps keep those edges clean. (That funnel comes in this canning set which is fantastic and helpful when dealing with VERY hot jars, contents, lids and rings!) (that is an affiliate link)

    The jam was now ready to get its water bath. Since I only had 5 full jelly jars (the 6th was only partial so I didn’t ‘can’ it, it went in the fridge to use right away), I cleaned out the pot I had made the jelly in, filled it with water, and brought that to a boil. Once it was boiling, the jars went in to boil for 10 minutes. (Please use proper canning procedure to ensure you don’t have spoilage. Ball has a great book on canning basics that is a fantastic resource to have on hand.)

    *tid bit – jam is made using the whole fruit, jelly is made using just the fruit juice

    When they finished their bath, they dried off on the towel on the counter. (again, hot jars, cold counter, good idea to have something to buffer between the two.) And I waited (not for very long) for that satisfying ‘ping’ that lids make when they seal. The first ping was before all of the jars were out of the pot!

    awaiting the ‘ping’

    I let the jars cool for a good 9+ hours before I moved them. I wanted to ensure everything was sealed well.

    After making the jam in the morning, I made a loaf of sourdough bread that evening and then had a slice of bread with the jam for lunch today. YUM!!! I think strawberry rhubarb is something in the past for my tastebuds. The raspberry rhubarb combo is DELICIOUS!!!

  • Sourdough – It’s a journey

    *links in this post are affiliate links which means that I may make a bit of money if purchased through my link

    For anyone who is frugal, I’m sure that making things for yourself from scratch is high on your list. It is for me!!

    I decided that after I retired, I would delve into the world of sourdough because it seemed VERY intimidating and time consuming. I’m glad I did it! I’m also glad I did it after I retired and had plenty of time. I know myself well enough to know that I would have thrown in the towel if I had tried it while still working and focused on other things.

    I won’t get into the all the crazy info that is available about sourdough, but I will say that it has been a journey. Early loaves were either gummy or so hard you couldn’t bite into the bread. Some were so dry, you had to drink a gallon of water to get through half a sandwich. And some were VERY crumbly and wouldn’t hold together for much of a sandwich.

    I’ve been making sourdough for almost a year now and my husband said the other day “These latest loaves are really good. I’m really glad you didn’t give up on this!”

    Cut bread in half

    Me too!!

    One of the most frustrating parts of sourdough for me has been getting it cut in thin enough slices that I could actually eat it as sandwich bread.

    I’ve used various bread knives, asked for a slicing set (knife included) for Christmas but returned it and have finally settled on what works for me!! Bread knives are a mixed bag for sure. They either work for a slice or two, or they completely squish the bread in order to even start the cut.

    When I visited my parents earlier this year, my mom had asked me to make sourdough while I was there. I was happy to, but was even happier to discover the knife that makes sourdough slicing a joy!

    A CutCo Bread Knife makes it so easy!!! My parents have used CutCo knives for years and look for them at garage sales or estate sales because they are such good quality and have a great warranty.

    I used their knife while at their house. Then promptly found one (on Facebook marketplace for half of what is it on Amazon) and bought it!

    I can now slice my bread into thin slices that make eating sandwiches with my homemade bread so much easier to eat!

    Here is my method of slicing my sourdough that now works perfectly with this CutCo knife!

    1. Cut your round loaf in half (see photo above).
    2. Put cut side down on the cutting board and begin slicing to the desired width you want.
    3. Cut second half the same way as step #2.
    Cut side down
    Slice to desired width

    Viola, you have a sliced loaf of sourdough bread!

    Since its just my husband and I eating this and it dries out in a day or two, I put 3/4 of the loaf in the freezer (already sliced) and take out a few slices as we need it. It thaws to the softness and crustiness of baking day (or the day after). Once I have it on the counter, I have it stored in a cotton bag that I have melted some beeswax on it help keep it fresh. (Experience showed that plastic isn’t a good way to store sourdough).

    There you have it, scratch sandwich bread without squished, wonky sized slices of bread!

  • Use Up – Rotisserie Chicken

    Who doesn’t love a $4.99 Costco Rotisserie Chicken?

    I can’t tell you how many times I’ve walked into Costco for the sole purpose of getting dinner via a rotisserie chicken and strawberries or a salad.

    But, often so much ends up going in the trash. Here’s a few little things to use up as much of that bird as possible!!

    First, eat dinner! When I was single, I could get up to 4 dinners out of a chicken. Now that I’m married, we usually can get a good dinner and plenty left over for a lunch or two. The dogs end up getting some chicken too.

    Second, pick the rest of the meat off the bones. In our house the breast meat is preferred over thigh and leg meat. That meat is great for soups or casseroles later on. It gets picked off and either frozen or freeze dried (affiliate link).

    Lastly, throw that carcass in a crockpot with some onions, carrots, celery, salt, pepper, sage and whatever other spices you want and turn on low for 36+ hours and make bone broth. Homemade bone broth is so delicious and VERY nutritious. Once you let the broth cool in the fridge and skim off any fat, if it looks like Jello, congratulations, you have all the goodness out of those bones!

    To keep your bone broth for later use, you can either can it (pressure can it), freeze it or freeze dry it. (I freeze mine in a silicone muffin pan which makes it easy to pop out and then its easy to estimate how much each ‘puck’ measures)

    Once you’ve literally taken all of the good stuff off this bird, what is left can now be thrown in the trash (or yard waste if your town does that). (Don’t throw that in your backyard compost unless you have a very hot compost bin, meat and dairy will attract 4-legged pests I wouldn’t want to have to deal with)

    Happy Chicken eating!

  • Reducing food waste – Freeze Drying

    *some links below may be affiliate links which means if the item is purchased through the link, I may make a small commission

    Have you ever seen those foods/meals you can buy that are supposed to last up to 25 years? Those are freeze dried meals!

    Why would you want a freeze dried (FD) meal? Do they even taste good?

    Well, let me tell you!

    First the why – preppers prep, gardeners preserve (tired of canning or ran out of freezer space) or backpackers want to eat in the back country without needing a mule to carry the cooler.

    My husband & I fit into the 3rd option above (although I fit into a bit of all three). Ultra-light backpacking. WITH water, my pack is usually about 25 lbs. My husband’s pack is a bit more at around 28 lbs. (We have friends who do this with 45 lb. packs – no thank you!!)

    One way our packs stay light, making backpacking more enjoyable, is bringing along freeze-dried food. Freeze drying taking the water out making the food feather light.

    Two weeks after we got married is the first time I went backpacking and I fell in love with being out in the back country. Wanting to control the ingredients consumed, I knew I didn’t want to eat the store-bought FD’ed meals.

    The investigation into freeze-drying began! Buying a machine is expensive! Then I did the math. Based on what we were paying for meals at REI (breakfasts – $9-$13 each, dinners – $13-$16 each), it would take 40 nights for the 2 of us (80 nights total) for a machine to pay for itself.

    That math made sense to both of us that buying a machine was worth it. A medium Harvest Right Medium Freeze Dryer was purchased during the Christmas sale at the end of 2022. Harvest Right changed the configuration shortly after I bought ours and the medium now has 4 trays, not 3 like what I have.

    ***Harvest Right will be having their May Mega Sale May 1-21st, 2024 and machines will be up to $500 off!!! If you’re in the market, take advantage. Black Friday is their only other sale of the year!!

    After the first season of having the machine, it is half paid off by backpacking a total 35 nights between the two of us. In addition to full meals, there are individual ingredients and snacks available not include in that total. I consider this a big win!!

    FD’ing our leftovers allows for extremely lightweight food to pack. We take a Jetboil to boil water which we then pour into either a mylar bag or a titanium cup to rehydrate the meal.

    By making and taking own meals, we know what to expect and we know exactly what went into these meals. There is also a much bigger variety of meals than what are sold in the stores.

    To answer the second question, YES, they taste good!!! There have been a couple of things that we didn’t care for (Asian flavors – I think it’s the soy sauce that I don’t like). The most surprisingly delicious meal was fish tacos. We tried it on a whim and were VERY surprised at how delicious it was when rehydrated!!!

    The other two reasons listed above (prepping and gardening) have been a side benefit of having a freeze dryer. Having grown up out in the country, my desire to be prepared has not left me in spite of city and suburban living. (umm, multi-day power outage???) And now that I’ve started a garden, I like having the option of FD’ing some of the harvest! (FD’ed blueberries anyone!?!?!)

    There was more than one evening this past winter that I didn’t want to go to the store. Instead, I shopped the pantry and used FD’ed ingredients (carrots, celery, onion, chicken and chicken broth) into a delicious soup.

    You’ll notice in the picture above that most of my FD’ed stuff is stored in mason jars. I like being able to quickly see what and how much I have. And we’re also not wasting other materials if we have to repack something to fit better before we head out backpacking.

    I use the “accessory” button on our Foodsaver machine along with these mason jar vacuum sealer tops to seal the jars. The thing with FD food is to keep moisture away until time to use it. It slowly rehydrates from the humidity in the air and get soft and squishy and will eventually go bad.

    How does this reduce food waste you ask? It gives another option of what to do with leftovers to ensure they get eaten and not thrown out. It also is a wonderful tool to have when finding amazing deals on food (like the apple grower in Wenatchee that sells their Honeycrisp apples in the off season for $1/lb or less!!)

    It was an investment worth making for us. Freeze drying for the win!!!! 🙂 Hooray for HarvestRight!

    For more ideas on how to reduce food waste, you can read more in my previous post about Cleaning out the Fridge.

  • Reducing food waste – Fridge Clean-out

    *links included may contain affiliate links which means I may make a small commission on any product purchased from that link

    Wednesdays are my at-home day. (I work out the other days, so my mornings are broken up.) I usually do a variety of tasks throughout the morning and decided that today, there were some things in the fridge that I needed to use up before they went bad.

    I had 1/2 an onion, more than half a bag of cauliflower and an old pear.

    I have this handy-dandy food chopper, slicer thingamabob and I LOVE IT!!!! (The official name is “vegetable chopper“. I think I like my name for it better!)

    (I had a great set of photos for this blog post but for some reason, they won’t save and upload properly, so sorry for just words.)

    I love that it has different sizes available for a dice/chop, multiple shred options and a slicing blade. (I used the slicing blade like a mandolin slicer the other night for dinner when I needed chopped cabbage for fish tacos.)

    I used the small dice to chop the onion and freeze it. I also used it to make cauliflower rice. I blanched the cauliflower and then riced it and put it on a small baking sheet in a thin layer to freezer before bagging it up. If I don’t freeze it that way, then it will be a solid mass of cauliflower rice and not easily used in smaller servings.

    I used the larger dice for the pear which I used to make a double recipe of a single-serve apple cinnamon muffin that I adjusted to make into a pear ginger muffin instead.

    I still have a couple of things in the fridge to use up or put up (freezer or freeze dry), but I will work on that throughout the rest of the day!

    No need to throw money down the drain by throwing out perfectly good food. Getting it taken care of ahead of it fully going bad makes a huge difference in spending, but also prevents filling up the landfills. (If it has already gone bad, then put it to good use by composting it – either in your backyard, yard waste bin or a community composting arrangement.)

  • Spaghetti squash in the freezer

    I enjoy cooking, but sometimes I hate all the prep needed for a recipe.  That’s why, I love to be able to prep ahead of time and freeze for future.  

    Spaghetti squash is SO easy to prep and have ready.  I have found that a sandwich zippie bag is enough to nicely fill the bottom of an 8×8 baking dish which for most of the recipes I use is a ½ recipe.  If I want to make the full recipe, I’ll use 2 bags in a 9×13 baking dish.  Here’s how I do it: 

    Preheat the oven to 350. Line a baking sheet with parchment paper (not necessary but easy clean up).  Wash off the squash and then pierce the skin with a fork or knife in several places.  Place whole squash on baking sheet and bake for an hour and 20 minutes or a bit longer if the squash isn’t easily stuck with a fork by then. 

    Today, I took the squash out of the oven and let it cool. Once it had cooled well, I cut the top & bottom off the squash and then cut in half lengthwise. 

    I then scooped out the seeds and put them a separate colander to clean up and sort through to save to see if I can plant them next summer. (I bought my squash at CostCo which usually has organic produce so going to give it a shot at saving the seeds). 

    Then go to town with a fork or spoon to “make spaghetti”.  This is SO simple – just start scraping and it separates into the spaghetti strands. 

    Put the shreds into a zippie bag and as you close it, squeeze out any air.  TIP: to keep the outside of the bag pretty clean and the zipper clean for best closing, turn down the top until it’s full. Then turn up and zip closed. 

    Once a bag is filled up, I lay on a small baking sheet and squish as flat as possible.  Freezing in consistent sized and flat(ish) objects results in more efficient freezer storage (I.e., you can fit more in the freezer without a bunch of wasted space) 

    Then freeze until you’re ready to use. When you’re ready to use, you can thaw in the fridge.