Category: Sewing

  • Hibernation

    Sometimes, I want to be a bear. Hibernating during winter just feels right somehow!

    For some reason, this winter, I have felt a bit more like hibernating than I have in the past. Even though we don’t have harsh winters and much snow at home, the colder, darker days just called to me to take things slower and stay home.

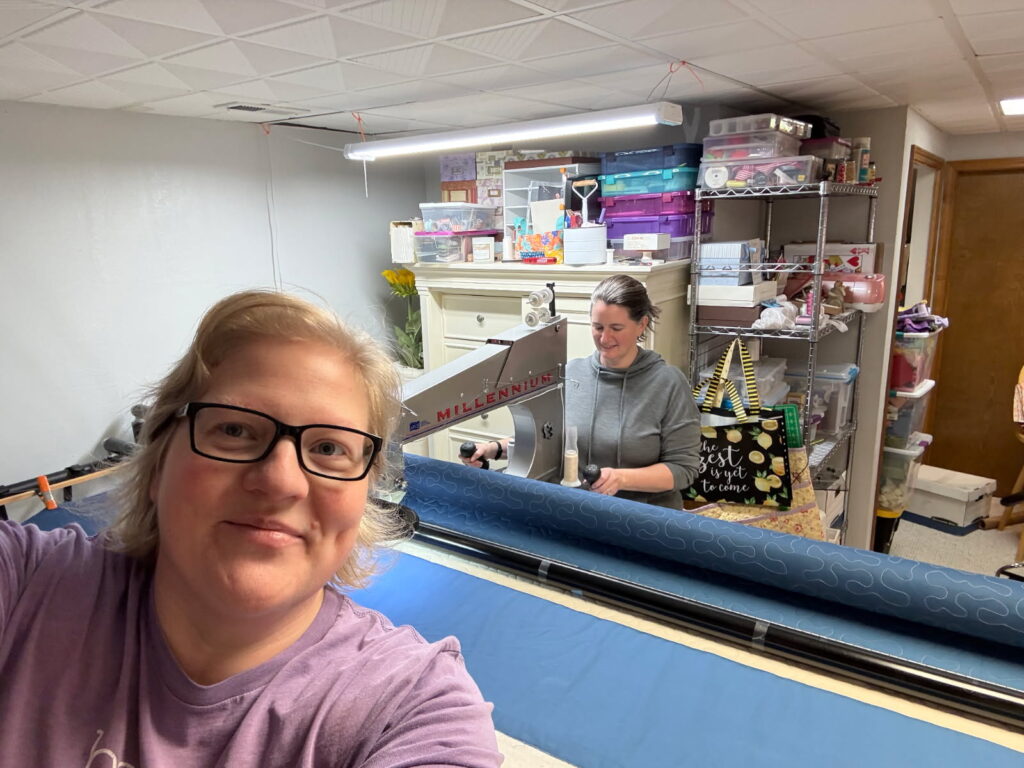
    With the fall wrap up of the garden, and heading into winter and getting to stay inside, I have enjoyed spending quite a bit of time in my sewing room (aka, the little bedroom).

    My local quilt shop has an annual UFO (unfinished objects) contest that I decided to do this year. You write down a list of 12 unfinished or not yet started projects that you want to finish this year, with an optional 5 extras and submit it to the quilt shop. They then choose a random number from the list to be finished each month and you either email in photos or can take the item into the shop to show its finished.

    I wrote out my list of just random stuff I wanted to work on or finish with the first 3 on the list almost finished (needed long-arming) and submitted it to the shop. Here we are with February not even finished and I have 10 of my 12 items finished.

    I guess that is one of the perks of hibernating – being able to focus on projects and stay in my sewing room.

    Here are a few of the items:

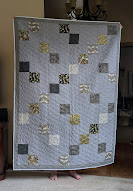
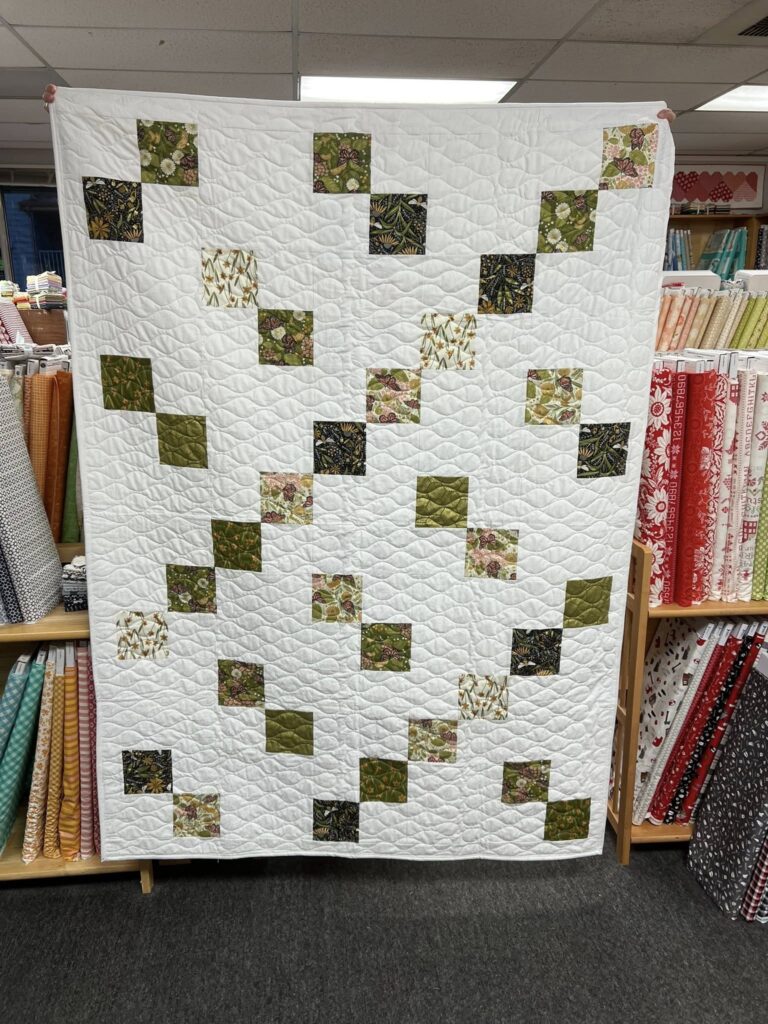
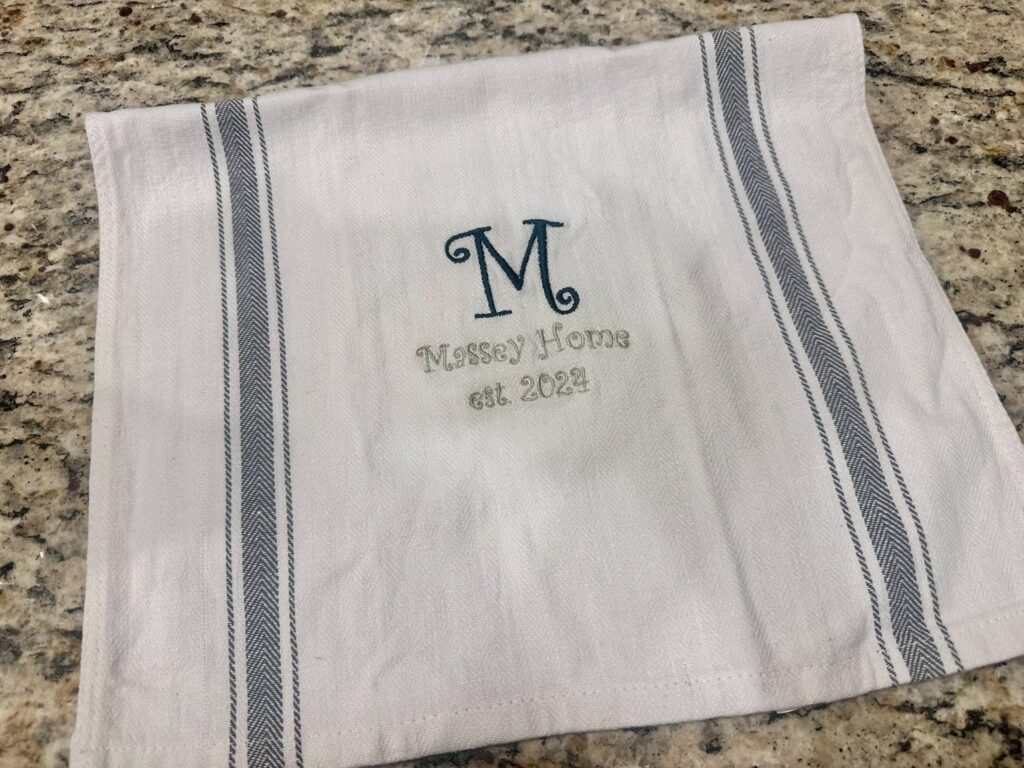
    This is a pattern I’ve now made 3 times and each of the quilts were gifted to my brothers & sisters-in-law. This gray one was the last one to go and was #3 of my UFO list as I started the year with it needing to be long-armed. It has now been sent to my brother and his wife so I can now show the photo. (The ones finished last year had one that was more yellow and the other was more green. I have enough of the material from the layer cake I purchased to make one more that would be pink)

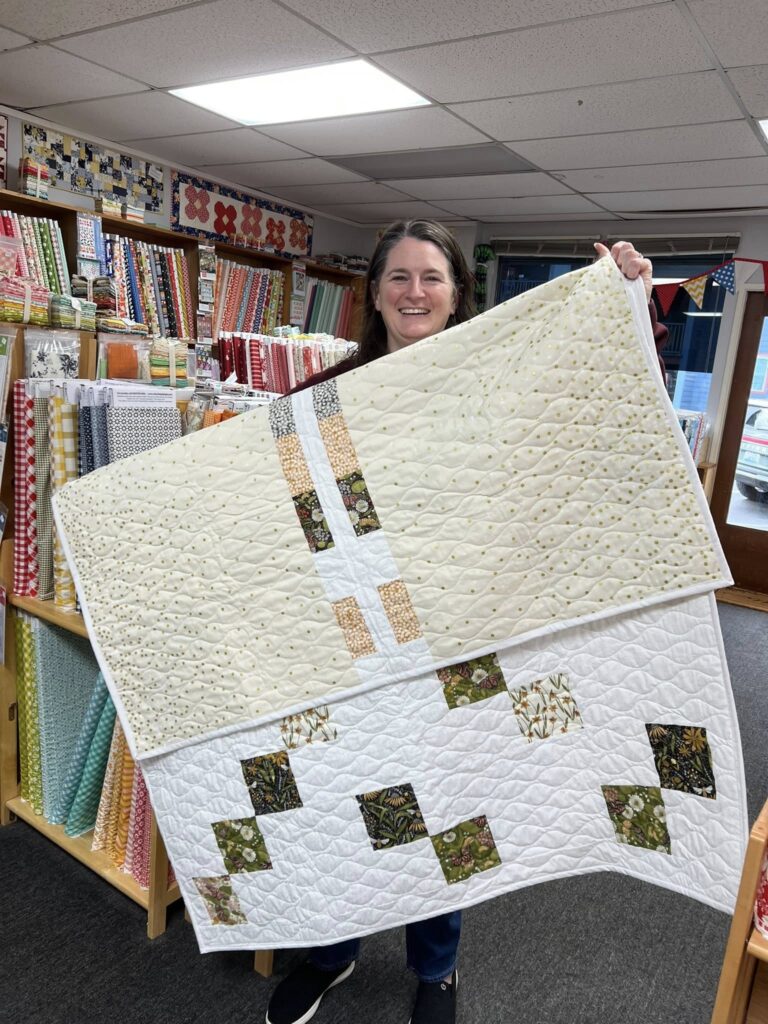
    This “Chandelier” pattern is one I have loved since the first time I saw it. It was fun to make it once and see how it went together. I’m looking forward to getting this one on the long arm to finish it.

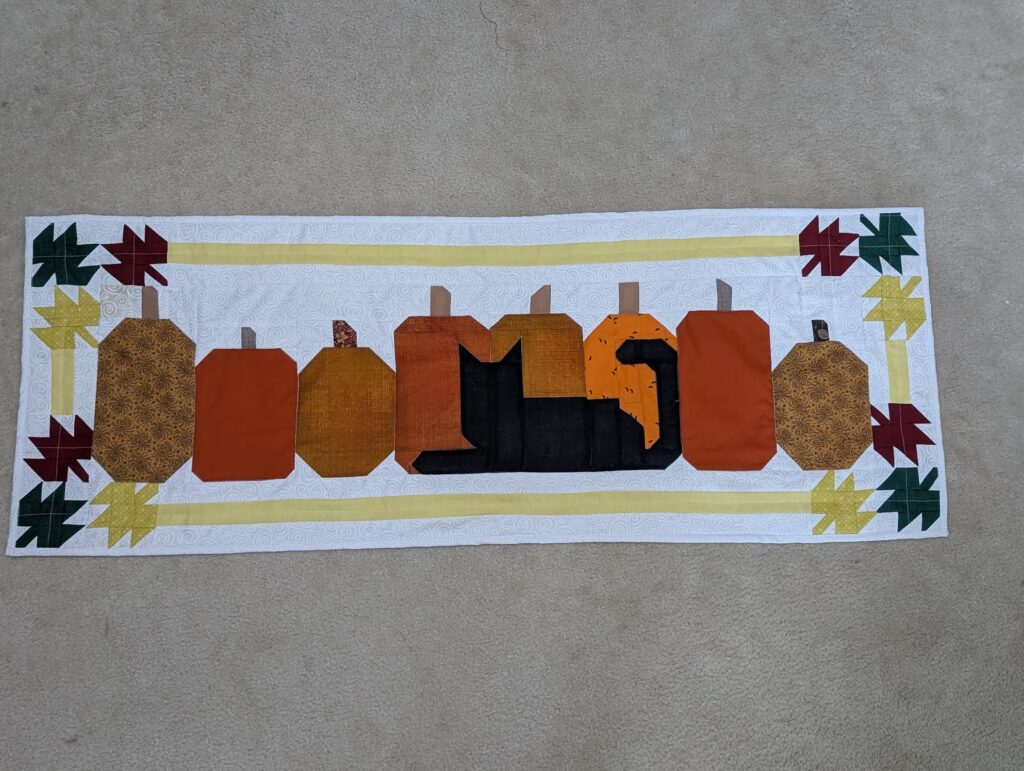
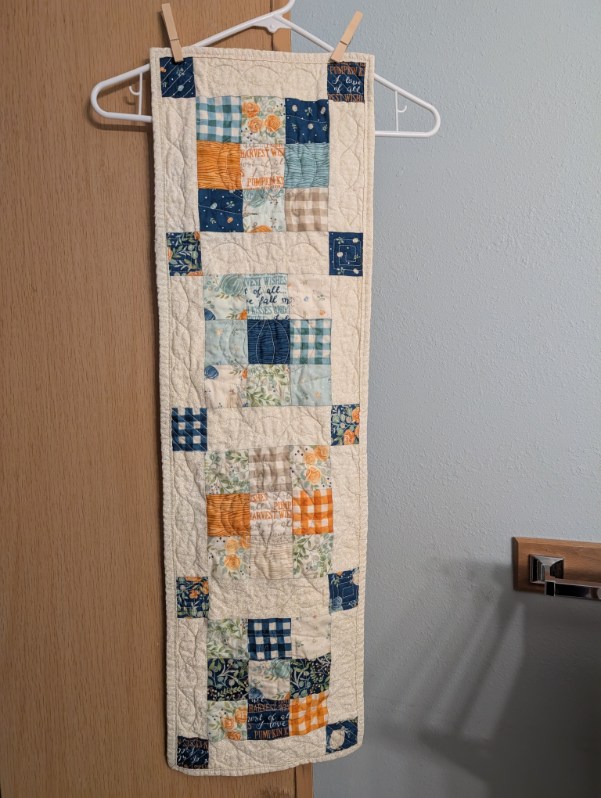
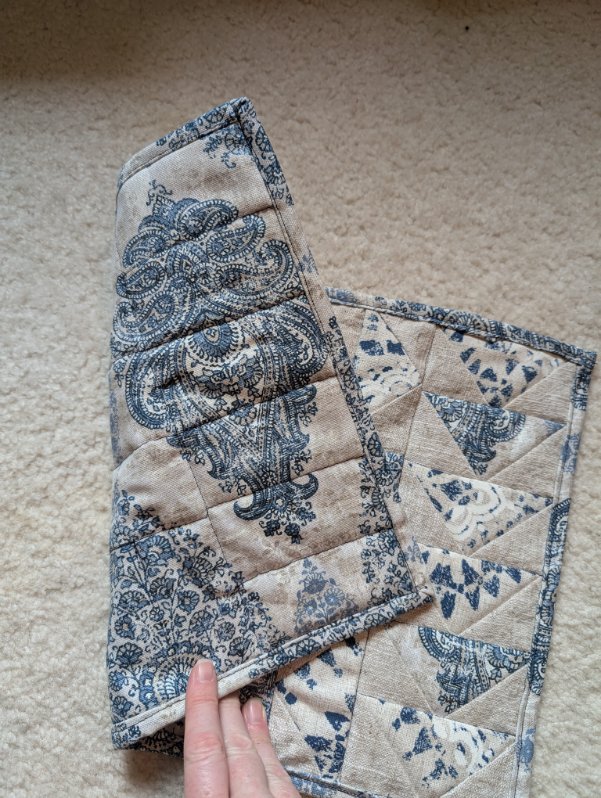
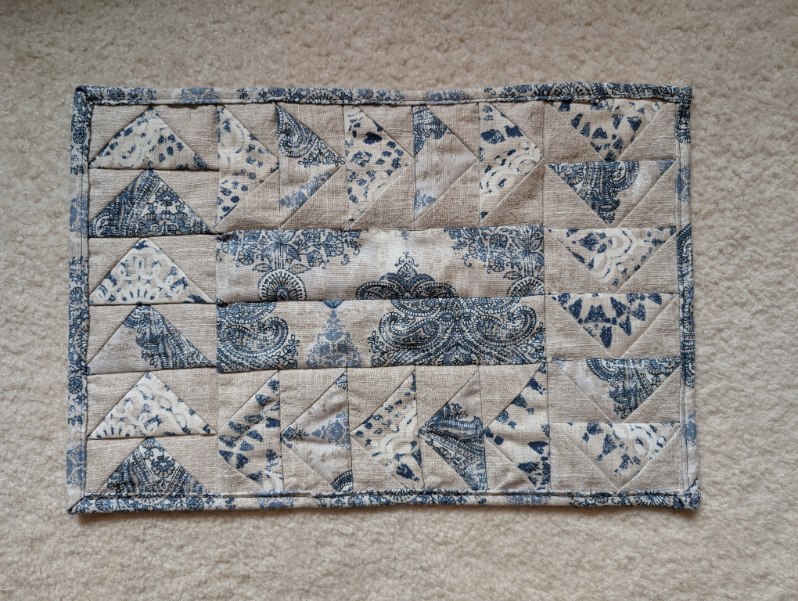
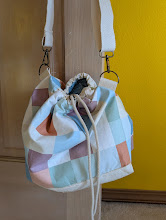
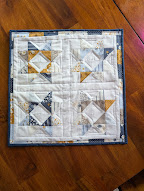
    The scraps of the Chandelier quilt were used for the Dresden pieces to make a spring table runner (pictured below). I hadn’t ever done something with rounded edges and had to figure out how to turn the edges under to sew it onto the square. Thank you YouTube for tutorial videos! I also tried doing some free-motion quilting on my sewing machine. While it was fun to try, I definitely need a LOT more practice to get better at it.

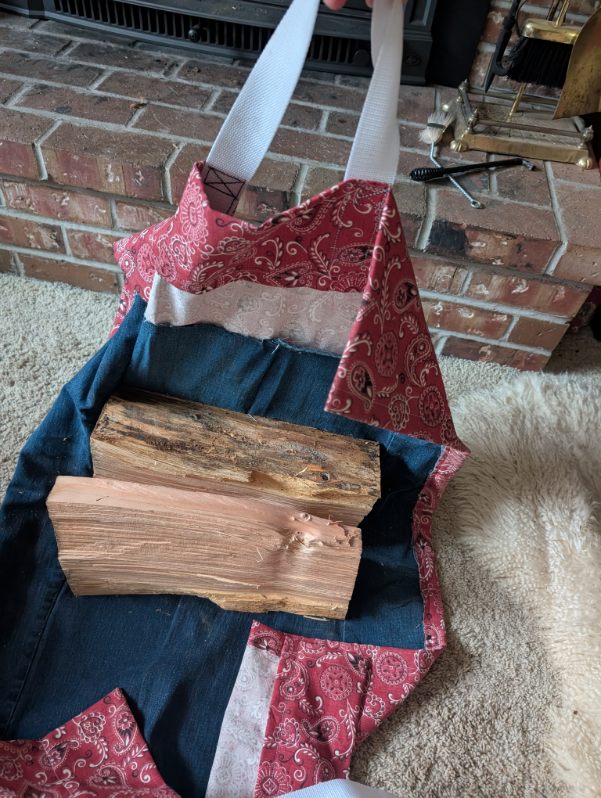
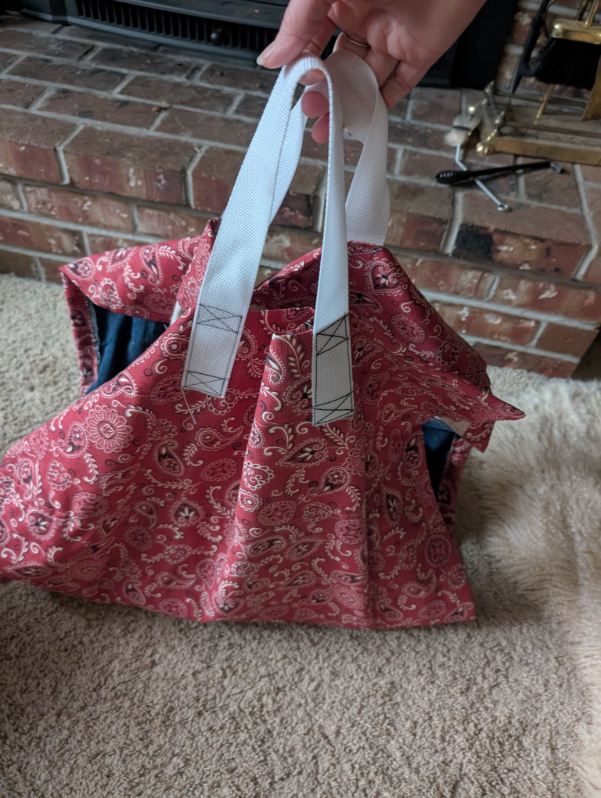
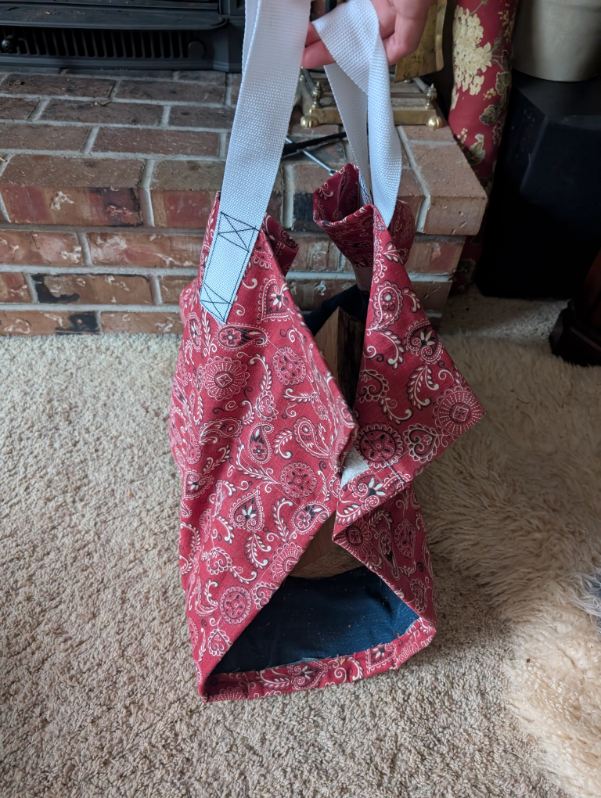
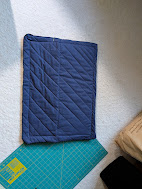
    One of the items on my UFO list was to finish 3 insulated RV window covers. (We need a total of 9, but I thought I’d just put 3 on my UFO list). We plan to be using our trailer more often and in early spring, the weather can be chilly.

    I finished the initial 3, then realized a 4th window was likely the same size and quickly finished the 4th cover. While these aren’t very pretty, they will help insulate around all the single-pane windows to keep the cold air out. Once they are in the windows, we’ll pull the blinds down and won’t really see much of them anyway.

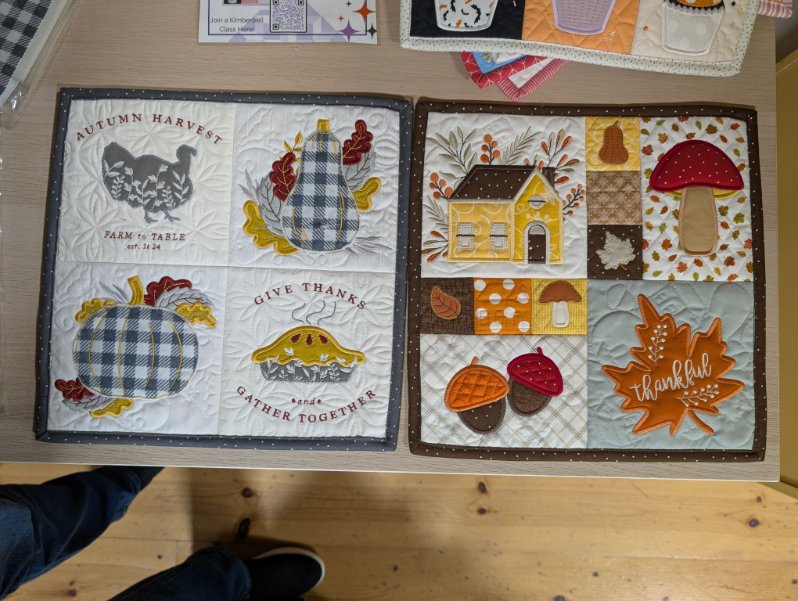
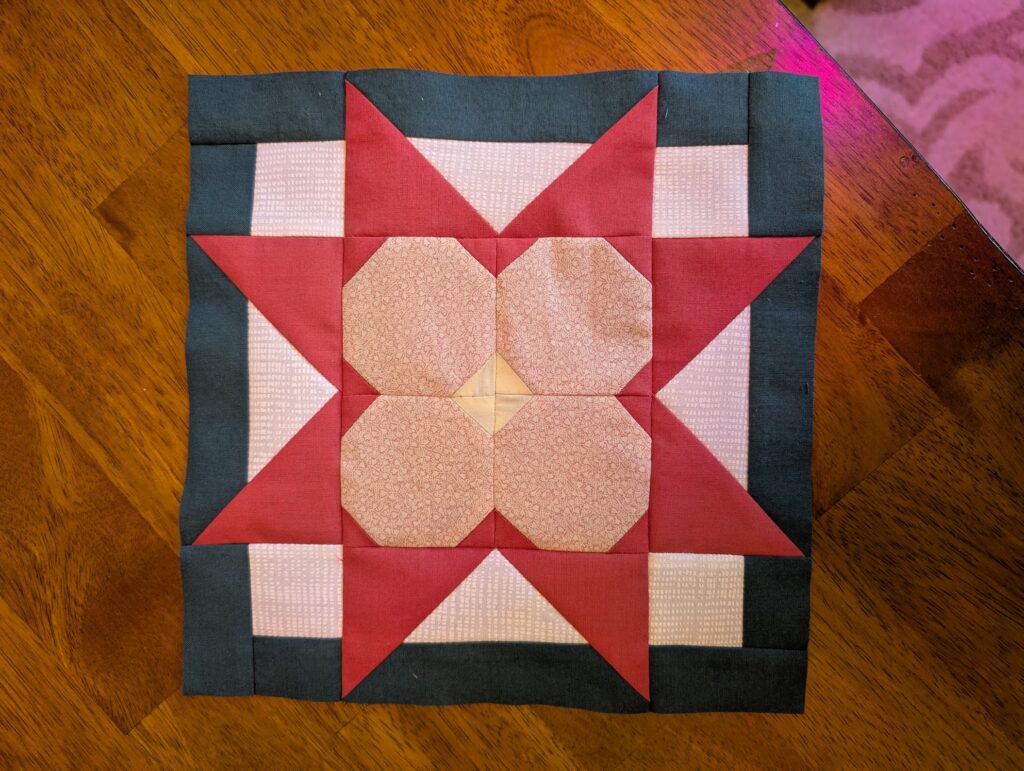
    Since I’ve started quilting, I’ve seen quilt a few “sew-a-long” or “block of the month” (BOM) projects. A pattern is released on a regular basis, and you make that one square before they release the next pattern. It gives you a lot of patterns to try all while building skills and leading to a finished sampler quilt at the end.

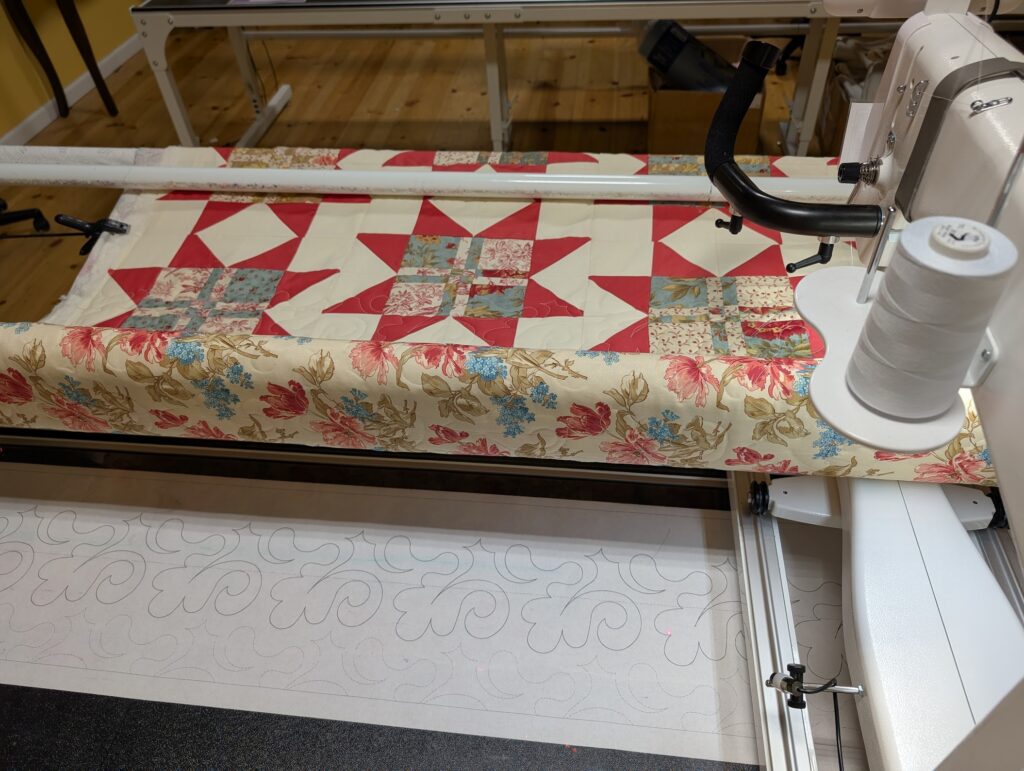
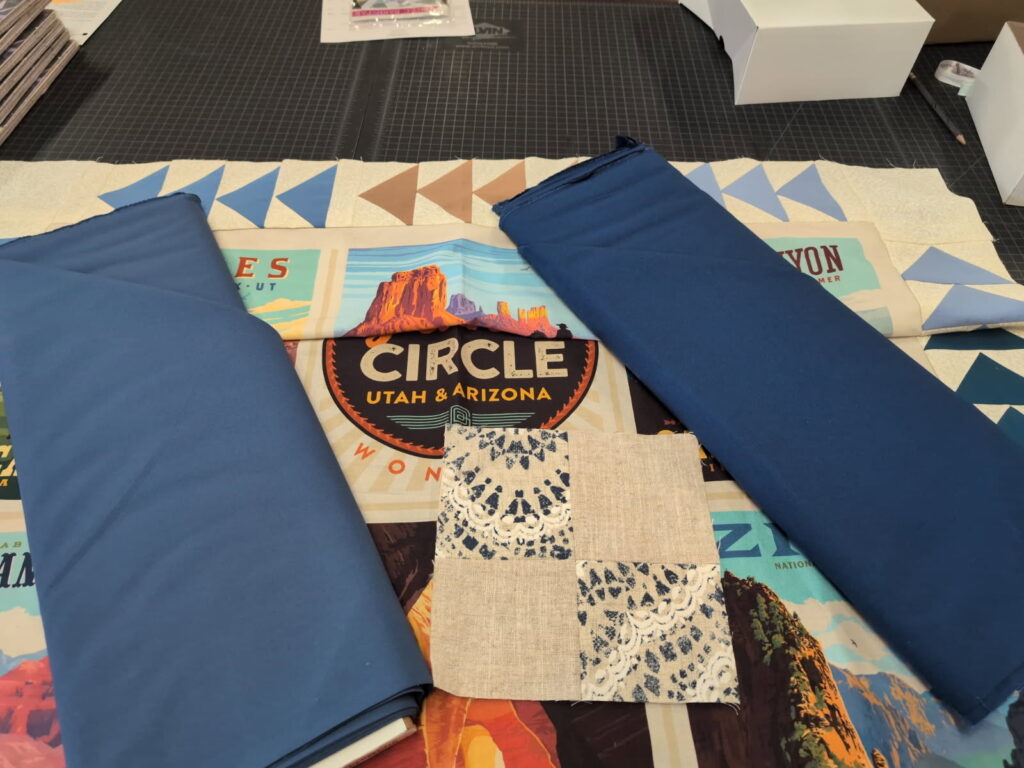
    I decided to try the Riley Blake Designs BOM pattern this year. I was able to get all of the material cut and have everything organized by block for the whole quilt.

    It has been fun to try new patterns and see how something seemingly complex can be really simple to put together. Some of the blocks, I wasn’t sure how it was going to turn out until I literally pieces the last bit.

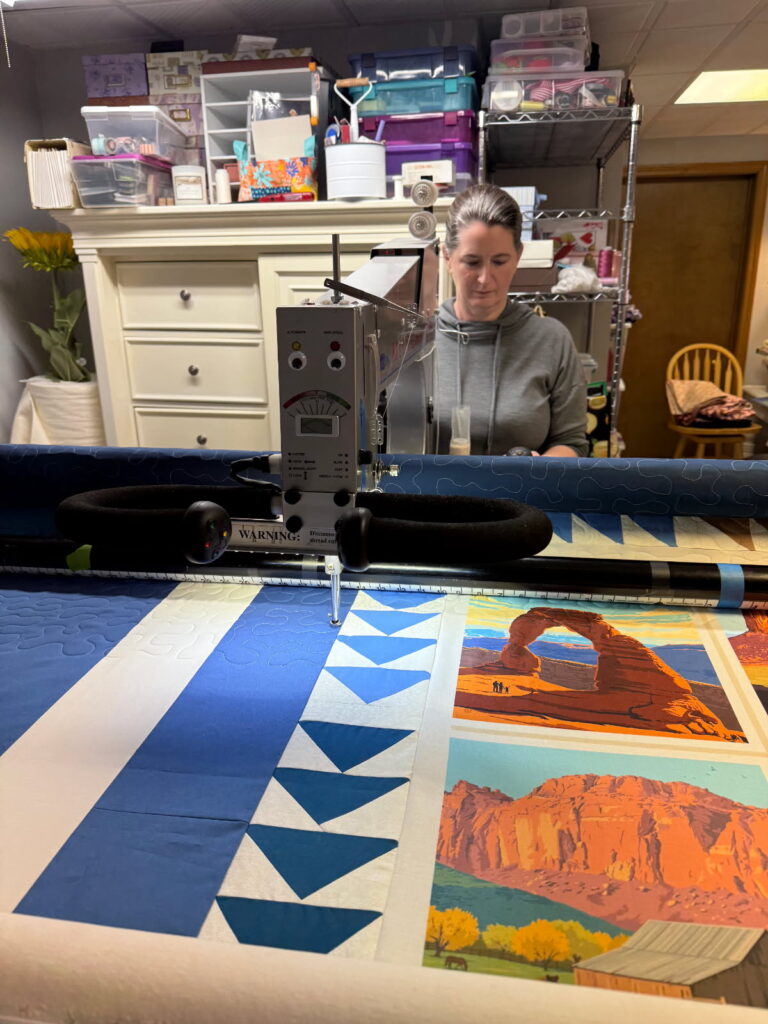
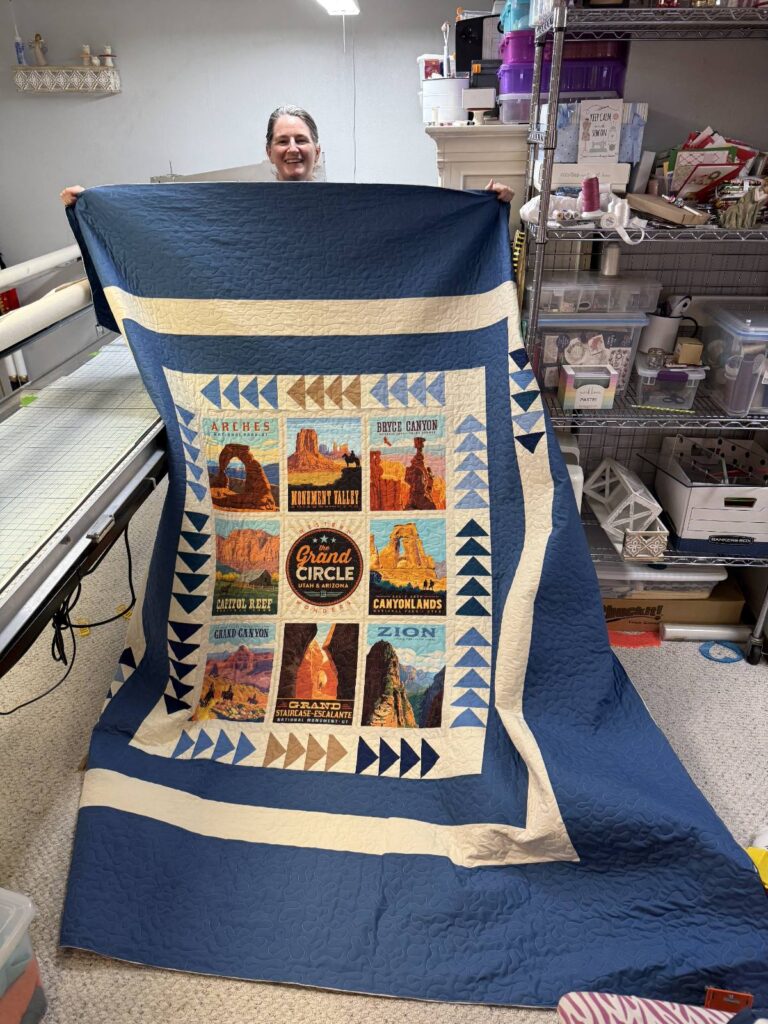
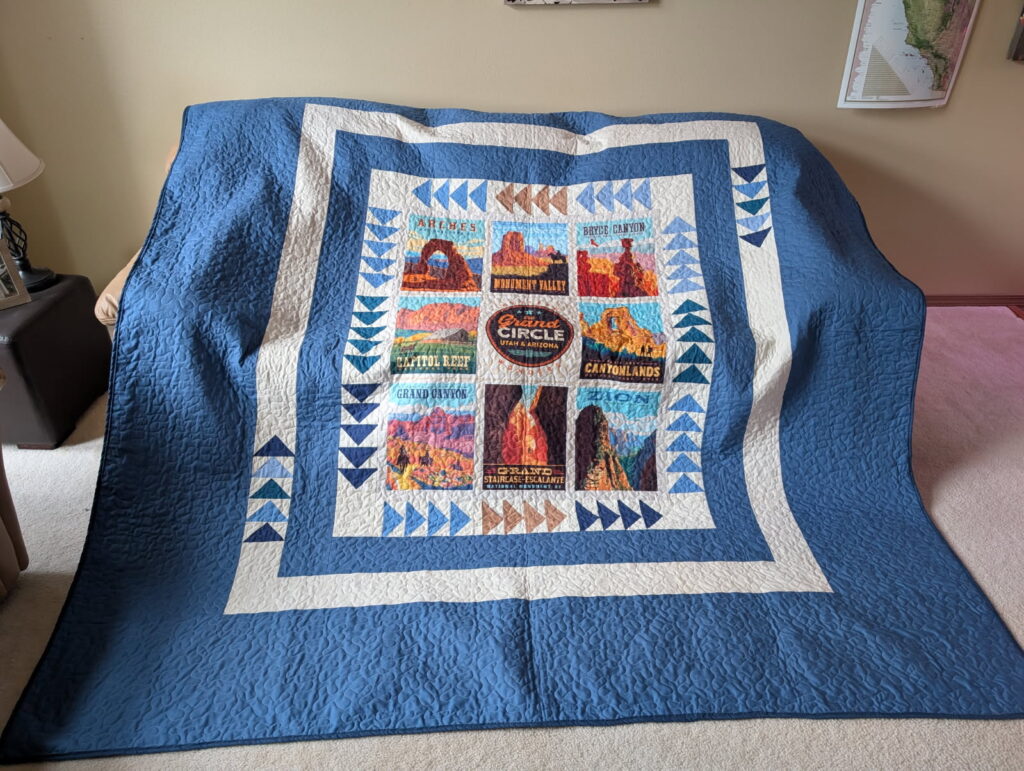
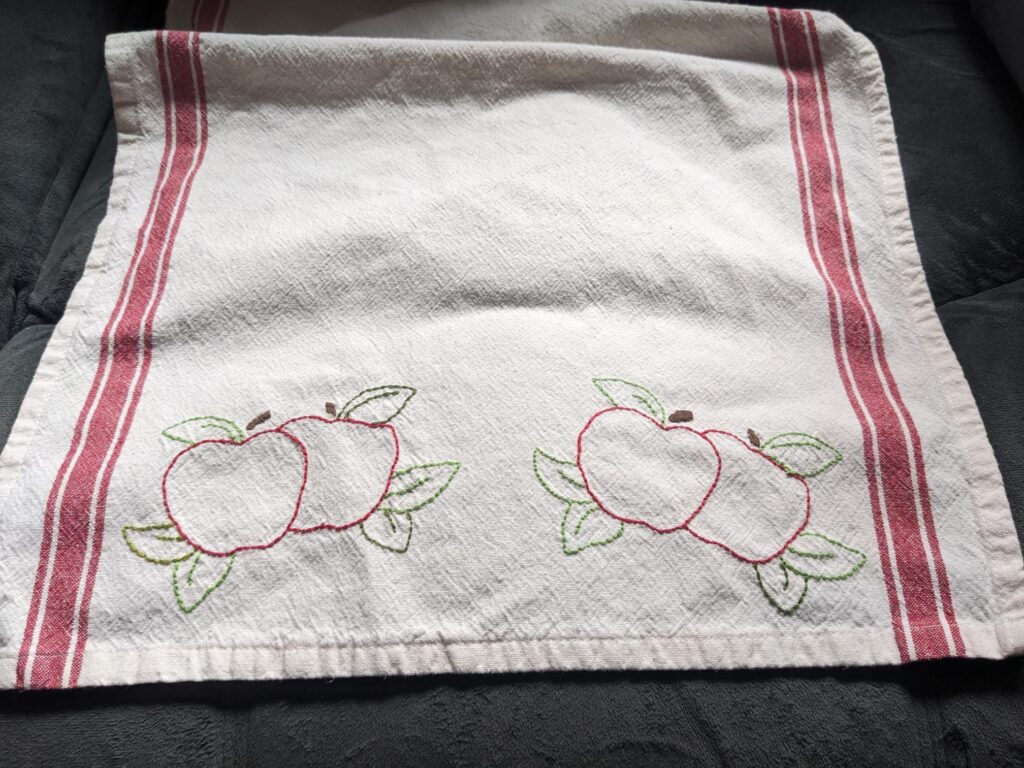
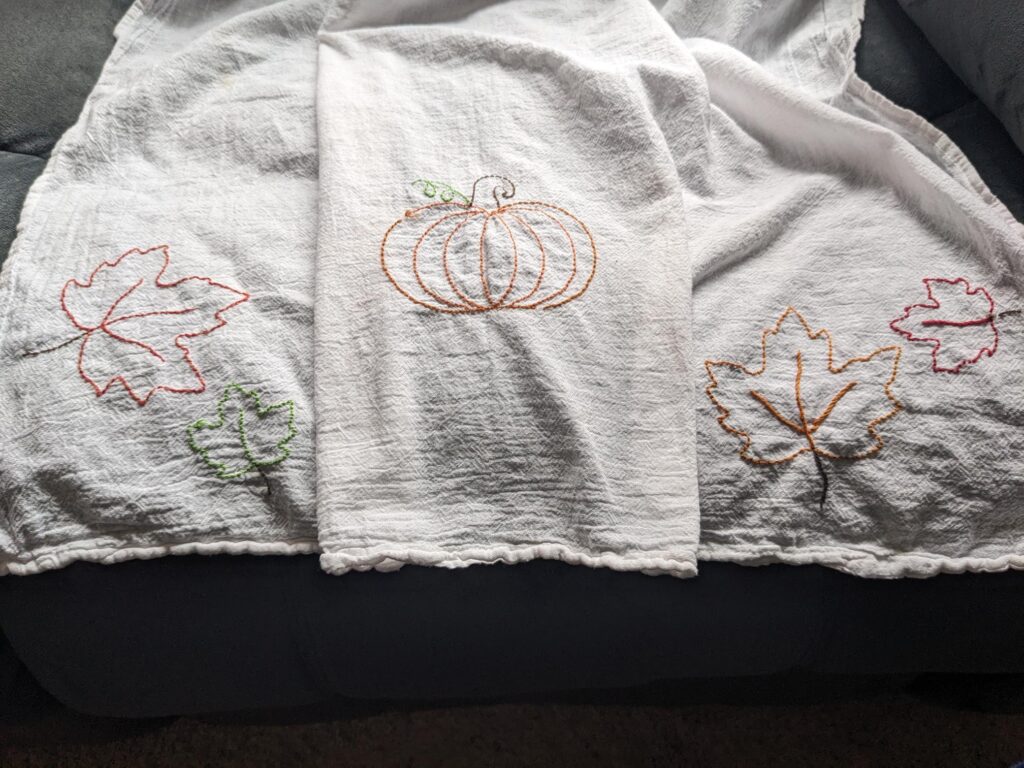
    Here are a few more of the projects from the UFO list that I’ve finished (or at least gotten to where they are ready for the long-arm) so far this winter:

    As winter is wrapping up, I’m starting to look ahead to the garden. We’re only a few weeks away from the early, cold-weather stuff being able to get planted.

    Plans for the garden in the next few weeks are to expand the existing rows. Amend the soil (we’ll go pick up some horse manure to spread over everything), and get new supports put up for a couple of things.

    We will also be growing some flowers this year for my step-daughter’s wedding in August. I hope things will actually grow for us so she has a large variety to use for her special day!

    Winter hibernating has been fun, relaxing and needed. As the days are getting a bit warmer, spring is coming and I look forward to what it brings with it this year!

  • 2025 – the year of the quilt

    Today is the last day of 2025 and what a year of quilting it has been!

    Hubby gifted me the sewing machine in November of 2024 and I have been thoroughly enjoying it ever since!

    I took the first class on how to use and maintain it in December of 2024, then the class to learn how to use the embroidery attachment in January 2025. But, for all of its abilities, basic quilt piecing has been what I’ve used it for the most.

    RV quilt using the Riley Blake ‘The Grand Circle’ national parks panel

    The year started with making “The Grand Circle” quilt for our RV.

    I then made three quilts using the same pattern (Bee Charming) and squares from the same fabric line (Bee Garden) for my sisters-in-law (one hasn’t received hers yet as it is waiting for the long-arm). The one not yet pictured is black & grey. I have enough left over from the Bee Garden layer cake (precut 10″ squares) to make one more quilt in this pattern.

    In the spring, I made quilts for my parents for Mother’s and Father’s Day. I embroidered the occasion and the year on each of them.

    I purchased some musical fabric in Arkansas in February while visiting my college roommate to celebrate her 50th birthday. I then used some of that fabric and embroidered a bird on a table square for her.

    That table square used some black and white scraps I had in my stash that were left over from a quilt my mom had made for me more than a decade ago.

    After posting a few pictures of quilts, a friend reached out to ask if I could make her a rag baby quilt for her new baby boy who was due later in the year. I met her at Michael’s to pick out fabric and made a really cute blue blanket for her. It was my first rag quilt and it was pretty easy to do!

    There was enough leftover in the scraps from the rag quilt that I made a small take-along blanket that matched.

    In the spring, while on vacation at Capital Reef national park, I picked up a couple of quilt panels that I made into quilts that are still waiting to be long-armed. For some reason, I didn’t have a picture of first one I finished.

    I also made myself a throw quilt using squares I started more than a decade ago. While my points on the star aren’t very good, I love how this quilt turned out and am enjoying covering up with it on a chilly evening.

    I participated in a couple of mini mystery quilts through a group on Facebook. It was fun to do each step and then see how it all came together. The patterns will make great blocks to pull together into a full quilt. But, for now, I have made them into small wall hangings.

    I went through my stash one day and decided to use a pattern that came with some templates and made a small wall hanging and then machine quilted it myself at home. I was pretty impressed with how it turned out once it was quilt. Prior to quilting, it wasn’t laying flat so I thought it wouldn’t turn out, but thankfully, it did!

    In May, I visited my parents and my mom sent home some of her needle point panels with me. I quilted one of them into a throw blanket and love how it turned out. It quilts that one in straight lines on my machine at home.

    I pieced together the other squares into a king-sized bed coverlet for their master bedroom. I took it when I went to visit for Thanksgiving and they loved it.

    In October, I came across a pumpkin with a black cat pattern and decided to make it for my step-daughter and her fiancé as a table runner. They have 2 black cats so I thought this fit them perfectly.

    And finally, I purchased a pattern for a table runner that used mini charm packs (pre-cut 2 1/2″ squares). It can be done however you want, but the pattern pictured on the card had ombre ‘ed the colors. I have MANY mini-charm packs in my stash, so I pulled out one with a fall design. I loved it so much, I pulled out another one for Christmas and made a couple of table runners.

    There are a few more things I made over the past year that I don’t have pictures of. There are many more things to be made in this coming year!

    Quilting is really fun! I love the process of taking something on its own and combining it with other things to turn it all into something beautiful!

  • Fall 2025

    November has started in the PNW in the typical dark and rainy fashion. But that just means, indoor projects and hobbies!

    I have continued to work on getting the free fruit processed. The Liberty apples are applesauce, canned and stored on a shelf in the garage.

    Garage shelf with applesauce as well as freeze dried meats and broth. And cool storage for onions & potatoes

    The cider apples are pending processing. Once I finished that box, I’m done with this batch of fruit. These will get sliced and either freeze-dried or frozen.

    The pears were diced and freeze-dried. And also turned into vanilla pear butter. I have it in the fridge and need to water bath can it so it will store well.

    The hubby & I cleared out the den closet and rearranged and added a couple of new shelves. It’s not finished yet, but so far it has drastically helped the storage ability of that closet! I look forward to filling it with more goodies.

    New shelves in den closet with a lot more room to expand! I have it sorted by fruits, vegetables and ready-to-eat meals. Broths are in the kitchen cupboards and in the garage. And meats are in the garage.

    One great thing about cleaning out that closet was getting all of the freeze-dried food organized. We have quite a bit of fruit and vegetables.

    I was able to see how many pre-made meals we have available. I’ll need to work on getting more ready for next summer’s backpacking adventures!

    If you’ve ever thought about getting a freeze-dryer yourself, Harvest Right is running their Black Friday sale *during the month of November. Check it out! All freezer-dryers are discounted this month!

    old-style Small Harvest Right freeze-dryer.

    One project I’ll be working on after finding some old seat covers from the RV is to repurpose those to make a cover for the freeze-dryer. Since I have it in the garage, we always have to remember to throw a tarp or a towel over it when my husband is doing anything in the garage that will make a lot of dust.

    The jam shelf is also filling up this fall. We don’t eat a ton of jam so I’m finding that if I make small batches every other year, that gives us plenty.

    Apple butter, quince jam, ‘raspbarb’ (raspberry/rhubarb) jam and tayberry jam

    One thing I plan on doing each spring is to turn any leftover frozen berries into jam. Once the berries start coming in, I need room in the freezer for the fresh ones so will clear out the previous seasons.

    I hope your autumn is going well and you’re looking forward to Thanksgiving! I’m grateful that you’re reading my blog! Thanks!!

    (*this is an affiliate link which means I’ll make a % of any sales that result from you clicking through my link)

  • Patio Cushion Refresh

    With Joann Fabrics closing permanently, I have made a few too many stops in there to look for deals on fabric. While visiting my parents in WI, mom & I went into the Joann store. The day we went they had a sale for when you bought the rest of what was on a bolt, you got an additional 50% off the price (which was already 70-80% off).

    I’ve had my eye on this fabric every time I’ve seen it, but because it is canvas, it is too thick for quilting. But I love the pattern. I took a picture, sent it to my husband to make sure he didn’t hate it, and then bought the rest of a bolt. It was 8.5 yards. (Turns out, I probably needed at least another half yard)

    I decided this would be really pretty to recover the cushions for the patio chairs. There is nothing wrong with existing cushions, except that the fabric is faded.

    Once I got home, I took one of the cushions apart to use as a pattern. I knew I needed cording for these, but as I took them apart, the existing cording is plastic that I can reuse.

    Once I cut out all the pieces, I put the various pieces together and started sewing. Having so many components to sew together took a bit to get in the groove, but I got there. I have learned some lessons on the first one to make sure the remaining three turn out better.

    My husband’s first reaction to seeing the finished cushion was “wow! That has a lot of color in it!” LOL, yes it does. Then, this morning, he sat outside to drink his coffee and said he really liked it and I did a great job. <3

    I really like how it turned out and am looking forward to getting the remaining three cushions finished. It is so much brighter, fresher and cleaner. Maybe we’ll actually end up sitting out at the patio table now.

  • 1st Bed Quilt

    With my new sewing machine, my husband suggested that I make a quilt for the bed in our travel trailer. I suggested that I get a National Parks panel. There is a fabric designer, Riley Blake that had an entire National Parks themed fabric line.

    He liked that idea but insisted we had to have Canyonlands National Park as part of the quilt. That specific park isn’t one that was made as its own panel, but I was able to find it as part of “The Grand Circle”.

    I purchased the panel from a seller on Etsy and then got to work figuring out the colors and design to use. Flying geese was the winning quilting design. I found solid fabrics that matched the panels they would be next to. As I made the flying geese, there were extras left over that were used as a 2nd border. Hooray, no waste (or at least less waste)!

    I had fun choosing which border color fabric to use. I took the quilt top that I had done to that point and other fabric that I had used in the trailer redo a couple years ago to the quilt store and laid it out to see what colors would work best.

    As it goes with quilting, there were a few things that came up a bit short (sometimes my math was a little off) so I added a bit more fabric to it to make it work.

    There was an issue along the way. For some reason, the navy blue fabric melted when ironed even though it had been ironed at least 5 times previously. That fabric was reusing an old pillowcase, so I think the fiber content wasn’t as much cotton as I thought. Oops!! Thankfully, the iron was easily cleaned up.

    It was really fun to see the quilt develop as more borders were sewn on. I knew what I wanted it to look like but actually seeing it in the end was even better (and a LOT bigger) than I had imagined.

    To finish the quilt, I was able to visit a friend who has a long-arm quilting machine. It was so nice of her to let me invade her and her family for a couple of days, and it was so much fun to get to spend time with her! (Thank you Emily!!!!)

    She showed me how to get the quilt attached to the machine and then how to run the machine over the quilt to get all the stitches in. I asked if I could do it, and I ended up doing the majority of the stitching on the quilt. It’s a learning curve, but so fun once you get in the groove.

    We got it finished up in 1 day. I headed home the next morning and then was able to finish the binding once I got home.

    Completed quilt

    I really love how it turned out. It’s a little bit too big for the RV bed, but that’s okay, that just means there’s more to wrap up in on cold nights.

    I believe this will be the first of many quilts to come!

  • New Sewing Machine!

    My hubby got me a new sewing machine as a Christmas present. I got a Bernina 590 which includes the machine embroidery attachment. Wow, is it ever nice!!!

    I learned to sew as a kid. Both grandma’s and my mom sewed. There were home economics classes in both jr. high and high school that included sewing.

    For quite awhile, I used my grandma’s old (from the 1980’s, not an antique, although are the 80’s now considered old enough??) Singer sewing machine. I was told when I got it that something needed to be fixed, but it was going to cost more to fix than the machine was worth. Based on that, I never expected much from the machine and only used it for very basic sewing.

    Being retired, I wanted to be able to do more and better work. I took the machine mastery 101 class where I learned how to properly use the machine, learned all the various features and learned how to service the machine. I had no idea I had to oil the machine EVERY TIME I use it!!!! HOLY COW, no wonder that Singer wasn’t fabulous, I was being very neglectful.

    In January was the two-day embroidery mastery class. I immediately came home and did 4 small embroidery projects! (Literally before dinner that night.)

    Here are some of the things I have worked on since getting my new machine.

    I made a fall table runner. I’m a sucker for anything autumn or pumpkin themed. I machine quilted this one using templates I had at home. For anyone who hasn’t machine quilting, there is a learning curve! This project is at the start of my curve.

    With the embroidery machine attachment, I wanted to give that a try and make a few things. There are tea towels for my college roommate’s birthday, my mom and one for our travel trailer.

    The above snowman quilt was a combination of quilt piecing with hand applique. This is a primitive pattern my mom gave me years ago. She bought everything needed but never got around to making it. She gave it to me and I’ve been intimidated for years to even try it. This winter, I got tired of setting it aside whenever I went through my stash and decided it was time to no longer be intimidated. Mom was VERY patient in waiting for this.

    I did NOT make the above stuff, but from the first time I stepped into the quilt shop where my machine was purchased, I saw these little mini quilts and knew I needed to make them. (Again, I’m a sucker for anything autumn or pumpkin themed). Turns out these are part of a 6 month program thru Kimberbell and are the mini quilts for September and November 2024. I ended up buying the patterns and made my own.

    They don’t look exactly the same, but I love how they turned out. This was a fun project that combined both quilting and embroidery. I mostly used fabrics I already had in my stash rather than exactly what the project called for.

    This past year, we had a fireplace insert installed to have a heat source should the power go out. (There have been some silly, dumb reasons (i.e., criminals being ridiculous) in our area that made us decide we needed to be prepared.) After the first few fires of carrying wood in a few pieces at a time, my husband asked me to make him a firewood sling. Without a pattern and using material and old jeans I had on hand, I made him one. I love how it turned out and so does he!

    And finally, with Joann Fabric going out of business, I have stopped in a few times and picked up some mini templates which came with 6 patterns included. I decided to make a couple of placemats using a ‘flying geese’ pattern for our travel trailer. I used leftover fabric from the trailer makeover I did a couple years ago.

    I’m enjoying my new sewing machine. I have a feeling it will not get quite as much use in warmer month. But, it will definitely get a LOT of use in the coming years!

  • Reusable Paper Towels

    *Updated 1/9/2025 – scroll to the end for the update

    In previous posts, I’ve mentioned that I am looking for ways to avoid the stores (thus saving money). I was at a garden show earlier in 2024 and one of the vendors was selling reusable paper towels. The vendor’s stuff was cute, but she didn’t have the color scheme I was looking for.

    I looked over the product she was selling and thought “this is easy enough that I can make it myself.” It was flannel cut into 10×10 squares and the edges were ‘hemmed’.

    I went to the fabric store and purchased a yard each of flannel that was more to the colors/patterns that suited me.

    I received a new sewing machine for Christmas and was thrilled that it has the stitching ability to do the ‘hemming’ that I wanted to do. (It’s an overlock stitch)

    Like all projects, I procrastinated in getting started, but mostly that was due to waiting for the new sewing machine.

    I started by washing the material, so any shrinking was done before cutting and stitching. I then cut the material into 10″ by 10″ squares. (The material was folded so I was cutting more than 1 square at once)

    I then starting using the overlock stitch on my machine to finish them up. Sewing squares isn’t all that exciting. LOL

    Once I got all four sides done, I snipped any threads, and cut off the rounded corners with a good paid or scissors.

    I was careful around the corners to not cut the overlock stitch. I do expect a bit of fraying on those corners when I wash it. But, it’ll do that until the material falls off to the stitch and then it should stop.

    To roll them up like paper towels, I rolled one, then overlapped it with the next and kept rolling. It turns out 5 yards of material end up making about 3 rolls of ‘paper towels’. (I have scrap material left, but none that was large enough for paper towel size.)

    But they are finished and I love how they turned out!

    One less thing to have to buy at the store!

    Update: 1/9/2025 – My husband and I took a vacation on the other side of the mountains and the town has an adorable little store that we love to stop in at. Low and behold, they had some reuseable paper towels – 12 for $36.95!!!! :O This was definitely a cost savings.

    These are just like I made, but plain. I spent about $25 for 5 yards of material and used a spool of thread I already had at home. I ended up with about 55 ‘paper towels’. Holy cost savings Batman!!!!

  • Tea Towels

    (This post contains affiliate links which means if you purchase something through this link, I’ll make a few cents)

    I started a new hobby this past winter and have continued as I wait for spring and all of the outdoor activities to begin – embroidery. Now that the outdoor activities have begun, I’ve set this aside for now, but am enjoying using these tea towels.

    Embroidery is a quick, easy thing to occupy my hands in the evenings while watching TV. 

    When I was younger, I did counted cross-stitch and because of having that experience, it helped make embroidery much easier to pick up.

    I picked up some embroidery books from the library for ideas, have hand drawn a couple of the patterns and use quilt patterns (something like these) to draw on the towels. 

    Here’s how I did it:
    1) Start with a laundered cotton or linen towel.

    2) Using a washable pen or pencil (I have a couple specific for quilting and used those), draw a pattern onto the towel. If you’re using a pattern from a book, you’ll have to place the pattern under the towel and then trace it thru the fabric. (If you can tape it up to a window or have a light box, that would make things a LOT easier). If you’re using a quilting pattern, set it on top of the towel and draw the pattern on the fabric. 

    3) Start stitching.

    For the books I got from the library, I took a picture of the instructions page so I could reference back to it after I’d returned the book. That also worked great in taking some embroidery on vacation and packing just needles, thread, small scissors, hoop and towel. 

    Here are a few of the towels I’ve finished: 

    Butterfly, dandelion and dragonfly
    Apples
    Fall leaves and pumpkin

    I have a few ideas for future towels, but I also need to have somewhere to use them 😉

    Happy crafting!